by Helen Spencer from hellosewing.com
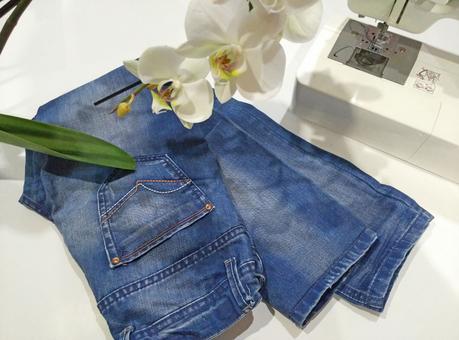
So, your jeans are too long for you and you don't want to go to the tailor and spend money on this simple alteration? That is an unfortunate scenario indeed, but it's not a reason for you to be down. If you don't want to go to the tailor then just do the hemming yourself.
It might sound difficult and time-consuming but it really isn't. As long as you have a sewing machine that can handle denim and a bit of patience, you will be able to do it. The manufacturer's hem will remain and your jeans won't be too long for you anymore.

Here's a tutorial that shows you how you can hem jeans without losing the original hem.
Step 1: Decide how much you want to shorten them
Stand in front of a mirror while wearing heels and determine how long you want your jeans to be. Don't forget, it's better to leave them a tad longer than to make them too short. Unless it's skinny jeans we're talking about because they sit above the shoe line.
IMPORTANT NOTE: Never shorten your jeans before they've been washed and dried at least twice as they may shrink and end up too short. Remember - a little too long is still better than a little too short.Step 2: Fold up the hem and pin

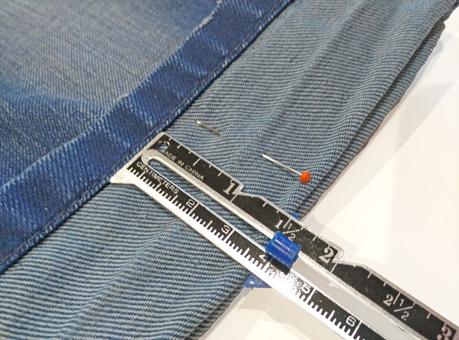
Fold the jeans legs to your desired length and pin them in place. Measure the length from the hem to the fold but don't include the hem in those measurements. Divide that by two, then fold and pin the legs according to that. Put pins in them all the way around.
This concludes the preparation work, now you can proceed to stitching and cutting.
Step 3: Stitch below the hem

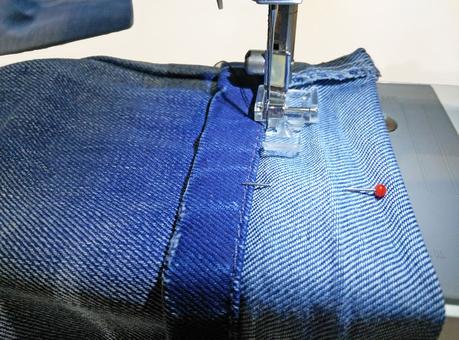
Thread your machine with regular sewing thread, set it for straight stitch, and convert it to free-arm more to make handling the jeans easier. Put your zipper foot on an move the needle so it sits on the outside of the foot right next to the original hem. Start stitching as close as possible to the original hem. Try to keep the fabric flat, you don't want to make a crooked stitch. Remove the pins as you go.
Step 4: Trim and finish the raw edge
When you finish doing this, you will notice how much excess fabric you have. Cut off everything below the stitch you just made. If you have a serger machine, use it to give the raw edge a nice finish that will prevent it from fraying. If not, a zig zag stitch will do the job fine as well.
Step 5: Press and topstitch (optional)

Use a clothing iron to straighten out the edge you just made. Then you may want to secure the hem at the side seams. To do so, topstitch above the hem, or extremely close to it, if you know how to stitch in the ditch.
Repeat for the other leg
All you need to do now is to repeat the same process for the second leg of your jeans.
With this, your jeans are officially hemmed, and you succeeded in keeping the original hem intact.
I hope that you liked this short tutorial and that you find it helpful. If you did, show it to your friends who have troubles finding jeans that aren't too long for them. As long as we're helping our fellow sewing enthusiasts, we're doing our job properly.
More From the Alterations Series
1. The best clothing alterations based on your body shape
2.How a small alteration makes a big difference
3. How many sizes you can alter a garment .. safely?


