
Hanging a canvas on your wall is a straightforward task.
Simply hammer in a few nails, and voila. The cherished memories of your life are ready to be displayed.
But did you know that there are many other ways to hang canvas art besides the traditional nails – even one that doesn’t require drilling any holes in the wall?
Additionally, there are a few designing rules that can be applied every time you decorate a wall, regardless of the frame and image you choose.
What are they? And how can they help make your new printed portrait stand out?
Let’s find out in the guide below!
Before you Start
Canvas printing is available in a variety of sizes and styles. And the mechanism you use to tack them on the wall is dependent significantly on its size.
For example, small canvas prints – below the size of 16” X 16” can be easily supported via a single nail on the wall with a saw tooth bracket on the top rail of the frame.
But when it comes to the frames that are a bit larger, a hanging wire attached to the side of the frame is the best way to go. The art wire or string can bear more weight of the frame to ensure stability.
Consider the walls you select for framing as well. If your walls are concrete or brick, you may need additional help to drill holes in the wall.
But for drywalls, you can conveniently follow the steps below and get your new wall décor on the wall within a matter of minutes.
Gather your Supplies
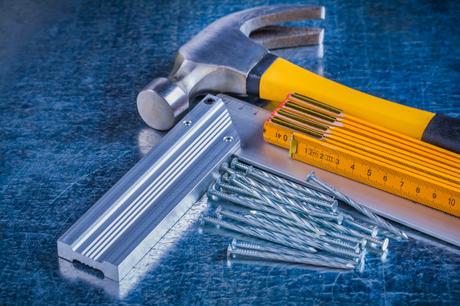
The essential tools that you will need to hang a canvas includes:
- Pencil
- Screwdriver
- Spirit level
- Hammer
- Wall protection pads
- Measuring tape or ruler
- Nails
Apart from the essential supplies, you will need additional fixtures such as screws, saw tooth hangers, wire, and eye hooks – depending on the size of your canvas frame.
Brainstorm the placement
One of the biggest mistakes consumers make is to eyeball the frame placement. And the result of their estimation becomes apparent, with the frame being too high or too low.
A general rule of framing is to keep the pictures at an eye-level, especially if you are planning to put them above your bed or sofa.
Keep at least 6” between the bottom of the canvas and the head of the furniture for breathing space.
You can also follow museum guidelines to calculate the accurate eye level:
- First, measure the height of your picture and divide it in 2 to find the canvas center.
- Add 57 to the canvas center number to determine how high the top of the frame needs to be from the wall up.
- Mark the placement using a pencil.
For more creative ideas, check out these tips from interior designers on how you can display art like an expert with a few tweaks.
What about a Gallery of Canvases?
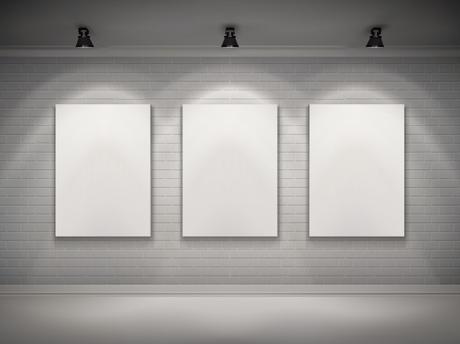
A collage of different canvases on a large wall makes an eye-catching statement.
They can also be used to tell a story – for example, your wedding day events or special milestones of children.
However, before you start hammering on the wall, make sure to plan out the placement accurately.
- Layout the pictures on the floor to confirm the wall arrangement.
- Keep a distance of 2” to 4” between each picture.
- The first picture you hang will be at the focal point of the complete layout. This should be placed at the center of the wall, following the museum guidelines above.
- Before committing to holes, do a mockup of the arrangement by using exact-sized paper replicas of your pictures and sticking them on the wall using painter’s tape.
- Step back often to ensure the expected result.
- When it’s time to finally use the hammer, remove the models one by one as you place the actual pictures.
Did you know?
Google Play Store and Apple App Store hosts many apps that can help you determine the correct positioning of wall canvas – and eliminate the hassles of measurement?
How to Hang a Canvas Print?

Now that we have gotten the basic details out of the way, let’s begin hanging up your new personalized canvas.
But before you start, make sure to:
- Clean the wall before hanging up your new canvas.
- Move furniture out of the way for more space.
- Keep all tools you need handy.
- Keep an assistant to help you pass the tools, especially if you plan to revamp your complete wall collection.
- Place wall protector pads on the wooden frame of the canvas to prevent any scratches to your wall.
How to Hang a Canvas with Nails?
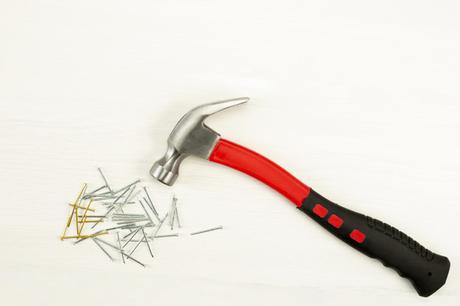
The quickest option – and most frequently used one - is to hammer a nail on the wall and to position the top wooden bar of the canvas over the nail.
However, make sure not to hammer the nail all the way in the wall – leave at least 1/3 of the nail out to support the frame.
And as easy as it may be…we don’t recommend using this method for a large canvas – due to lack of support provided by the nail only.
But yes, for very miniature frames – you can get away quickly with this method.
How to Install a Sawtooth Hanger?
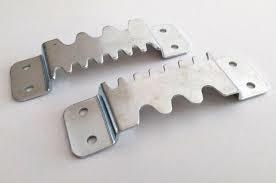
One of the most secure options for small to medium-sized canvas is to use a sawtooth bracket.
These are available in different sizes – so make sure to buy one according to the size of your art.
- Step 1: Mark, the center of the top-wooden panel of the canvas. This is where your sawtooth hanger will go.
- Step 2: Position the sawtooth bracket in the center and insert a nail in the holes given on both sides of the hanger.
- Step 3: Gently hammer the nail inside, without too much force.
- Step 4: Hammer a nail on the wall and hang the canvas.
How to Hang a Canvas Board Painting with Wire?
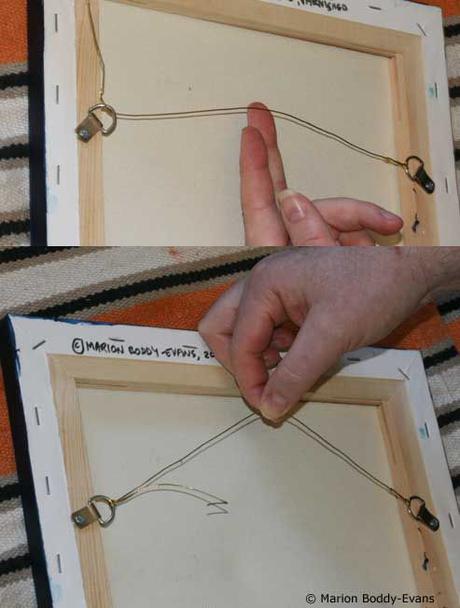
For a large-sized canvas, you may need to use wire hanging instead of a sawtooth hanger for extra steadiness.
- Step 1: Gather eye hooks, wire, and nails.
- Step 2: Screw the eye hooks on both sides of the frame – approximately 1/3 down from the top of the canvas.
- Step 3: String the wire between the eye hooks. Leave some room for the cord to hang between the two eye hooks – but do tighten the knots on each side.
- Step 4: Hammer in a nail on the wall and carefully place the center of the wire hanging on the nail.
How to Hang a Canvas Without Nails?
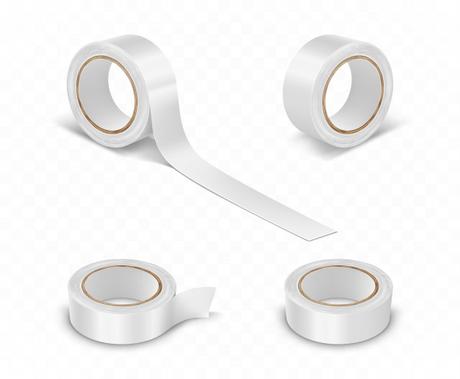
Picture hanging strips or adhesive are an excellent option for those who don’t want to destroy their walls with nail holes and markings.
They are easy to put up and can hold the weight of a standard-sized canvas of up to 16 pounds.
Best of all, they can be taken down whenever you want to without any damage to the walls, cracked plaster, or sticky residue.
- Step 1: Generally, you need four adhesive tapes – for each corner of the canvas. However, you can add more to enhance durability.
- Step 2: Measure and mark the ‘sticking’ area with a pencil on both – the wall and the canvas frame.
- Step 3: Firmly press the adhesive on the canvas board and stick it to the wall.
Did you know?
To make sure your frame is straight, just put a round object (such as a small ball) on top of the canvas. If it rolls to one side, adjust the frame accordingly.
Common questions about Canvas Printing

Here is a list of some questions that we often get asked about canvas prints.
- Can I spread one image on multiple canvases?
Definitely! We have many creative variations available for multiple and split canvas prints.
- What is the best way to keep the canvas clean?
The best way to keep the canvas clean and enhance its lifespan is to wipe it with a soft duster or slightly damp cloth.
- Can I hang my canvas in the bathroom?
Canvas prints are made using a natural product that may shrink due to humidity and heat present in the bathroom. We also suggest keeping your frames away from direct sunlight so you can cherish them for many years.
- Are Canvas Prints Worth It?
Unlike framed photographs, canvas prints give a unique aesthetic to any home. They are simple and inexpensive ways to transform your walls. Above all, they are timeless and always remain in fashion.
And of course – they are easy to hang! So, if you are looking for ways to make your family memories stand out, check out our complete range of canvas here.
