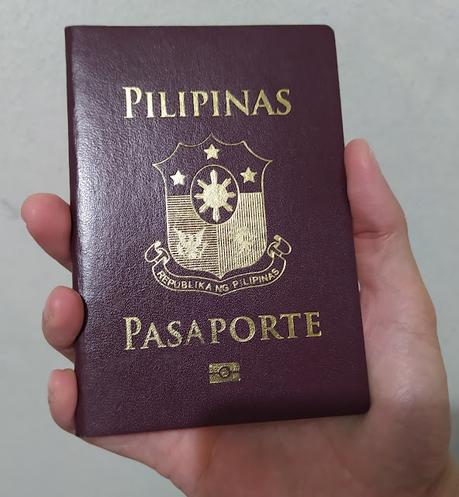
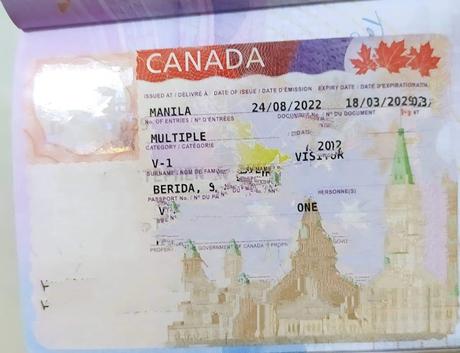
Getting a Canada tourist visa is difficult. However, the process of acquiring one is straightforward and easy to follow. I applied for a visa and did most of the process online. The only time I went to the visa center was to submit requirements for the biometrics and when I had to submit my passport upon the embassy's request.

How to Get a Canada Tourist Visa Online

This guide is based on my experience in applying for a Canada tourist visa or a visitor visa, study and/or work permit once you see the categories when you start the process online.
Create an Account
- Visit this page https://www.canada.ca/en/immigration-refugees-citizenship/services/application/account.html and click on the 'register' button.
- On the next page, look for the button with 'register with GCKey' on it.
- One the next page, click the 'sign up' button.
- Accept the terms and conditions to move the process along.
- You'll then have toc reate a unique username, a password, and security questions with answers. You also have to provide details such as full name and email address.
- Click on the visitor visa, study and/or work permit option.
- If it's your first time applying online, you'll be asked if you already have a Personal Reference Code. Look for the section 'I don't have a Personal Reference Code' then click 'visitor visa, study and/or work permit'.
- Look for the 'start application' tab.
- The next step will lead to a series of questions about your planned trip to Canada. Answer all these truthfully. After answering the questions, you'll then know if you're eligible for a visitor visa. If you're eligible, you can start uploading the required documents.
List of Requirements
After you start your application it will appear in your account and you'll have a specific time to complete all the requirements and submit them.
Here's a list of the requirements I submitted for a Canada tourist visa:
- Form IMM 5257 (you can get an updated form on the site). Fill this out digitally by typing in the information it asks for. You will be able to sign it electronically as you go along the process.
- Certificate of employment (you'll need to submit your business registration if you're not an employee)
- BIR 2316
- Valid passport
- Bank statements for 3+ months
- Bank certificate
- Payslips
- Travel history (I included photos (or scanned images) of my previous visas such as Schengen, Japan, South Korea, Turkey, Thailand, Singapore, and others)
- Reserved accommodation
- Flight reservation (you don't have to buy a ticket before sending your application)
- Itinerary
- Form IMM 5645
- Cover letter (optional but I decided to include one anyway)
- Digital photo (passport size 35mm x 45mm, white background)
- Payment for biometrics (I paid online) - CAD85
- Payment for visa fee (I paid online) - CAD100
*You can include other documents which you think can help strengthen your application such as land titles, car ownership, enrollment forms, and others. You actually don't have to submit all of these documents, you can just submit some of them according to the category the site asks you to upload them in. However, you need to make a strong case to get your application approved that's why you should submit all the documents you may need.
*There's a Schedule 1 form which I didn't have to submit. You'll know if you have to submit this when you go through the process of uploading your documents.
*You'll be able to send your electronic signature after submitting your application.
*The payment tabs for both the biometrics and visa will appear after uploading your documents.
Upload Documents
In your account, the documents you need to submit have separate sections where you can upload them. I grouped the documents according to the category I thought they should be in.
- Forms IMM 5645 and IMM 5257, a digital copy of your passport, photo, and letter of explanation (cover letter) each have their own tabs where you can upload them.
- For travel history, I took photos of the visas in my old passports and my current one. I put the image files in a word document and saved it as a PDF file.
- For purpose of travel, I grouped my itinerary, flight reservation, and accommodation reservations in one PDF file.
- For proof of means of financial support, I included my BIR 2316, payslips, bank certification, bank statements, and certificate of employment in one PDF file.
Important Reminders
- You can only upload one file per tab. You have to put all the docs in ONE file. For example, for all the documents you need for proof of means of financial support, you need to include them in one file before you upload them.
- File size shouldn't exceed 4MB.
- You won't see the submit and continue buttons if you don't upload all the required documents.
- You can only upload the following document types: doc, docx, PDF, JPG, PNG, and TIFF.
Submitting Your Biometrics
The biometrics requirement is relatively new. It was already required the first time I applied in 2019. If I'm not mistaken, it wasn't required for applications before December 31, 2018.
- Schedule an appointment to submit your biometrics. You can check out Canada's VFS Global page: https://visa.vfsglobal.com/phl/en/can/
- You'll then receive an email which includes the appointment letter you need to print and bring with you along with your passport and other documents the embassy asks for.
- Arrive early for your biometrics schedule at the Canada Visa Application Center.
Canada Visa Application Centre
VFS Services Phils. Pvt. Inc.
Schedule: 7:00am - 3:00pm
Canada Visa Application Centre
VFS Services Phils. Pvt. Inc.
Schedule: 7:00am - 3:00pm
I went to Makati for my biometrics. The biometrics is valid for 10 years so even if your application was refused, you can apply again without paying for the biometrics (if it's still valid).
Waiting Game
After submitting the requirements and paying the fees, all you have to do is wait. Waiting times vary from weeks to months. This application was already my second time and it took around four months to get a favorable response. I was refused a visa the first time I applied. They said my ties to my country of residence are weak (this is simplifying their explanation). The embassy will send you an email whether they refuse to grant you a visa or give you one.
For Approved Visas
Once you get a passport request, print out the email the embassy sent and bring it with you (along with your passport). When I got the request, I immediately printed the document and left for VFS Canada in Makati. You don't need to schedule an appointment to submit your passport. You'll have to fill out some forms and get a number. Wait to be called and then submit the letter, forms, and your passport. I decided to have my passport delivered to me rather than return to the center. There are additional fees you need to pay for, you can check them here: https://visa.vfsglobal.com/phl/en/can/additional-services
You also have the option to mail your passport if you can't go to the VFS centers. However, I found this process more tedious so I decided to just go to the center instead. The visa I got was valid until the end of the validity of my passport, which I think is usually the case.
It only took a few days before I got my passport with a Canada tourist visa.

