What we’ll cover…
- Advantages of fitting a new radiator
- Enhancing heating efficiency
- The replacement of old or faulty radiators
- Introducing supplemental heat sources to colder rooms
- How to calculate the required BTU output for specific rooms
- The importance of understanding BTUs
- Usage of online BTU calculators
- How to factor in insulation and room dimensions
- Selecting the right type of radiator
- Central heating radiators
- Electric radiators
- Dual fuel radiators
- Required materials and tools for installation
- Spanners, screwdrivers, PTFE tape, etc.
- Radiator valves and accessories
- Step-by-step installation guide
- Preparing the wall and the radiator
- Marking out bracket positions and drilling holes
- Pipework and valve connections
- How to bleed the radiator
- Existing heating system considerations
- Boiler capacity checks
- Creating connections and pipework extensions
- Safety measures and instances where professional help is required
- Troubleshooting tips for typical installation issues
- New radiator maintenance and upkeep tips
A guide to installing a radiator
Sometimes installing a new radiator might mean that you have to adjust the pipework before fitting.
Of course, you could always call the professionals and get them to do it, but where’s the fun in that?
If you are the kind of person who likes things done their own way then this How-to guide is perfect for you.
Follow the simple instructions below or watch the video to learn how to install a radiator and adjust the pipework and leave your home feeling warm and cosy.
Step 1 – Dressing the radiator
Before you can start installing your new radiator you will have to dress it to make sure it’s ready to go.
So first thing’s first – take your radiator valve and apply PTFE tape to the tail of the valve.
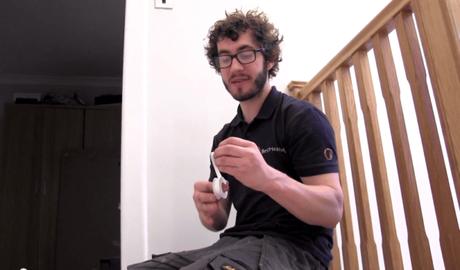
Wrap it around clockwise about 15-20 times (we say 17 in the video!).
Do this for both valves, creating a watertight seal, and remove the radiator bung.
Step 2 – Attach the air vents
Screw in the air vents, being careful not to over-tighten too much – you don’t want to damage the O-ring.
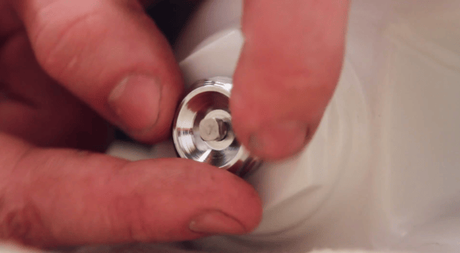
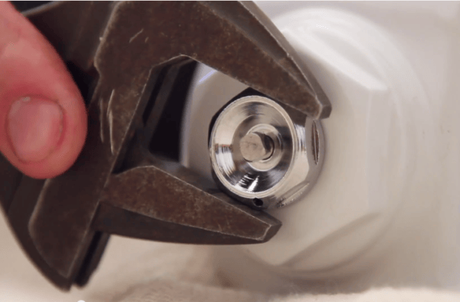
Step 3 – Connect the radiator tail
Wind in the rad tails with your adjustable spanner until there is just one thread showing.
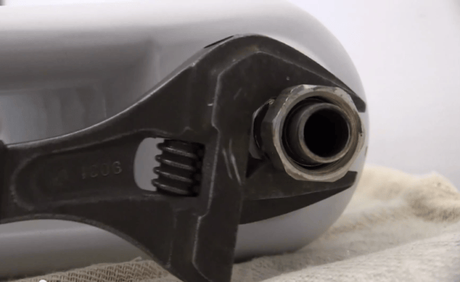
Your radiator is now ready to be installed.
How do I get the radiator on my wall?
Once your radiator is dressed, before installing it on your wall, you need to work out the centre-point of where you would like your radiator to be positioned.
Follow the steps below to complete this task.
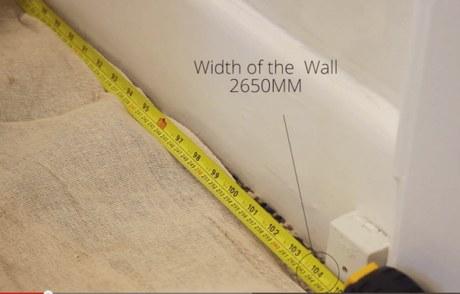
Step 1 – Measure the width of your wall
Measure the width of the wall using your measuring tape.
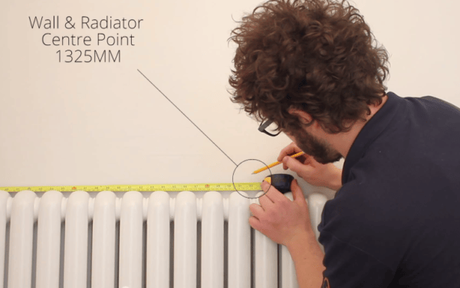
Step 2 – Measure & mark your center line
Mark where the center of the radiator will be at the center of the wall.
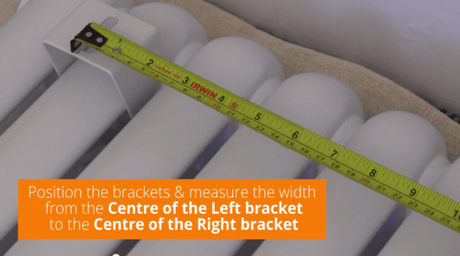
Step 3 – Find the center of the brackets
When you have marked your centre-point, you will then have to measure the center between the left and right brackets.
It is best to do this with the radiator led flat on its back.
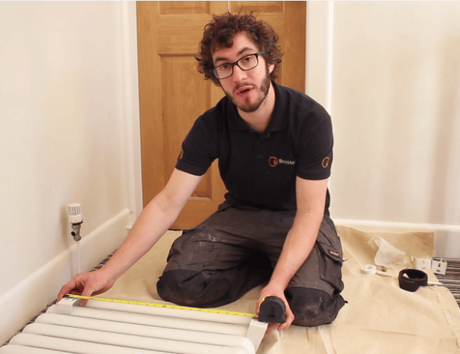
Step 4 – Measure between the brackets
When you have measured the centre, you will need to work out the height of your radiator.
You can do this by measuring from the top of the top bracket to the top of the bottom bracket. Again, it is best to do this with the radiator flat on its back.
Step 5 – Measure to the center of the bottom bracket
The next step is to measure the height of the bottom brackets on the wall.
To do this, take a measurement from the floor to the center of the valve outlet.
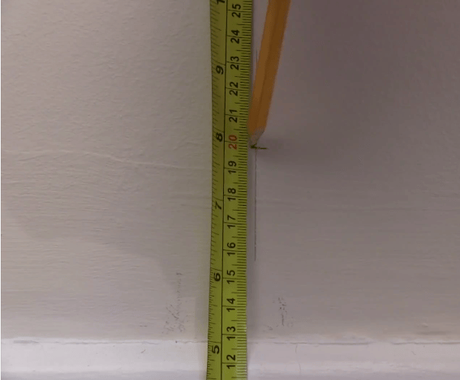
Step 6 – Measure between the brackets
Once you have the centre-point marked on the wall, you will have to measure the distance between the centre-point and the left and right brackets.
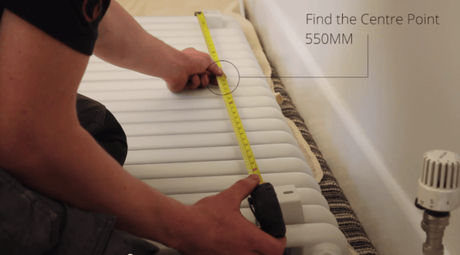
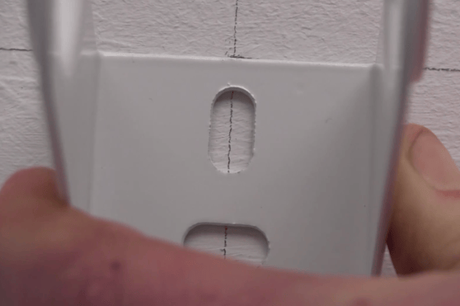
Step 7 – Mark bracket positions on the wall
Using your earlier measurements, mark the top and bottom brackets on the wall.
Step 8 – Drill the wall
Take your hammer drill – with 7mm masonry bit – and drill and plug the wall.
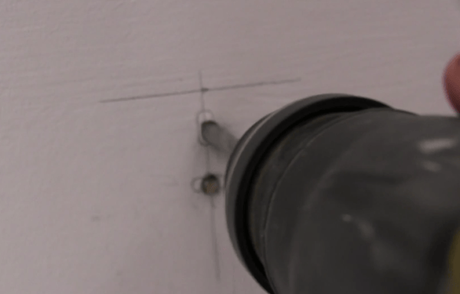
Step 9 – Plug the wall
Be sure to hammer the plugs into the wall before screwing.
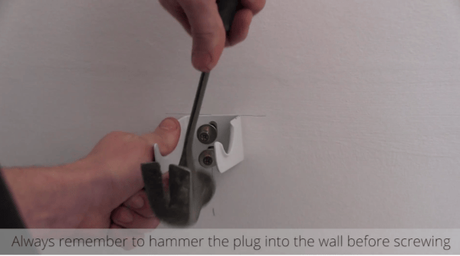
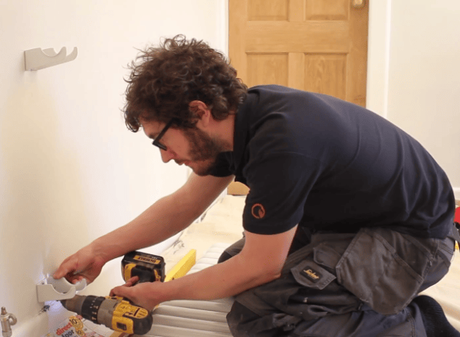
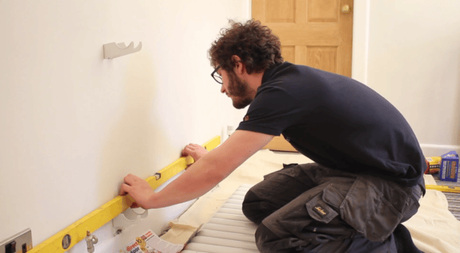
Step 10 – Screw in the brackets & level check
Once you have all of the brackets screwed in, check that they are level and you are then ready to hang your radiator.
What if I need to alter the pipework?
The first thing to do is to ensure that you have drained down your heating system.
To learn how to do this, visit our guide on how to drain a pressurised heating system.
Once you are sure this is done, follow the next steps.
How to alter your radiator pipework
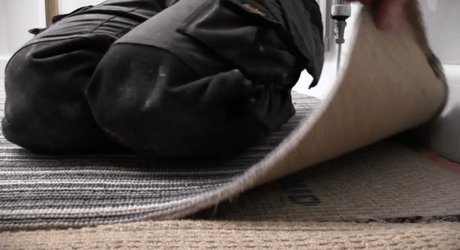
Step 1 – Pull back your carpet
Lift up your carpet beneath the radiator you are working with.
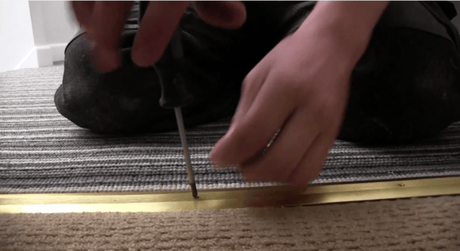
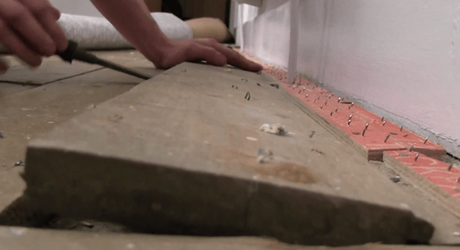
Step 2 – Reveal the pipework
Carefully lift up the floorboards and uncover the pipework.
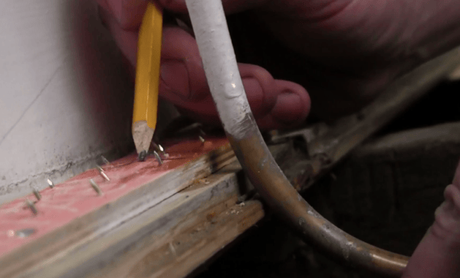
Step 3 – Mark where changes are required
Once you have uncovered your pipes, it’s time to mark your floor.
Step 4 – Be sure you measure correctly
To be sure that you are marking and cutting the floor in the correct area, attach the valve to the radiator before you take the measurements.
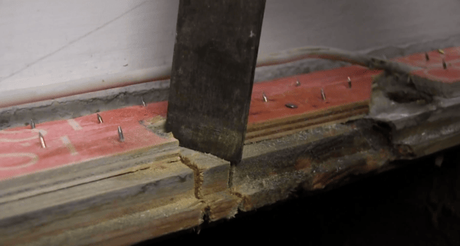
Step 5 – Make the cut
Cut the floor and then attach the valve to the radiator and bend the pipes in line. (if your pipe is larger than 10mm, you will have to use joining elbows.)
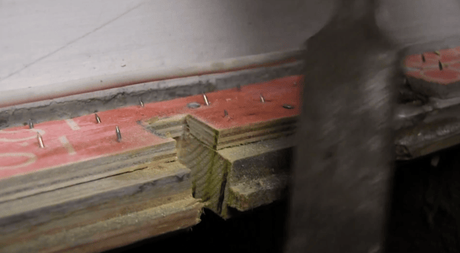
Step 6 – Clean & measure
Clean your pipes with wire wool and then measure the gap between the pipes.
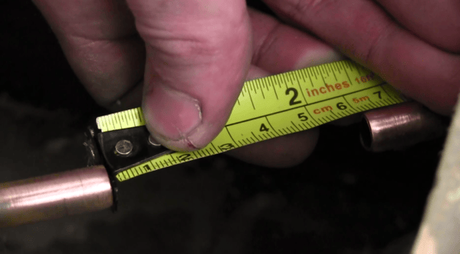
Step 7 – Measure & cut
Measure and cut the joining piece and clean it with wire wool.
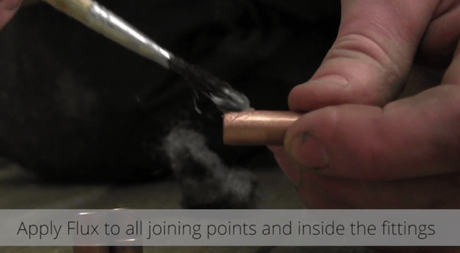
Step 8 – Apply flux to pipework
Apply a small amount of flux to all the joining points and inside the fittings and connect the pipes together, ensuring that they are fully inserted.
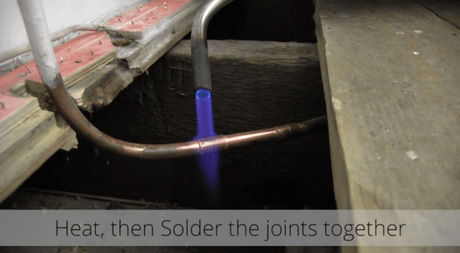
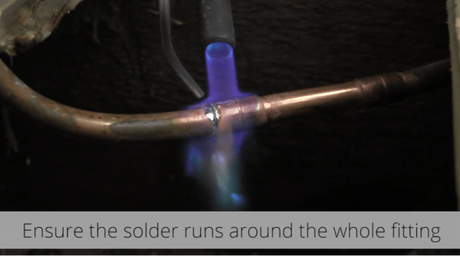
Step 9 – Begin to solder pipework
You are now ready to solder. Using a blowtorch, heat the join until it is hot enough for the solder to melt.
When applying the solder you must ensure that it runs around the whole fitting. Allow the solder to set and then using a wet cloth wipe away any flux residue and clean with wire wool.
Step 10 – Fit the valves
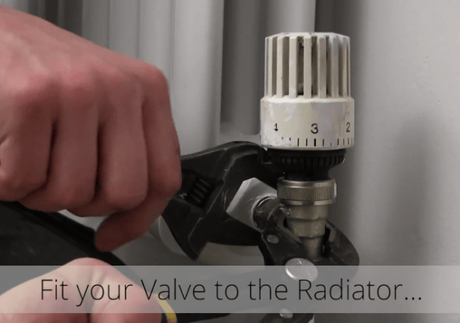
Using your adjustable spanner, affix your valves to the radiator on both sides.
Once you are happy that the radiator and the pipework are sound, fire up your boiler and check that your radiator is warming up.
If it is you can then put your floorboards and carpet back down.
Step 11 – Fix up the carpet
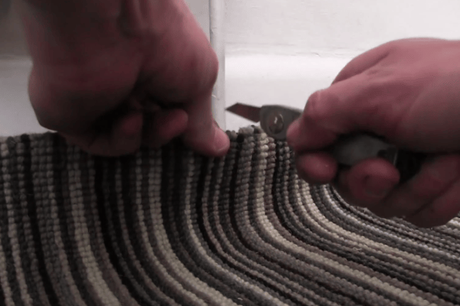
Using a sharp knife, make a small slice in your carpet where your pipework is. And that’s it, you’ve just installed your radiator. Congratulations!
Troubleshooting common radiator installation problems
A few common ‘teething’ problems can occur after the initial installation of radiators, so these troubleshooting tips might come in handy to alleviate your heating woes.
In the case of a radiator not heating up fully, trapped air is typically the most common cause. Try to bleed the radiator again to release this air and allow your radiators to properly heat up to their full potential.
Leaking valves can regularly ensue on the back of a radiator fitting as well. Simply tighten the valve to begin with, and if this doesn’t solve the issue, look to replace the seal valve.
And in the case of noisy radiators after installation, a build-up of limescale has often caused the problem. Use a chemical cleaner to get rid of the residue, or consider a system power flush, as aforementioned in this article.
Contact BestHeating for radiator fitting advice
If you’ve got any burning questions or need advice from the experts, be sure to send in your questions.
We may feature them in our next blog post, too. Questions can be sent via the comments section below, Facebook or X.
Please note: Our ‘How-To’ manuals are intended only as a guide to assist you with common home heating tasks. Please do not attempt to undertake this task if any of the instructions are unclear, or if you are in any doubt about what to do. Instead, seek advice from a professional.
Frequently Asked Questions
bHow far should a radiator be from a wall?
A radiator should be positioned 2cm or more away from a wall.
Our wall-mounted designer radiators come supplied complete with wall fixings, which will ensure your radiators are set at least 2cm from the wall once installed.
Share View FAQ Page bWhere should you place radiators?
You should place radiators in the coldest area of the room they are being installed in, where possible.
In most cases, this will be beneath the window or close to the entrance door.
It’s all about heat conduction and convection, which is explained in more detail in our full guide on where to position a radiator.
Share View FAQ Page bWho should install radiators?
In some cases, you might be able to fit new radiators yourself, especially if they are to operate with existing pipework. Our guide on how to fit a radiator can help.
For a professional job, grab a quote from a plumber or a central heating engineer.
Share View FAQ Page bHow far should a socket be from a radiator?
There are no rules or regulations outlining a set distance a socket should be from a radiator.
However, you should consider the impact that the transmitted heat could have on nearby cables, wires and other electrical equipment.
For further radiator fitting tips and advice, consult our how to install a radiator blog. Or, for inspiration surrounding the finest radiator models to select for your home, view our comprehensive radiator buying guide.
Share View FAQ Page bHow far from the floor should a radiator be?
Radiators should typically be mounted so that the foot of the radiator is positioned a minimum of 150mm from the floor – though anywere from around 100mm x 150mm should suffice if your space allows.
The height of nearby floorboards and skirting could influence how high a radiator is fitted, if only for aesthetic reasons, and you may sometimes want it to sit a little higher or lower.
For more radiator fitting help and advice, consult our dedicated blog on how to install a radiator. Or, for initial inspiration regarding the finest heating solutions to add to your home in the first place, visit our comprehensive radiator buying guide.
Share View FAQ Page bHow do you mount a radiator to a wall?
Everything you need to know to complete a successful radiator fitting is covered in our guide on how to install a radiator.
We also have a selection of helpful video guides on YouTube.
Meanwhile, if you would like any inspiration regarding the best types of designer radiators to choose for your home, be sure to consult our comprehensive radiator buying guide.
Share View FAQ Page
