Vertical designer radiators are a great way of introducing modern, stylish, space-saving heating into your home.
In this guide, we’ll show you step by step how to dress and hang a vertical designer radiator efficiently and safely.
But remember, if you’re unsure of any part of this installation process, please do not proceed and consult a qualified professional to get the job done for you.
Before You Hang Your Vertical Radiator
Before you dress and hang your vertical radiator, you will need to drain the heating system.
Visit our guide on how to drain down central heating before you begin.
But first, what does ‘dress a radiator’ actually mean?
‘Dressing’ a radiator is the process of getting it ready for fitting to the wall.
Ready to start dressing and hanging your radiator?
Tools You Will Need
The tools you will need for this job include:
- Drill or impact driver
- Tape measure or meter ruler
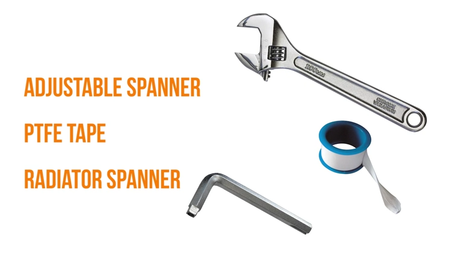
- PTFE tape
- Pencil
- Adjustable spanner
- 10mm spanner or wrench
- Spirit level
- Bleed valve/blank & wall fixing kit (supplied)
With all our radiators, we supply a bleed valve, blank and complete wall fixing kit.
- Insert Blanking and Bleed Plugs
To begin, place the radiator face down and remove the blanking caps from each valve.
Insert the supplied metal blanking cap and bleed valve. Make sure this is at the top of the radiator before you move on.
The bleed valve needs to be at the most convenient access point side of the radiator just in case you need to bleed it in the future.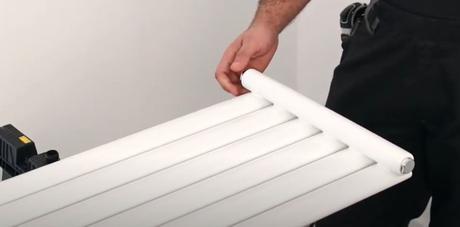
- Wrap The Valve Spigots With PTFE Tape
With any new radiator it is best practice to add new valves.
Remove the spigots from the valves, wrap each one around 17 times with PTFE tape. This will give a great seal to prevent any water leakage.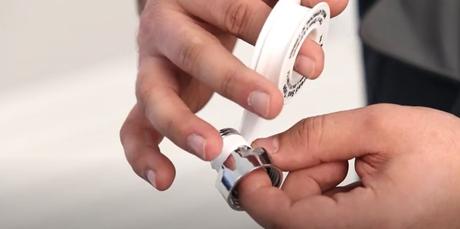
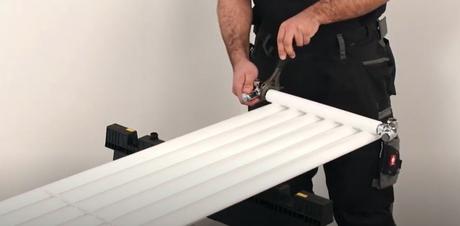
- Insert The Valve Heads
Once the spigots are in place, insert the valve heads and nip them up with an adjustable spanner.
- Measure The Bracket Centres
Place the bottom brackets on the radiator and measure the center of one bracket to the center of the other.
Now position the bracket on the bottom in the same position and note the distance from the bracket center to the top of the bracket.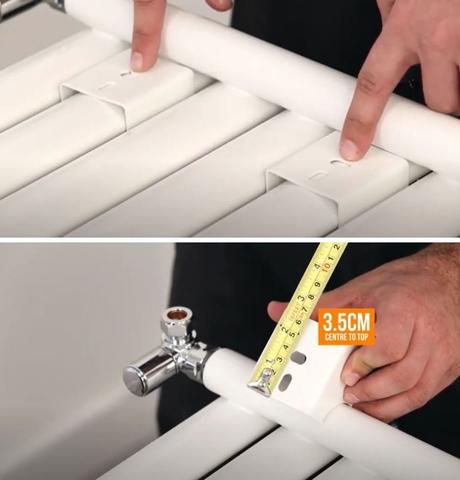
- Find The Radiator Centre
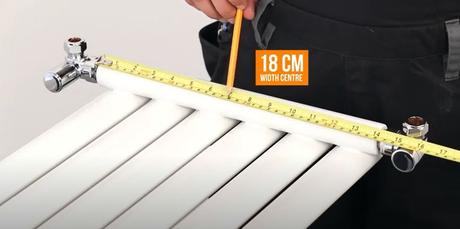
Measure the width of the radiator to find the center point. This will vary depending on the size and model of your vertical radiator.
- Mark The Bottom Radiator Position
On the wall where you are going to place the radiator, measure the height at which you want the bottom center of the radiator to hang.
This could be defined by existing piping, skirting board or even just personal preference.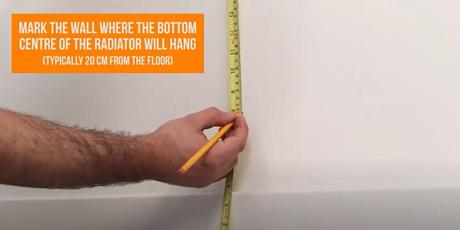
- Mark The Bracket Positions
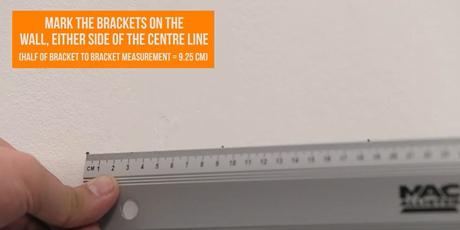
Mark the wall and then mark either side where the top of the bottom brackets will be.
- Mark The Screw Holes
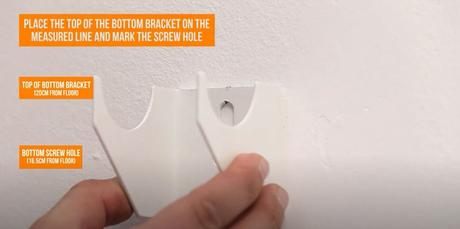
Place the top of the bottom bracket on the measured line and mark the screw hole. Do this for both sides.
- Measure The Radiator
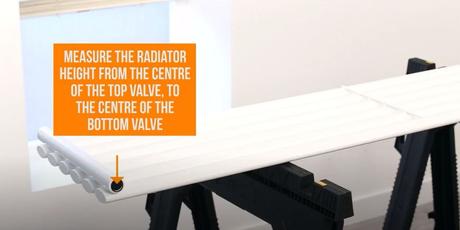
On the radiator, measure the height from the center of the top valve to the center of the bottom valve.
- Mark This On The Wall
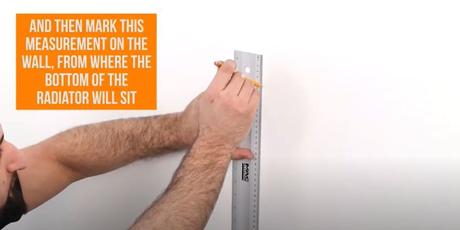
Then mark on the wall from where the bottom center of the radiator will sit.
- Mark The Top Bracket Hole
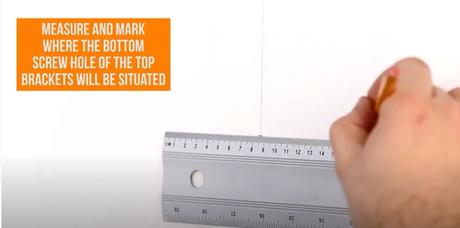
Measure and mark where the bottom screw hole of the top bracket will be situated, ensuring this is parallel to the bottom brackets.
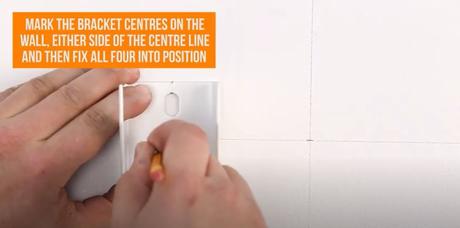
- Mark The Bracket Centres
Mark the bracket centres on the wall either side of the center line.
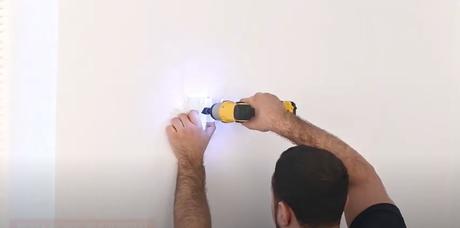
- Fix The Brackets To The Wall
Fix the brackets into position using an impact driver.
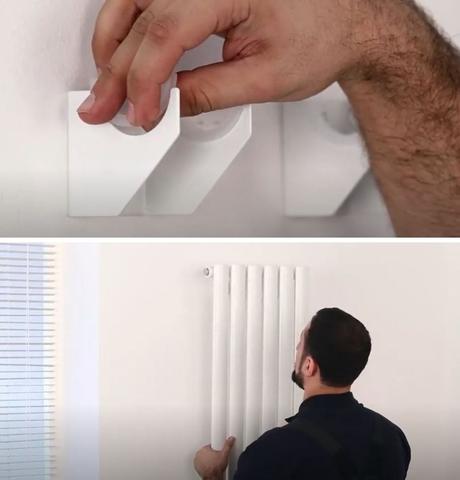
- Hang The Vertical Radiator
Insert the supplied rubber washers into each bracket to prevent vibration and damage and then carefully lift the radiator into position. Radiators are heavy so be extra careful when lifting.
- Connect To The Central Heating
Once the radiator is securely hung to make sure everything is leveled.
You are now ready to connect your radiator to the system.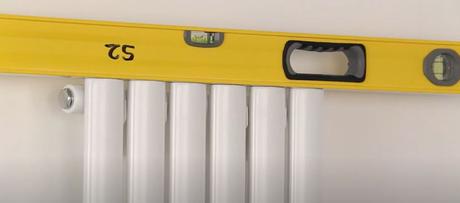
Ready To Install Your Vertical Radiator?
Ready to make a start dressing and hanging your vertical designer radiator? Play our full how-to video to help you as you go!

