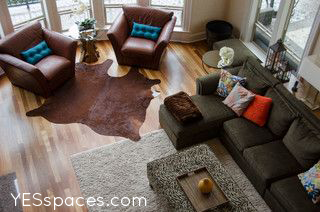
Cowhide rugs are everywhere, in every home decor magazine, filling entire boards on Pinterest, in modern rooms, eclectic rooms, even playrooms.
I used one to layer with a plush area rug in this comfortable, stylish great room.
But what if you don't want a real animal hide in your home? Or what if you don't want to invest at least $200 in a trendy piece?
The Design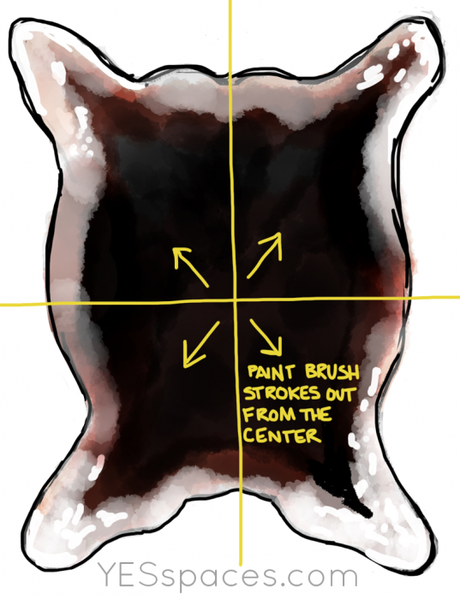
I began this project by looking at lots of natural cowhides for markings and coloring. I flipped through the piles at IKEA and took lots of photos.
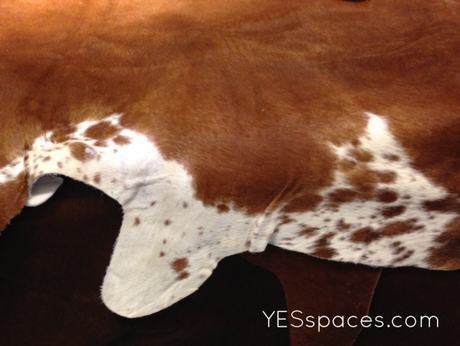
I decided if I used the right painting techniques I could use a large canvas drop cloth. It was never going to be completely realistic but it could be a fun accent piece.
Brush strokes would have to be in the direction of the hairs on the hide and layering and blending various browns would be key.
The Materials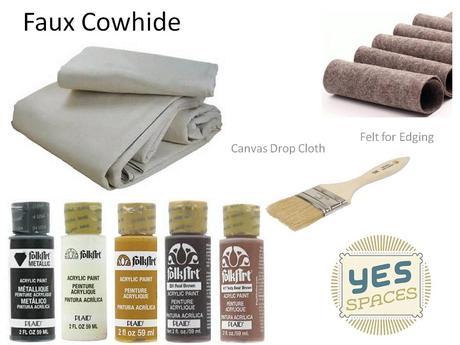
- 1 - 6′ x 8′ canvas drop cloth
- Acrylic paints in black, white and several shades of brown from golden brown to deep chocolate brown
- A bristle brush, foam brushes won't work for the painting techniques
- 1 yard of felt to edge the "hide" and weigh down the canvas, if you are going to put your rug on top of a carpeted floor be sure to use a natural or white felt so it won't dye the carpet
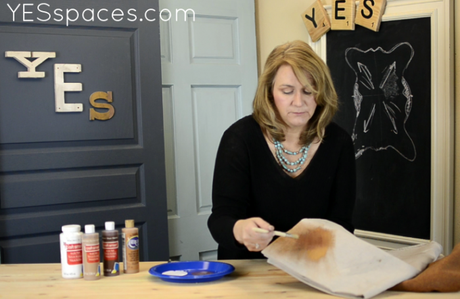
Watch the video first, these instructions are meant to help you remember the order or answer any additional question
- First, draw the outline of your hide onto the canvas. Once you are satisfied cut it out, you can use the pattern of the hide above as an example of your shape
- Pencil in the markings
- Start with the darkest paint in the middle of the "back" and brush lightly out from the center, always keep your brush as dry as possible, wipe it on a paper towel when needed
- I used the lightest golden paint as a pretty solid under layer, except where the white would be
- Then when that was dry I brushed the medium brown over the golden
- When that was dry I brushed the darkest brown over the top of that, if you paint when the layer beneath is wet it will all blend together
- I added white into the markings areas, I pounced the paint in that area, a sharp up and down movement rather an moving the paint around the surface. I also did this for the small spots
- It took a good couple of hours to cover the canvas and it needs a large work area
- The canvas edges do unravel if you don't finish them in some way, you could just turn them under and sew them or cut them with pinking shears but I wanted the weight of a felt edge and the extra color detail
- I cut a three inch strip, as long and continuous as possible, sewing together where they had to be joined
- Then I stitched it all the way around
Watch the video as it has more information about the markings and painting techniques, if you are confused about any part of this process, or comment and I will respond!
The Outcome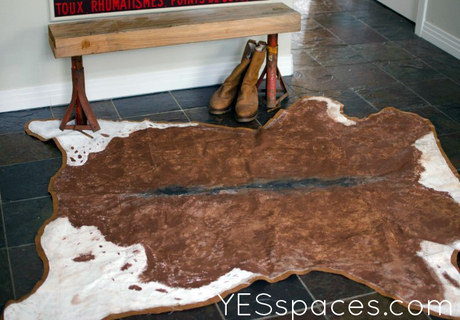
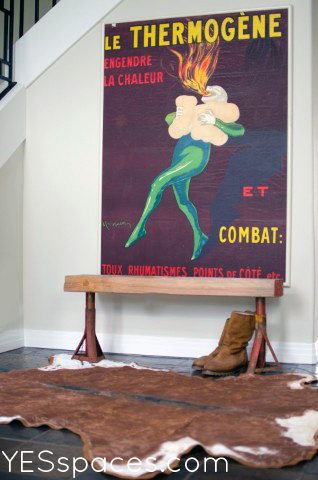
This is a fun touch to mix with industrial or modern. I would love it in a boy's room! I love it with the slate floors in this entry hall. If you're feeling really ambitious what about a zebra? Just thinking....
$16.99 -6′ x 8′ canvas drop cloth
$1.79 - Each for 5 different acrylic paints
$1.99 - Disposable bristle brush
$9.99 - 1 yard of felt
TOTAL: $48.86

We are adding new videos to our YES Spaces DIY page regularly this year until we reach 52! Based on your input we have directions and when needed measurements and plans here for you as well. So be sure to subscribe here and over on YouTube so you don't miss anything!
If you want to dress up your home contact YES Spaces today! I would love to talk to you about your family and your space!
Visit our YES Spaces DIY channel to see videos of other family friendly projects!
Connect with us on Facebook for the "How To" behind some of today's most popular design ideas!
View our Pinterest Boards for my curated design inspiration!

