Flash drives. They are everywhere. One of the main reasons for their popularity is that they are so convenient in day to day usage!
With that being said, most of us are fairly basic users when it comes to USB thumb drive usage.
We use it to copy and move data from one computer to another. However, there is more than one usage for the humble USB drive. One of them is to make a bootable USB out of it.
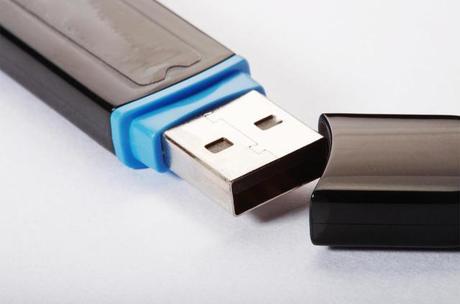
“Woah woah, now hold on there! Why would I do that?”, I hear you ask. Well, a bootable USB provides a few advantages and below are a few typical use case scenarios where a bootable USB drive makes more sense than a CD/DVD.
DVD vs USB as Installation Media
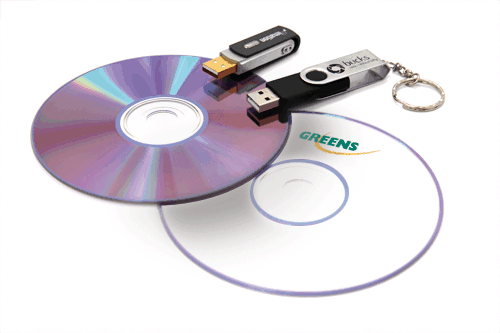
- USB drives are faster than standard DVD drives and hence can significantly speed up the installation procedure and write times to the hard drive.
- DVD drives are prone to get scratched that may lead to loss of data. Also, they’re easier to misplace and a major hindrance if you’ve to carry multiple around just to install different OS’s.
- Some new computers such as Ultrabooks do not come with DVD drives. As a result, the bootable USB becomes the only option!
- Reusability of the USB thumb drive is far greater than standard DVD as you can reformat your bootable USB and then use it as a normal USB drive again once the process of installation is over!
Now I hope you’d see the merits of going for a USB drive over a standard DVD as your medium of choice when installing an OS. Now let’s get started with the process, shall we?
Pre Requisites
- 8 GB Pen drive.
- A working computer and an internet connection.
- You will also need Admin privileges on the computer.
- An ISO file of the operating system that has to be made into a bootable disc.
- The flash storage needs to be formatted before loading the operating system into it, so if you have any files you’d like to keep that are in this Flash drive then be sure to back them up before you begin with the process!
That’s all you need except for a spattering of common sense which I’m sure you’d have!
Creating a bootable USB in Windows
Skip step 1-5 if you already have an ISO file!
Step 1
Download ImgBurn from this link.
Step 2
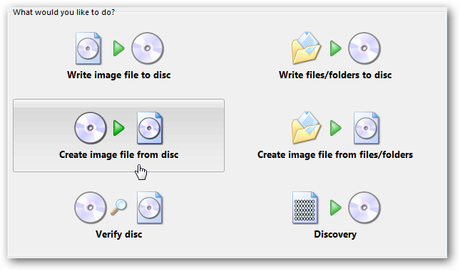
Install it and start it up. Click on the create image file from disc.
Step 3
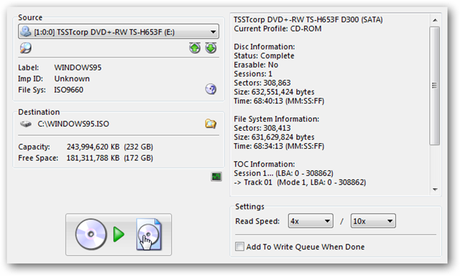
Now we select where the source is, in most cases the DVD drive and also the destination folder. This where the created ISO which we will need in the later stages will be saved. Finally, you can edit the read speed but as this will not be used in a CD/DVD writer, you can let the default values stay.
Step 4
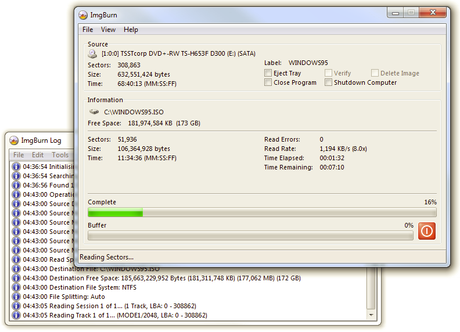
Now the software starts doing its magic and you can see as the progress bar fills up. you can also tick one of the boxes to specify what the program will do once it’s finished conversion.
Step 5
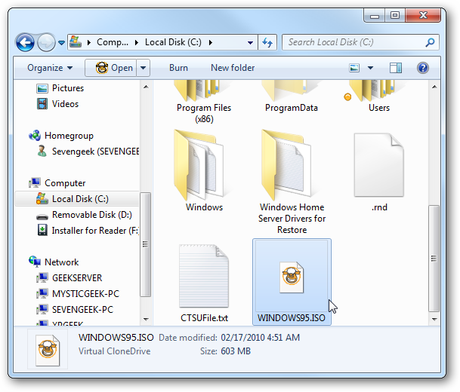
Navigate to the destination folder and you will be able to see your ISO file and you can use it in the next step.
Step 6
Now while there are manual ways to create a bootable USB drive, using software like Rufus is much easier and time-saving.
However, if you guys wish to see the command prompt (geeky version!) of this procedure, leave a comment down below and we will be sure to make an article on it!
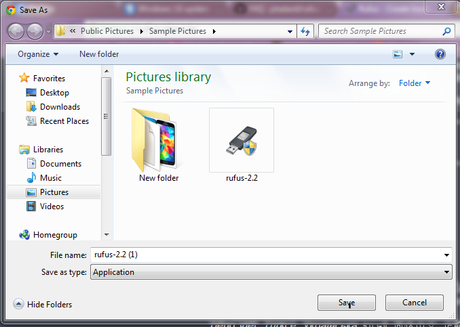
You can download Rufus directly from the original creator’s website. Click here to download Rufus. Once downloaded, you can run it directly – no installation is required.
Step 7
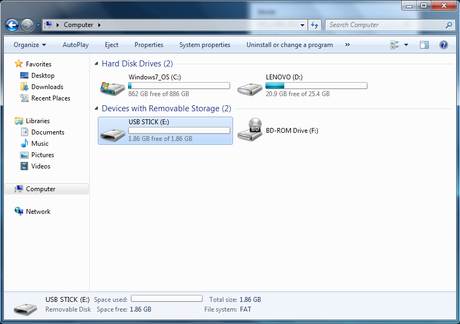
Insert the USB flash drive that you wish to make a bootable ISO of. Make a backup of it if it has any files that you wish to save!
Step 8
Now in this step, the key thing is to check and double check that under device you have selected the USB drive that you want to be made into a bootable disc. Be very careful as choosing the wrong drive will have its content deleted permanently.
Next thing to check is the partition scheme. Now not all Motherboards are UEFI. OS depending on your motherboard and the type of OS you want to be installing, choose between UEFI or the more standard BIOS.
Step 9
Ensure that the Create a bootable disk using: option is checked, otherwise your laptop or PC won’t be able to boot from the USB drive.
Step 10
Hit Start and let the magic happen! You’ll see that Rufus is quite fast and with most discs should be done in under 20 minutes. The speed will, of course, vary according to your PC hardware so please be patient!
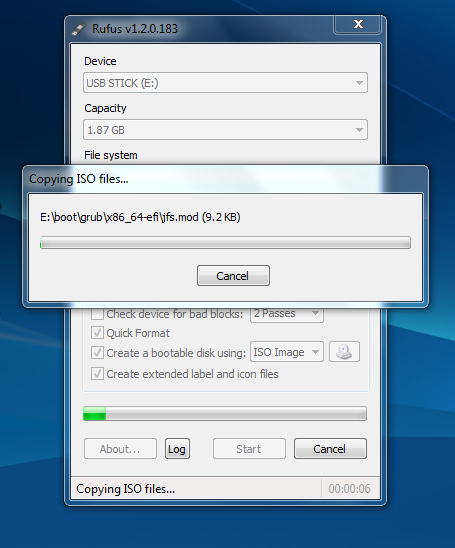
Step 11
Once you’re done, just eject the USB drive from your computer. Congratulations!
You now have your very own USB bootable drive! To use this drive reboot or power up the computer and it should boot from the drive. If not, enter the BIOS and ensure that the primary boot device is set as the ‘USB drive.’
That brings us to the end of this article which is the second in the series of how to make bootable USB drives in different Os’es.
If you wish to check out the Mac OS X version of this article you can check it out here! Leave all your questions or comments down below and I’ll see you in the next one!

