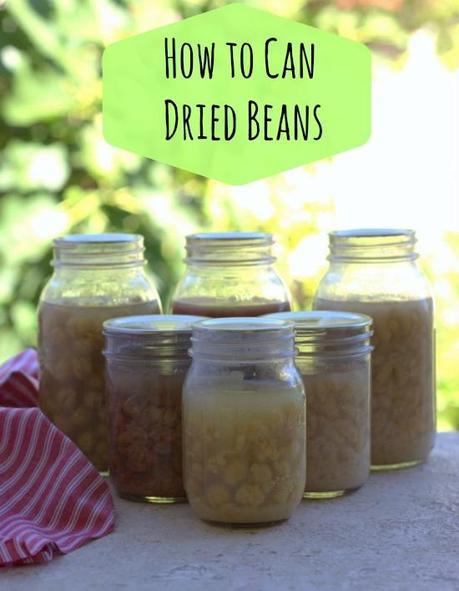
My life motto is “You learn something new every day.” I am very much a visual learner, and have developed a very long list of things I want to try ‘one day’. The Our Growing Edge blog hop, a monthly event that encourages bloggers to try new food related challenges, is the perfect opportunity for me to start ticking things off this list. As a result, this month I have been learning how to can dried beans.
Many years ago Mr Grumpy gave me a pressure canner for Christmas. Whilst I appreciated the pressure cooker, I never thought I would use the canning feature as I had other preferred bottling methods. Never say never, though, and it only took a recent post on Instagram to finally push me into action.
Why?
I know you are thinking ‘why bother?’. Canned beans are cheap. There are a few reasons, not least of which is the immense satisfaction I get knowing I did it myself. By using glass jars, I no longer have to search for BPA free tins, which are difficult to find and always more expensive. By reusing the glass jars I reduce waste from our home.
Prior to canning my beans, I had been cooking large batches and freezing them. Canning also frees up freezer space and means that I have beans ready to go rather than waiting for them to defrost.
The Equipment
You need a pressure canner to can beans. Beans are a low acid food, and there is the risk of botulism contamination if jars are not processed correctly (See Processing Your Jars further down for more information). Check the manufacturer’s manual to determine whether your cooker is rated for pressure canning. I own and use a Fagor Duo 10-quart Pressure Cooker.
I’ve used mason jars, however Marissa at Food In Jars has also had success with Weck jars. Regular mouth quarts, and regular and wide mouth pints were all tested.
I would love to advocate the use of organic beans, in Australia many organic beans are imported and subsequently heat treated for quarantine purposes. These heat treated beans take forever to soften (if ever), so I use conventional beans instead. If you have access to a reliable source of organic beans, use them.
A jam funnel is useful for filling jars, but not absolutely necessary.
To Soak or Not to Soak?
Soak your beans. Beans contain long chain sugars called oligosaccharides, which many people find difficult to digest. These sugars pass through the stomach and into the gut, where they ferment. It is this process that has earned beans the reputation of ‘the musical fruit’. Soaking leaches some of the sugars out of the beans, making them easier to digest.
I always soak my beans overnight, with a teaspoon of yoghurt or whey added to the soaking water. Cover dry beans with at least three times their depth in water. When you are ready to cook, discard the soaking water and rinse the beans thoroughly before proceeding.
Filling the Jars
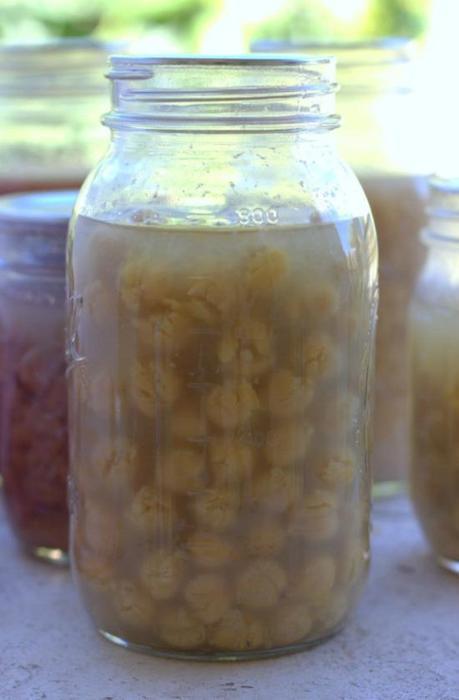
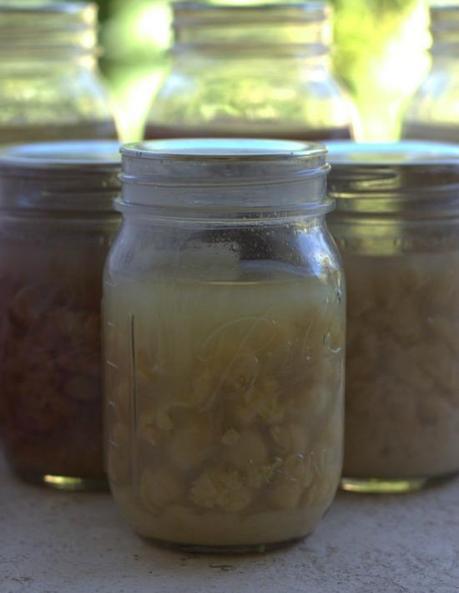
This was the interesting bit. I played around with the amount of beans I added to the jars, with differing results. Too many beans and the water siphoned off during processing, leaving the beans high & dry in the jar. Filling the jars about 1/3 full of beans produced good results, with plenty of liquid left in the jar after processing. I always try to push things though, so found that jars can be filled to just under 1/2 full with beans and good results can still be achieved.
Beans continued to absorb liquid and leach starch once cooked, so the jars that contained more beans to start with now appear to be cemented in starchy liquid. This will just need to be rinsed off before use.
I added a small piece of kombu to each jar. Kombu is a sea vegetable, commonly used for making dashi stock, but when added to a pot of beans it helps soften them and makes them more digestible. The kombu cooks during processing, and I just stir it into whatever meal I am making for added nutrition.
Once the beans are added to the jars, top with boiling water. In quart jars I filled to the 800ml line, in regular mouth pints to the shoulder of the jar and in widemouth pints to the ‘freeze here’ line. I filled the jars just before I put them into the canner as I wanted the water to be as hot as possible. Add the lids and rings, and the jars are ready for processing.
Processing the Jars
First a word on botulism. Botulism is a rare but potentially fatal illness caused by the bacteria Clostridium botulinium. This bacteria thrives in low oxygen, low acid environments such as that within a can of beans. Care must be taken to process low acids foods properly in order to destroy the bacterial spores.
C. botulinium bacteria and toxins can be readily killed by boiling foods for at least 10 minutes. However the spores, which can further infect your food once processed, are only killed by heating to extreme temperatures of 120C or more for a period of at least 30 minutes. A pressure canner is essential for this task as normal canning techniques can not achieve high enough temperatures to kill the bacterial spores. Don’t let this put you off. As long as you follow correct canning techniques, your finished jars will be perfectly safe.
Many people process their beans for long periods of time, which I was reluctant to do as I didn’t want jars of mush. In the end I followed the timings used by Home Joys, which are 40 minutes for pint jars and 50 minutes for quarts. I am comfortable the jars were processed long enough to kill C. botulinium spores. If you are not comfortable with these timings, I suggest you follow those recommended in the Blue Ball Preserving Book of 75 minutes for pints and 90 minutes for quarts.
I followed the instructions given in my manufacturer’s manual and canned the jars at high pressure (15 psi). I recommend you refer to the manual for your model as my research indicates each model is rated differently.
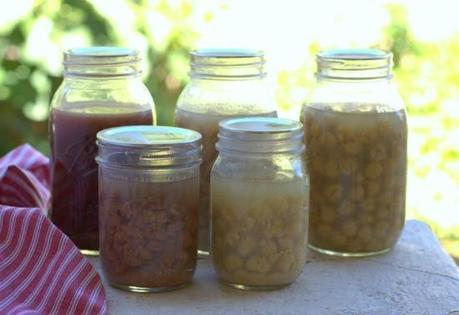
At the end of the processing time, drop the pressure using the natural release method. Lift the jars onto a cutting board and allow them to sit undisturbed for 24 hours. Some of the jars continued to bubble for hours after processing, so this lengthened cooling time allows the jars to properly seal.
Once cooled, remove the rings from the jars, label and store the jars for up to 12 months.
Final Thoughts
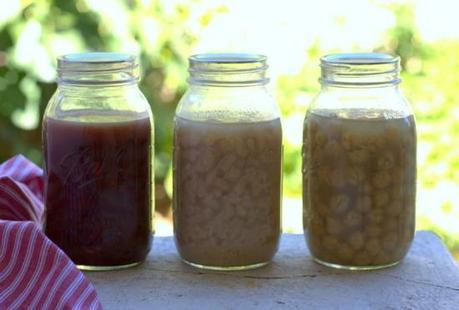
I’m hooked. It was really satisfying to finally take the plunge and try canning my own beans. I can easily grab a jar off the shelf, and know I can replenish my supplies without a trip to the shops. To date I have had great success with chickpeas, and pinto, red kidney and cannellini beans. Borlotti and black beans are next on the list, and I am looking forward to trying flavoured beans. Stay tuned for this project.

I am linking this post up to the Our Growing Edge blog hop created by Bunny Eats Design, which inspires bloggers to try new foodie related things. This month’s host is Linda from The Orange Bee. If you would like to join in you can do so here.
You may also like these posts


