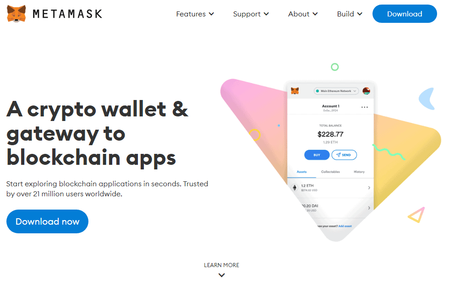
Adding an NFT to Metamask is a simple process that can be completed in just a few steps. By following the instructions below, you'll be able to add your favorite NFTs to your Metamask wallet in no time.
With Metamask, you can easily manage your tokens and collectibles all in one place. So start adding those NFTs today.
Metamask is a popular Ethereum wallet that allows you to store, send, and receive ether. It also allows you to interact with decentralized applications (dapps).
In this article, we will show you how to add nft to metamask?
How To Add NFT To Metamask? 2022
What is Metamask?

Metamask is a very interesting browser extension that allows you to interact with the outside world without leaving your blockchain wallet. You can buy and sell NFTs directly from this interface, or enjoy other features such as offline wallets for when no connection exists whatsoever.
With it, users can buy and sell crypto in much the same way they might shop online or use any other web services except all transactions are conducted within Ethereum's virtual world.
Add NFT through Mobile App
- Adding NFTs to your mobile wallet is a simple process. You just need to install the mobile application on your device and then follow a few simple steps.
- First, click on the three horizontal lines present on the top left corner of the wallet app. This will display several options such as Browser, Wallet, and Transaction History.
- From this dialogue box, click on the option of Wallet. From here, you need to select the NFTs. This is where your NFTs are shown typically.
- Next, to add NFT to the Wallet, there is an option of Import NFTs right at the bottom of the screen. You need to scroll down to access it.
- Click on Import NFTs. Here, it asks you to add the NFT address in addition to the ID.
- Enter the information and click on Add. The NFT will be added to your mobile wallet and you can now use it for transactions.
- It is important to note that not all wallets support NFTs. Make sure to check the compatibility of your wallet before trying to add NFTs. If your wallet does not support NFTs, you may need to switch to a new one that does.
Add NFT from Browser Extention
- One way to add NFTs to your MetaMask account is by using the browser extension. This extension allows you to manage your tokens, as well as interact with dApps on the Ethereum network.
- To add NFTs to your account, you first need to install the extension. Then, open the extension and click on the "NFTs" tab. Here, you can see a list of all the NFTs that are stored in your account.
- To add an NFT, click on the "Add Token" button. This will open a new window where you can enter the details of the token.
- In the "Token Contract Address" field, enter the address of the token contract. This is the address that you obtained when you created the token.
- In the "Token Symbol" field, enter the symbol of the token. This is usually a short string of letters and numbers.
- In the "Decimals" field, enter the number of decimals that the token has. This is the number of digits that will be displayed after the decimal point.
- Click on the "Add" button and the token will be added to your account. You can now use it to interact with dApps on the Ethereum network.
- If you want to remove an NFT from your account, click on the "Remove" button next to the token. This will delete the token from your account.
The MetaMask extension is a useful tool for managing your NFTs. With it, you can easily add and remove tokens from your account. You can also use it to interact with dApps on the Ethereum network.
Quick LinksConclusion How To Add NFT To Metamask? 2022
In this article, we walked you through the process of adding NFTs to Metamask. We hope that you found this guide helpful and easy to follow.
