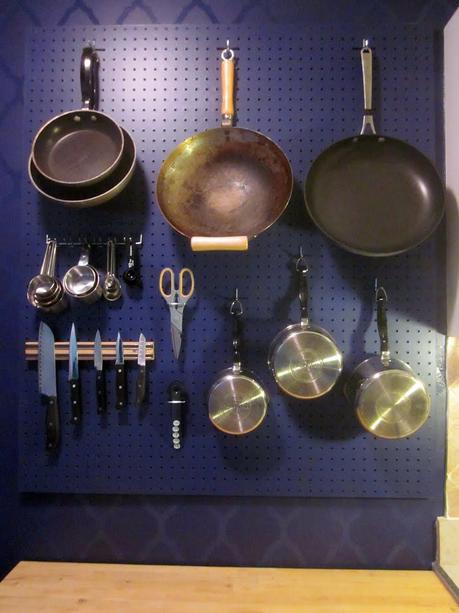
The pegboard - finished!
(I apologize for the weird look of the photos - our camera is on the fritz)
We simply didn't have enough cabinet space to hold all of our pots and pans, and our kitchen only had one very small drawer in it. We purchased a baker's cart, (our's is from Ikea), which definitely helped the situation, but we still needed more storage options if we wanted easy access and organization of our most commonly used kitchen wares. I thought pegboard would be the perfect solution (Julia Child made the idea famous), and figured above the baker's rack would be the perfect spot.
First, I wanted to see how other people had implemented a pegboard into their kitchen so I could get some tips and words of wisdom.
The below proved to be valuable resources:
• Apartment Therapy "How To: Make a Pegboard Wall Organizer"
• DIY Network "How to Install a Pegboard" (gives thorough directions on how to measure, frame, and install the board).
The Price break-down:
• Pegboard: $17.48 (We also had it cut to size - most home improvement stores provide this service
• Framing wood: Scraps leftover from a previous project
• 32 piece assorted pegboard hooks: $3.87
• Tool rack: $2.97 (See where I used it for holding measuring cups)
• Anchors: $1.98
• Screws: $1.18
• Paint: (Leftover high gloss and flat paint (I mixed them to create a finish more durable than flat, but less shiny than gloss) from when I painted the kitchen.
Also note, we did this without a drill, but it is definitely easier to use a drill than drive the screws by hand.
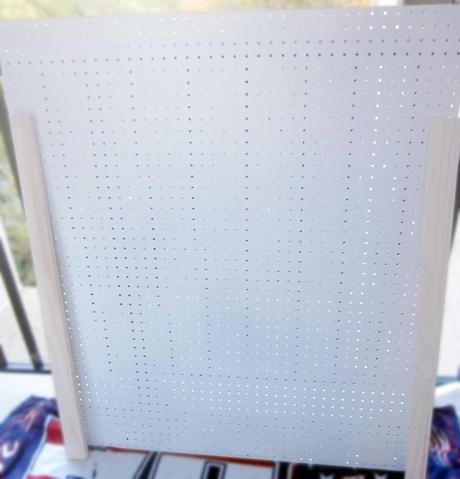 We started out with 2 pieces of wood to "frame" the pegboard, and a piece of white pegboard cut to the desired size. The purpose of putting the "frame" behind the pegboard is to create enough space between the wall and the pegboard to insert the various hooks. I painted the wood and the pegboard with leftover paint from when I painted the kitchen. I wanted the pegboard to blend in with the wall.
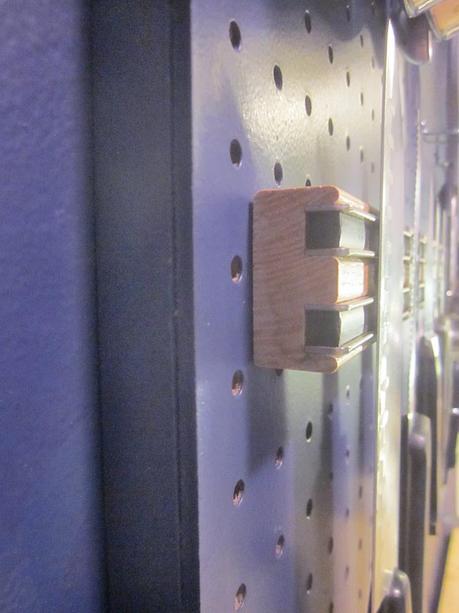 From this side angle you can see how the frame creates enough space between the wall and the pegboard.
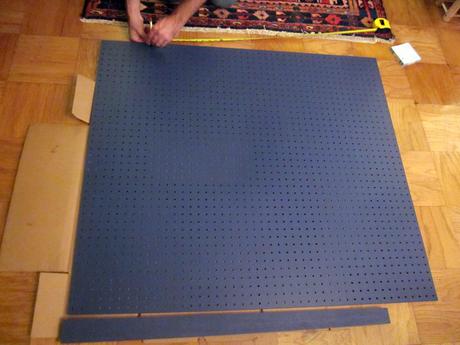 Chris has much more patience with measuring and prep work, and is better with math, so he did the measuring to attach the frame to the pegboard. We chose to attach the frame to the pegboard, than mount it to the wall, but it might be easier to mount the frame to the wall, and then mount the pegboard to the frame.
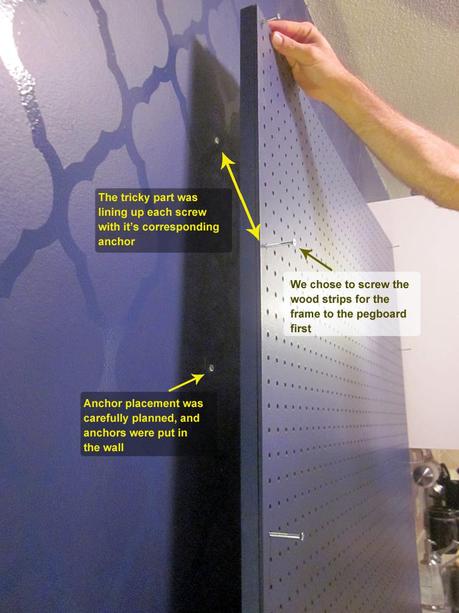 Chris also carefully measured where to put in anchor screws so the screws in the frame would line up.
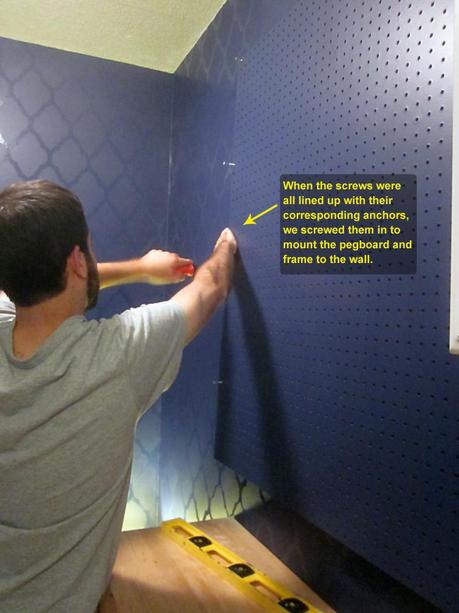 Then tighten the screws into the anchors!
Now comes the fun part - getting to arrange pots, pans, and other utensils on the pegboard!
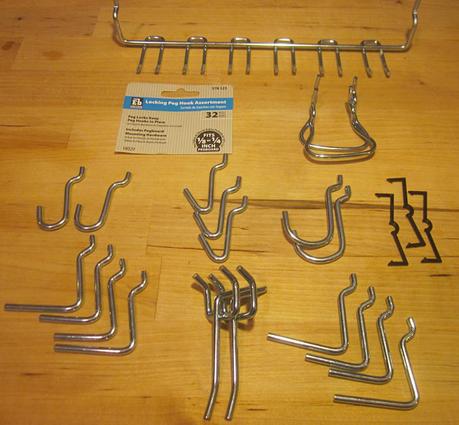 A variety of hooks
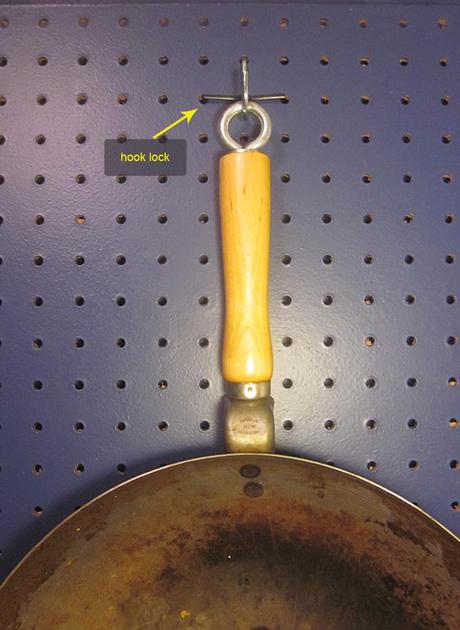 My package of hook assortments also came with hook locks - the black piece you see over the hook, which I didn't know about, but they are great at keeping the hook from falling out when you take a pan down.
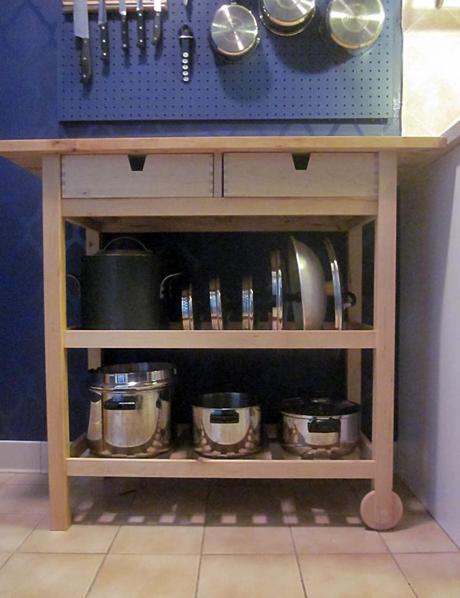 I was lucky that the bottom of our baker's cart's shelves were slatted, and our pot and pan lids fit perfectly in them!
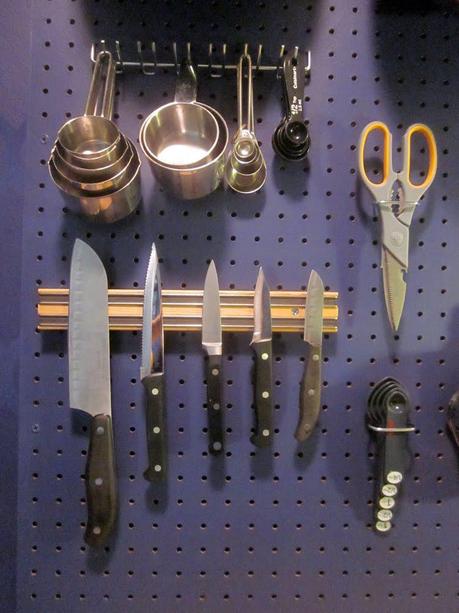 The magnetic knife strip I actually found on the curb in someone's giveaway pile. I simply purchased screws long enough to go through the knife strip, pegboard, height of the frame, and then into the wall - and now have easy access to my knives.
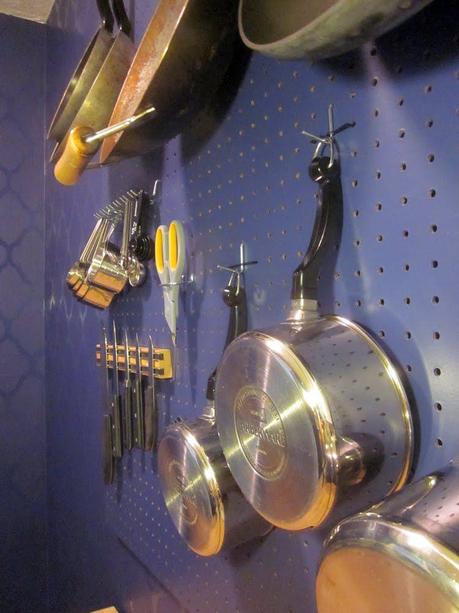 What do you think? Would you ever consider a pegboard organizer in your kitchen? Do you currently have one?


posted on 12 September at 16:15
This is what I want to do when I've finished painting the walls of my kitchen, I think it's a great look and works for a more functional working kitchen. As I didn't want wall cupboards, so along with a few shelves and the pegboard my kitchen will be perfect, thanks for the instructions too x