It's certainly no secret in the blogging world that when it comes to photography, the editing process is most important. While having a good lens and a camera savvy photographer is helpful, what happens post-camera is vital to creating a clean, quality photo. A while back, I was asked by a reader about how I take outfit photos and how I deal with my editing, and so here's the editing portion! If you guys are interested in the actual picture taking aspect, lemme know in a comment. And if you have any special editing methods, feel free to share that in the comments as well. Hope you enjoy! xx
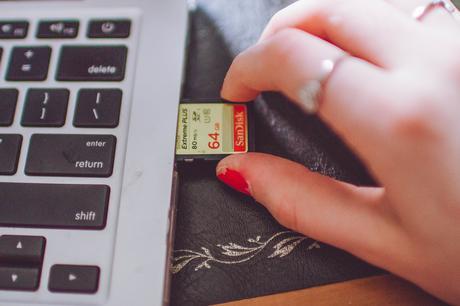
Obviously, the first thing I do once I've taken photos is put them straight onto my computer! Instead of deleting the reject pictures right on my camera, I do the "weeding through" process on my computer so that the data on my sim card doesn't get messed up. I'm not sure the actual technical explanation for that, but just try not to delete right on your DSLR. Something important to note is that I shoot in JPEG + Raw, which means that I have a camera raw and JPEG file for each picture I take. When I was in Prague with Nat Geo, I learned that shooting in Raw makes it A LOT easier to edit things like over exposure and dark shadows. This type of file essentially collects all of the data that could be known to your photo, thereby making it easy to correct the small but annoying details. If you're not really sure what I'm talking about and you're not a huge photography buff, it's totally fine to stick with JPG photos, but shooting in Raw will really help your editing game.
(Here's a link that explains this better than me)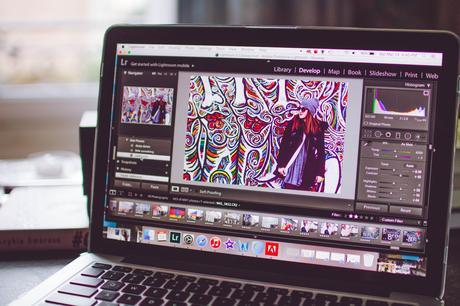
Once I actually have my photos on my computer, I import them into Lightroom, which is a branch off of Photoshop, but wayyyy way better. I used to use Photoshop for blog pictures (and iPhoto before that!), but I found that it made the process a lot more difficult and disorganized. On Photoshop, you can only edit one picture at a time, and once you exit the program, it's hard to go back and make more changes. Before going to Prague, we were required to download Lightroom, and I'm so glad we had to! This program is amazing in the fact that it organizes all of your pictures for you, it has tons of quick editing tools, and it's combines everything about Photoshop into a program that speeds up the otherwise interminable editing process. One thing that I love to do with my pictures besides play with the basic "Develop" adjustments is to use presets. Often, I'm displeased with my pictures, either because a) the lighting wasn't so hot or b) I'm not lookin' so hot either, and presets are sort of like a magic wand. I've been using Julia Trotti's presets for a while now and they're probably the best out! When I had my old laptop, the majority of her presets were free and so I had all of them, but now they aren't and my old computer died, which is unfortunate. But they're definitely worth the investment if you're looking to get some new presets.

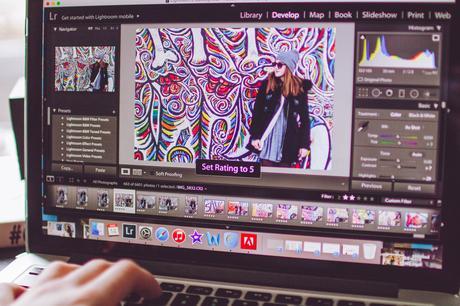
After I've gone through and made all of my desired edits, the exporting process is made super easy by using a "star system". On Lightroom, you have the ability to star pictures or rather "rate" them, so what I do is I rate the pictures I want to keep with a 4 or a 5, and then I filter my pictures by rating. When you get in the habit of doing this, you'll find that getting pictures edited and into a blog post is a lot quicker. You can also use this if you're editing two different sets of pictures, and use a 4 star, for example, for the good pictures for one group and then the 5 star for the other. After I've exported and named my pictures, I just upload to Flickr and I'm good to go!
Hopefully you guys found this helpful and insightful! I think it's always interesting to see people's behind the scenes when it comes to blogging. Hope you have a good day! xoxo Isabelle {FACEBOOK}{TWITTER}{INSTAGRAM}{BLOGLOVIN'}{TUMBLR}
SHARE: Labels: blogging , how i edit , how to edit blog pictures , isabelle nazha , julia trotti , lightroom , lost but not found , presets , spring 2015 , style , SYA , SYA france

