June 2014
Waaaay back when, I happened to be in a Los Angeles Whole Foods admiring the bounty of beverage options in comparison to my Pittsburgh store. Wanting some new, exciting, healthy drink for my flight home (waaaay back before 4 oz/liquid restrictions), I bought my first ever Kombucha. From the West Coast all the way to my steel city, my baby bird sips were barely visible. Though it cost me $4.00 from my precious [ie: nonexistent] student savings, and though the label extolled the health benefits of its probiotics, there was no way in hell I could finish it.
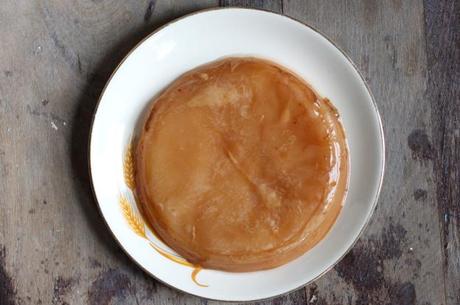
Potentially the most unappealing image on my blog, this is the SCOBY- Symbiotic Culture Of Bacteria and Yeast. This is the basis of the Kombucha making process, and yes, it is slimy and strange.
Time and memory lapsed, and I tried again. I chose a mango flavor, which promised to be more palatable than my first tangy ginger attempt. Forgetting the element of carbonation, I shook the bottle vigorously to disperse the Eraserhead looking “mother” lurking in the liquid. MISTAKE! I ended up wearing half the bottle and lamenting another $4.00 [mostly] wasted.
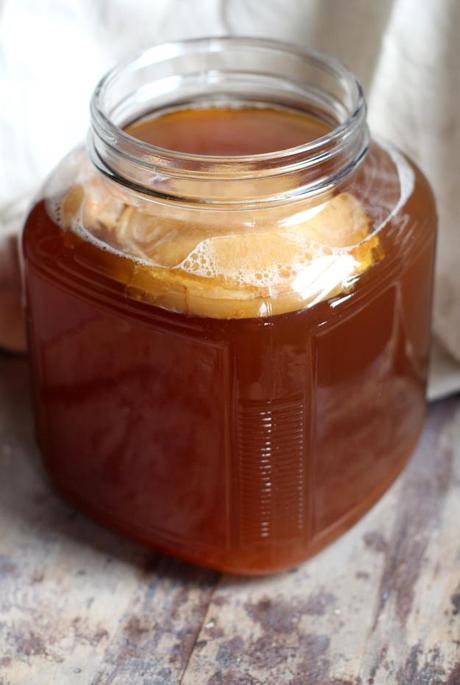
Add the Scoby to a gallon of sweetened black tea and starter tea (from a previous batch of Kombucha), and let the tea ferment for 7-10 days.
Fast forward a year or so, and I made my peace with the mystifying fermented beverage. Beyond peace, I became an apostle of the fizzy, vinegary drink- drank the koolaid so to speak. I bought bottle after bottle, flavor after flavor, all the while thinking to myself- I should really be making this myself. Yet, the idea of a “scoby” and home fermentation prevented me from making the leap for a VERY LONG TIME. Until now! Finally, finally, finally, a friend offered me a “mother,” and I had no excuse. Kombucha is off the bucket list!
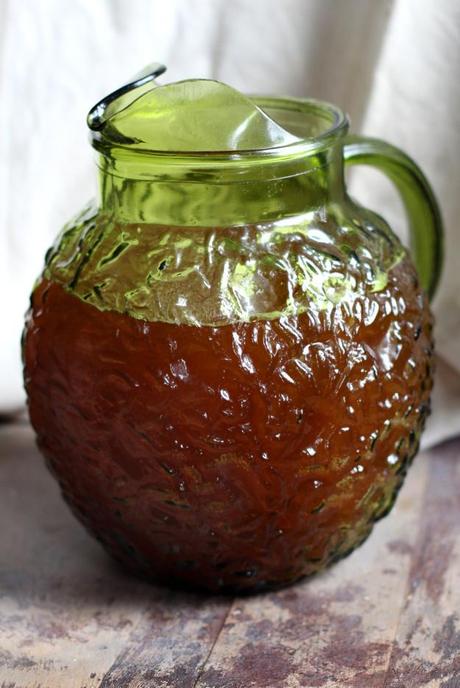
After 7-10 days of fermenting, carefully remove the Scoby with clean hands, and set aside temporarily. Transfer the fermented tea to a pitcher to make pouring and bottling a lot easier.
If you’ve read this far with a puzzled look on your face, fret not. “Mother” and “Scoby” and even the word “Kombucha” all justify a puzzled look or two. They might even justify a look of disgust.
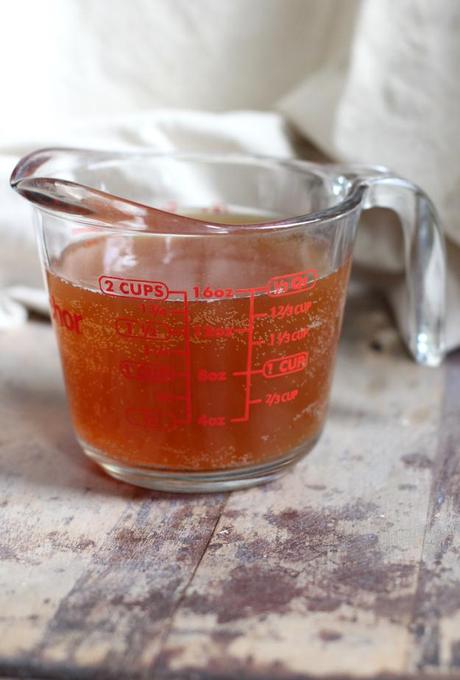
Reserve 2 cups of the fermented tea to use as a starter in the next batch.
Definitively speaking [ie: Wikipedia-ly speaking], Kombucha is a lightly effervescent fermented drink of sweetened black tea. It is produced by fermenting the tea using a symbiotic colony of bacteria and yeast, or “SCOBY”.
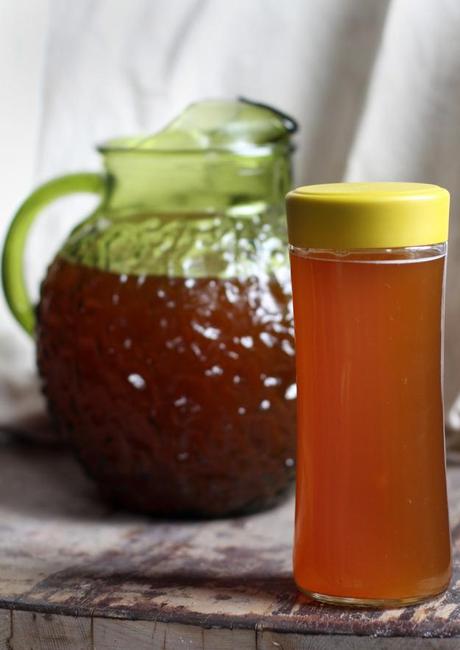
Pour the fermented tea into glass jars, leaving room at the top. Set the bottle tea aside for 1-3 days, in a cool, dark place, to carbonate. At this stage, you can add juice or fruit to add flavor. Once the kombucha is carbonated, it’s ready to drink and enjoy!
With one batch under my belt and another in the works, I’m high-kicking and dancin’ with delight at the possibilities in store: fruits and flavors and ice-cold, fermented beverages on hot days! Wooohoo!
Note: I’ve listed the very condensed instructions in the photo captions, but for a full guide to making your own kombucha, I recommend this guide on The Kitchn.

Feliz Fermenting!
-Quelcy
p.s: This post fits the goals of Our Growing Edge, a monthly blogging event to embrace the part of us that is still learning and experimenting. This monthly event aims to connect and inspire us to try new things. Check out other food bloggers’ experiments and endeavors via this month’s host, My Kitchen of Love.


