From the Online Etymology Dictionary
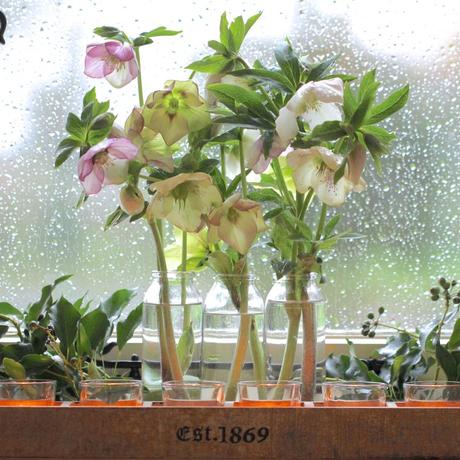
The origin of words is a subject that fascinates me - somehow knowing that a plant name can be traced back through old French, Greek and Latin adds a historical depth to the flowery romance and intrigue. When that flower also happens to arrive in our darkest winter days and continues blooming until the early spring it becomes a subject for obsession, one that is irresistible to this gardener.
I have been gradually adding to my collection of hellebores for eight years now and yet there is always room for more - more knowledge, more books, more plants. Whilst tidying my borders in recent weeks I have been cutting back the old leaves on my hellebores and have found that most of my collection are already forming visible flower buds and some are even in flower. The joy of this discovery and the excitement that I am feeling for the impending winter garden season prompted me to revise my previous posts on hellebores for you today and to remind you to clear away the autumn debris and cut back the leaves on your own hellebores so that you can enjoy the flowers at their best in the dark weeks of winter.
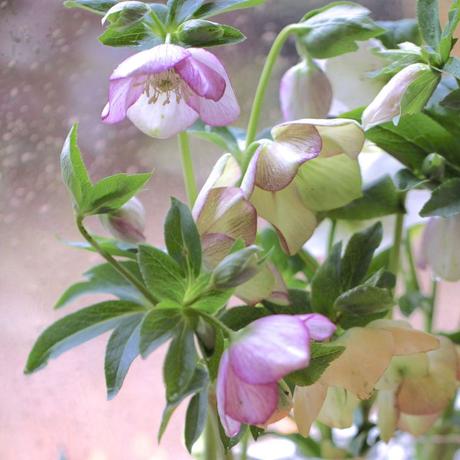
Hellebores are herbaceous perennials that flower in the depths of winter when the garden can otherwise feel a drab and uninspiring place. They are often rather romantically known as the Christmas Rose or the Lenten Rose, both of which are types of hybrid hellebores. The Christmas rose is helleborus niger and has pure white flowers which often arrive before Christmas and throughout January. Helleborus orientalis come in many beautiful shades and flower for a full ten to twelve weeks between January and March - these are the glamorous ladies that are called the Lenten roses.
Rather than dying back in the summer like many spring flowering perennials, hellebores produce handsome leaves after flowering which are at their best during the summer months, although they tend to collapse and become spotted with a fungus known as hellebore leaf spot as winter approaches. In the case of the Lenten Rose it does no harm to the plant to remove these old leaves completely in November and December. The new flower stems will have leaf bracts so the plant will not look 'naked' when in flower. I only cut back the leaves of Helleborus niger, the Christmas Rose, if they are damaged - otherwise the plant looks better with its leaves intact as, unlike the Lenten Rose, the flower stems have no leaf bracts so the plant looks rather bare if the surrounding foliage is removed.
In addition to the hybrid hellebores, species hellebores are also exceptionally beautiful. These wild hellebores include the well known H. odorus and H. foetidus. In the case of the wild hellebores the flowers appear on the leaf stems, so keep well away from the leaves of these plants unless you are happy to lose the flowers. In contrast to the wild hellebores, the hybrid varieties are breed by dedicated nurserymen who cross their favourite strains to produce an increasing variety of colours and shapes. Every season I find new plants to fuel my passion and increase my collection.
When we moved to this house eight years ago I had just discovered hellebores. I was determined to create a garden that could provide flowers every month of the year and hellebores solved a difficulty in the winter months. I live very close to the nursery owned by Roger Harvey, a renowned hellebore specialist and many of my original hellebores were bred by Roger. I am still adding hellebores to the woodland area of my garden every winter and I am looking forward to the day when a winter walk along the woodland path will be filled with these beautiful flowers!
Hellebores prefer to grow in a rich loamy soil which is neither too dry nor waterlogged. They flower best if they can have sunny conditions during their flowering period, but they appreciate a bit of shade during the summer. A woodland edge is ideal as the deciduous canopy offers protection from the summer sun, but allows in the light after the canopy has dropped. Hellebores work well interplanted with snowdrops and spring bulbs, particularly delicate narcissi and fritillaria.
I am also adding ferns, hardy geraniums (particularly the moody g. phaeum) and tiarella plants to my woodland borders for summer interest. During the autumn clumps of cyclamen hederifolium and iris foetidissima provide some colour to this largely winter flowering area. When planning a winter border that relies heavily on hellebores remember that after flowering the large leaves will spread out over a wide area, providing the perfect cool, shady spot for delicate primroses and other such shade lovers that will flower before the new hellebore leaves have developed.
Hellebores are usually purchased and planted throughout the winter months - I like to buy mine in flower so that I can see the shapes and colours. It is best to dig a large planting hole for a hellebore and incorporate plenty of organic matter - my preference is to add leaf mould, which I also use as a mulch around the plants. Hellebores have a large root system and for this reason are often pot bound when you purchase them. If the root ball is very dry when you turn it out of the pot leave it to soak for an hour or two in a bucket of water before planting out. Before planting fill the newly dug planting hole with water once or twice to make sure it is properly damp. Then gently tease out the roots in the rootball and place the hellebore into the hole. Back fill around the roots making sure there is plenty of moisture.
I am increasingly adding Root Grow, a mycorrhizal fungi, to my new plantings and am very pleased with the results. The secret with this product is to sprinkle it on the damp roots before putting your plant in the planting hole rather than adding it to the soil. You will need to water your new hellebore throughout dry periods during the following summer, after which it should grow quite happily whatever the weather. On occasions when I have bought immature plants that have been on offer through mail order sites I have found it best to grow these on in a pot ready to plant out the following autumn when they have developed a larger root system.
Hellebores are hungry feeders and I usually feed mine with fish blood & bone twice a year - in the spring after flowering has finished and again in late August/early September as the plants prepare to start flowering again. After feeding I mulch around the plants with leaf mould, taking care not to cover the crowns. Hellebores self seed freely, so if you would like to increase your own stock do not remove the old flower heads in the spring. With a bit of luck when you tidy up the old leaves you will find quite a few babies growing underneath which can be potted up and grown on. Do be aware though that they are one of the plants that do not come true from seed so your new babies will probably be a uniform shade of faded pink - still very lovely but not the same as your parent plants.
Although hellebores are very easy plants to grow they are best planted straight into the ground. Generally they do not thrive well in containers, primarily because of their large roots. If you are lucky enough to have large deep containers it is well worth giving hellebores a go - I have some helleborus niger planted in deep containers outside my kitchen window and the green leaves have been stunning throughout the summer. I also tend to keep any newly purchased plants in their pots in full view of the kitchen window for a few weeks so that I can enjoy the flowers at close hand before planting them in the garden when the soil has started to warm a little. Do make sure you keep any potted hellebores well watered though or you risk losing your new additions before they even make it to the garden bed. Once planted hellebores are very hardy, coping well with frost and snow. You will find the flowers droop dramatically in a frost however, but recover themselves completely as soon as the temperatures rise again.
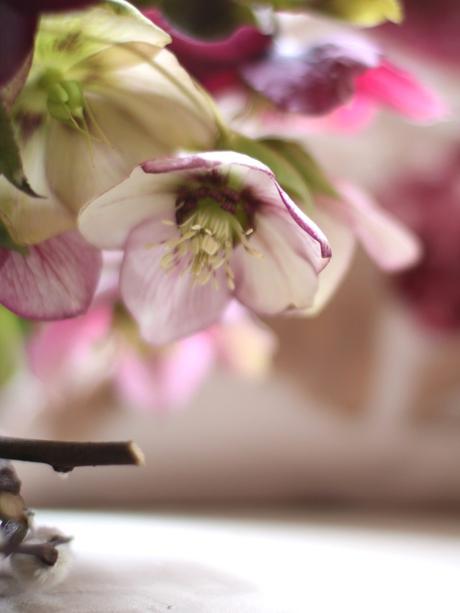
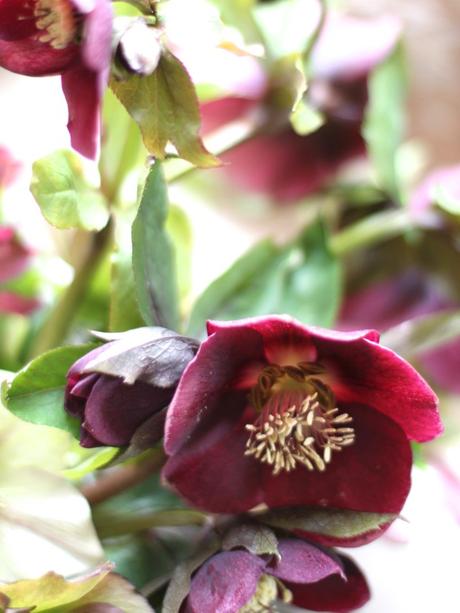
After growing undisturbed for eight years now some of my plants are quite substantial. I have considered dividing them but a large plant with forty or more flowers is so dramatic that I will leave them for now. Hybrid hellebores are available in a wide variety of colours ranging from delicate apricots, slaty blues, fresh greens, every shade of pink, yellows, reds, deep dark purple and maroon and, of course, whites. There are single and double varieties and these days even hellebores with flowers that face upwards.
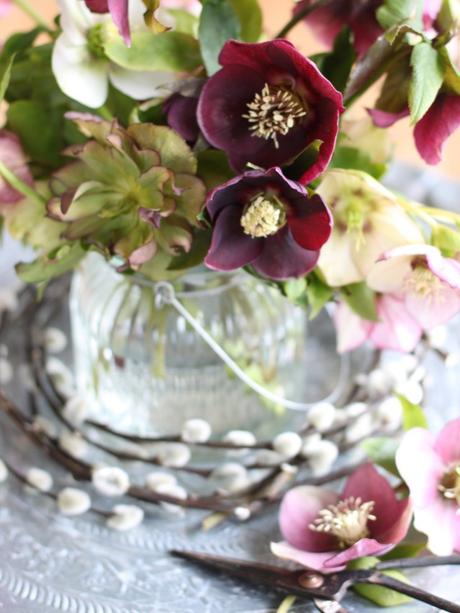
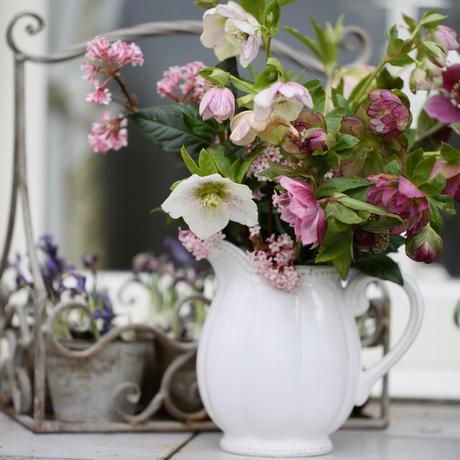
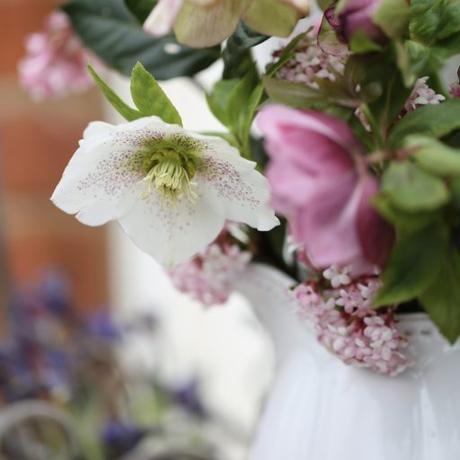
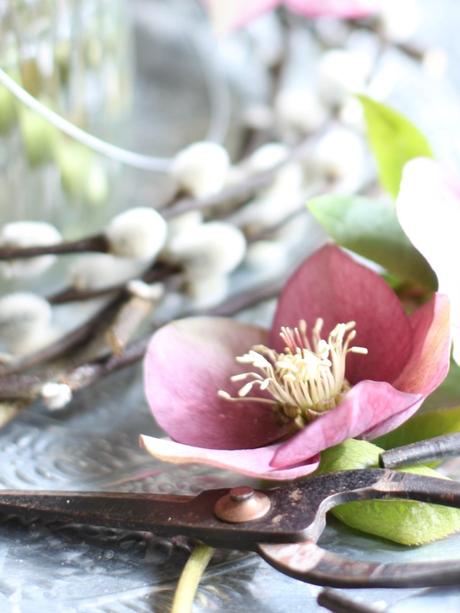
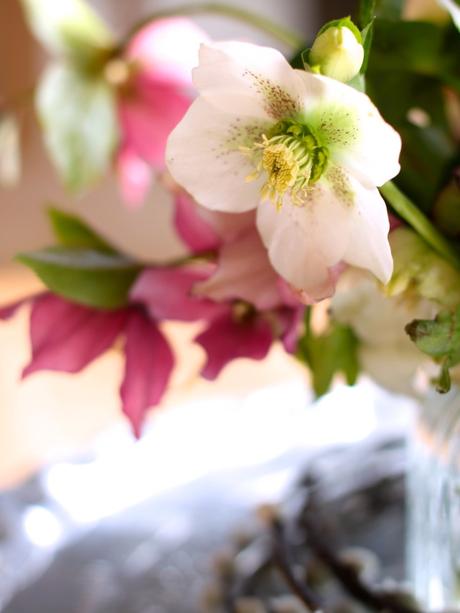
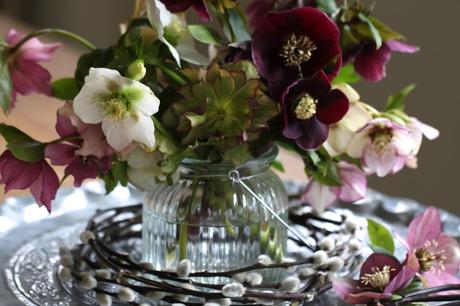
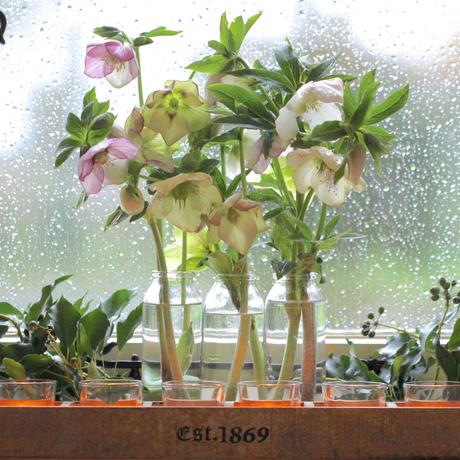
As you can see from the photographs I have included here my interest in hellebores is rooted in my love of cutting them for winter arrangements. The shape and colours of hellebores sit so well in so many arrangements and they look particularly fine with ranunculus, spring bulbs and winter branches. They are appearing as a cut flower in florists shops more often these days and can be seen populating many an arrangement on Instagram throughout the colder months. Hellebores work best as a cut flower when they have been in flower for a few weeks - in fact once they are producing seed heads they will last for many days after cutting. It is always best to sear the stems in just boiled water for about 20 seconds before adding them to an arrangement.
I am very excited that the Gather & Grow workshops that I ran this year with Brigitte from Moss & Stone will be continuing this year and we are starting the series with a day dedicated to hellebores. On 8th March you are invited to join us for a morning in my winter garden discussing everything involved in growing hellebores, followed by a warming lunch and then an afternoon somewhere cosy where you will learn how to make the most of hellebores as a cut flower. Booking will be through Brigitte and full details are on my Workshops page.
We have also planned a workshop dedicated to tulips in April and roses in June - details on my Workshops page. We have just agreed dates for a day devoted to dahlias in October and a very exciting 2 day workshop in September called Gather & Grow Your Wedding Flowers, which should provide heaps of inspiration and practical knowledge for anyone planning to grow and arrange flowers for a wedding in 2019. So many brides these days love the idea of their flowers being grown and arranged by family members and friends and this course is designed to send you away with planting plans and timetables, colour schemes, seed lists etc as well as some practice in making beautiful natural wedding flower arrangements. Full details will be on my Workshops page soon.
And finally a very heartfelt thank you to everyone who commented on my last post - your comments were very touching and the stories of your losses brought tears to my eyes. I have not replied individually as I was quite emotional reading through them all, but know that I valued every comment and feel stronger for having read them - thank you for sharing your own losses with me.

From the Online Etymology Dictionary
The origin of words is a subject that fascinates me - somehow knowing that a plant name can be traced back through old French, Greek and Latin adds a historical depth to the flowery romance and intrigue. When that flower also happens to arrive in our darkest winter days and continues blooming until the early spring it becomes a subject for obsession, one that is irresistible to this gardener.
I have been gradually adding to my collection of hellebores for eight years now and yet there is always room for more - more knowledge, more books, more plants. Whilst tidying my borders in recent weeks I have been cutting back the old leaves on my hellebores and have found that most of my collection are already forming visible flower buds and some are even in flower. The joy of this discovery and the excitement that I am feeling for the impending winter garden season prompted me to revise my previous posts on hellebores for you today and to remind you to clear away the autumn debris and cut back the leaves on your own hellebores so that you can enjoy the flowers at their best in the dark weeks of winter.
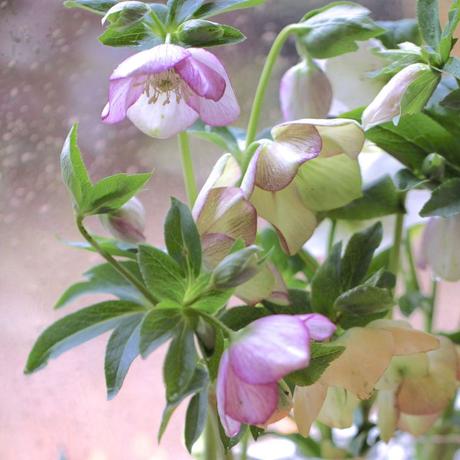
Hellebores are herbaceous perennials that flower in the depths of winter when the garden can otherwise feel a drab and uninspiring place. They are often rather romantically known as the Christmas Rose or the Lenten Rose, both of which are types of hybrid hellebores. The Christmas rose is helleborus niger and has pure white flowers which often arrive before Christmas and throughout January. Helleborus orientalis come in many beautiful shades and flower for a full ten to twelve weeks between January and March - these are the glamorous ladies that are called the Lenten roses.
Rather than dying back in the summer like many spring flowering perennials, hellebores produce handsome leaves after flowering which are at their best during the summer months, although they tend to collapse and become spotted with a fungus known as hellebore leaf spot as winter approaches. In the case of the Lenten Rose it does no harm to the plant to remove these old leaves completely in November and December. The new flower stems will have leaf bracts so the plant will not look 'naked' when in flower. I only cut back the leaves of Helleborus niger, the Christmas Rose, if they are damaged - otherwise the plant looks better with its leaves intact as, unlike the Lenten Rose, the flower stems have no leaf bracts so the plant looks rather bare if the surrounding foliage is removed.
In addition to the hybrid hellebores, species hellebores are also exceptionally beautiful. These wild hellebores include the well known H. odorus and H. foetidus. In the case of the wild hellebores the flowers appear on the leaf stems, so keep well away from the leaves of these plants unless you are happy to lose the flowers. In contrast to the wild hellebores, the hybrid varieties are breed by dedicated nurserymen who cross their favourite strains to produce an increasing variety of colours and shapes. Every season I find new plants to fuel my passion and increase my collection.
When we moved to this house eight years ago I had just discovered hellebores. I was determined to create a garden that could provide flowers every month of the year and hellebores solved a difficulty in the winter months. I live very close to the nursery owned by Roger Harvey, a renowned hellebore specialist and many of my original hellebores were bred by Roger. I am still adding hellebores to the woodland area of my garden every winter and I am looking forward to the day when a winter walk along the woodland path will be filled with these beautiful flowers!
Hellebores prefer to grow in a rich loamy soil which is neither too dry nor waterlogged. They flower best if they can have sunny conditions during their flowering period, but they appreciate a bit of shade during the summer. A woodland edge is ideal as the deciduous canopy offers protection from the summer sun, but allows in the light after the canopy has dropped. Hellebores work well interplanted with snowdrops and spring bulbs, particularly delicate narcissi and fritillaria.
I am also adding ferns, hardy geraniums (particularly the moody g. phaeum) and tiarella plants to my woodland borders for summer interest. During the autumn clumps of cyclamen hederifolium and iris foetidissima provide some colour to this largely winter flowering area. When planning a winter border that relies heavily on hellebores remember that after flowering the large leaves will spread out over a wide area, providing the perfect cool, shady spot for delicate primroses and other such shade lovers that will flower before the new hellebore leaves have developed.
Hellebores are usually purchased and planted throughout the winter months - I like to buy mine in flower so that I can see the shapes and colours. It is best to dig a large planting hole for a hellebore and incorporate plenty of organic matter - my preference is to add leaf mould, which I also use as a mulch around the plants. Hellebores have a large root system and for this reason are often pot bound when you purchase them. If the root ball is very dry when you turn it out of the pot leave it to soak for an hour or two in a bucket of water before planting out. Before planting fill the newly dug planting hole with water once or twice to make sure it is properly damp. Then gently tease out the roots in the rootball and place the hellebore into the hole. Back fill around the roots making sure there is plenty of moisture.
I am increasingly adding Root Grow, a mycorrhizal fungi, to my new plantings and am very pleased with the results. The secret with this product is to sprinkle it on the damp roots before putting your plant in the planting hole rather than adding it to the soil. You will need to water your new hellebore throughout dry periods during the following summer, after which it should grow quite happily whatever the weather. On occasions when I have bought immature plants that have been on offer through mail order sites I have found it best to grow these on in a pot ready to plant out the following autumn when they have developed a larger root system.
Hellebores are hungry feeders and I usually feed mine with fish blood & bone twice a year - in the spring after flowering has finished and again in late August/early September as the plants prepare to start flowering again. After feeding I mulch around the plants with leaf mould, taking care not to cover the crowns. Hellebores self seed freely, so if you would like to increase your own stock do not remove the old flower heads in the spring. With a bit of luck when you tidy up the old leaves you will find quite a few babies growing underneath which can be potted up and grown on. Do be aware though that they are one of the plants that do not come true from seed so your new babies will probably be a uniform shade of faded pink - still very lovely but not the same as your parent plants.
Although hellebores are very easy plants to grow they are best planted straight into the ground. Generally they do not thrive well in containers, primarily because of their large roots. If you are lucky enough to have large deep containers it is well worth giving hellebores a go - I have some helleborus niger planted in deep containers outside my kitchen window and the green leaves have been stunning throughout the summer. I also tend to keep any newly purchased plants in their pots in full view of the kitchen window for a few weeks so that I can enjoy the flowers at close hand before planting them in the garden when the soil has started to warm a little. Do make sure you keep any potted hellebores well watered though or you risk losing your new additions before they even make it to the garden bed. Once planted hellebores are very hardy, coping well with frost and snow. You will find the flowers droop dramatically in a frost however, but recover themselves completely as soon as the temperatures rise again.
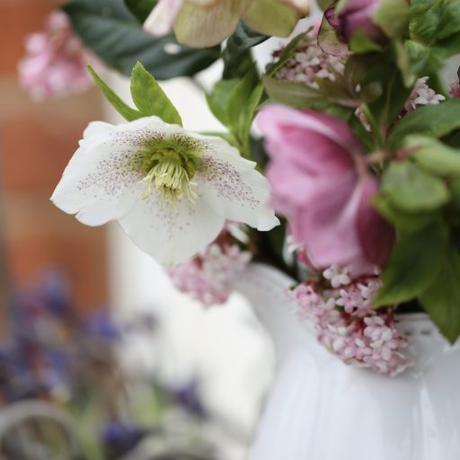
After growing undisturbed for eight years now some of my plants are quite substantial. I have considered dividing them but a large plant with forty or more flowers is so dramatic that I will leave them for now. Hybrid hellebores are available in a wide variety of colours ranging from delicate apricots, slaty blues, fresh greens, every shade of pink, yellows, reds, deep dark purple and maroon and, of course, whites. There are single and double varieties and these days even hellebores with flowers that face upwards.
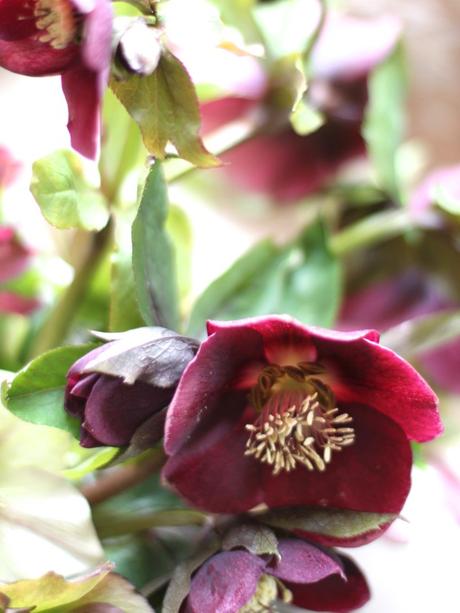
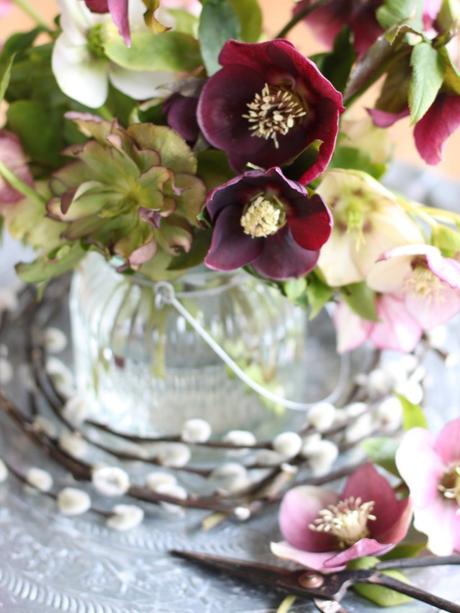
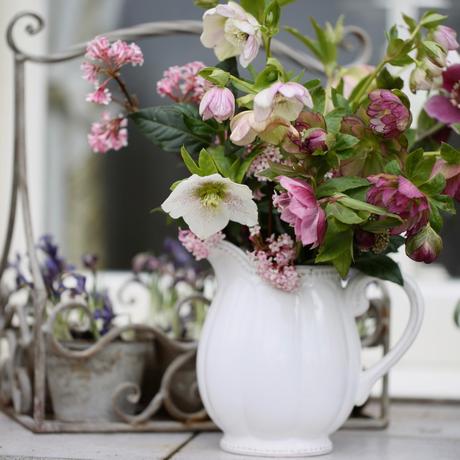
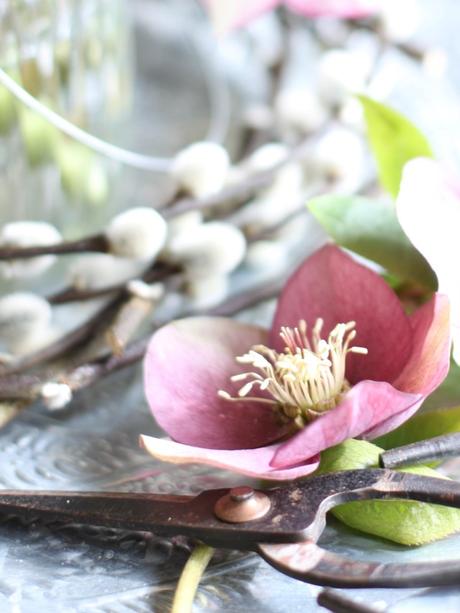
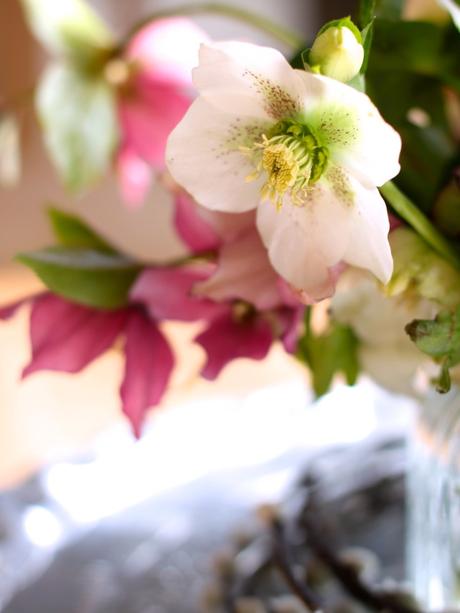
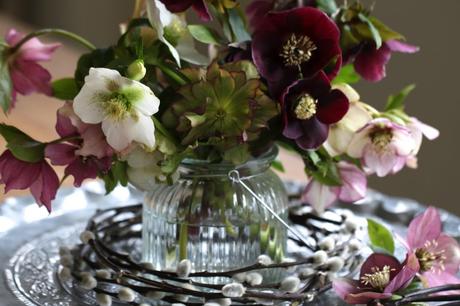
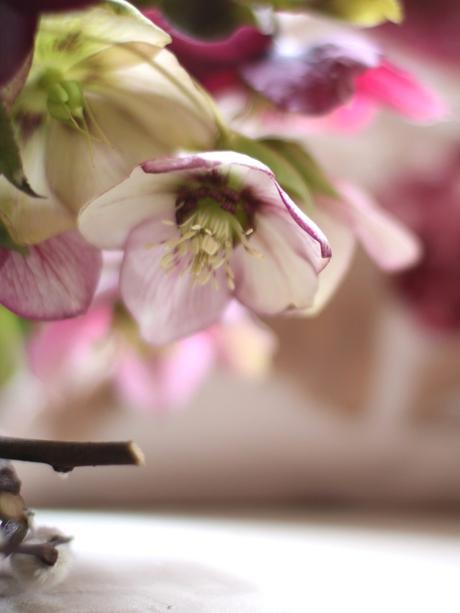
As you can see from the photographs I have included here my interest in hellebores is rooted in my love of cutting them for winter arrangements. The shape and colours of hellebores sit so well in so many arrangements and they look particularly fine with ranunculus, spring bulbs and winter branches. They are appearing as a cut flower in florists shops more often these days and can be seen populating many an arrangement on Instagram throughout the colder months. Hellebores work best as a cut flower when they have been in flower for a few weeks - in fact once they are producing seed heads they will last for many days after cutting. It is always best to sear the stems in just boiled water for about 20 seconds before adding them to an arrangement.
I am very excited that the Gather & Grow workshops that I ran this year with Brigitte from Moss & Stone will be continuing this year and we are starting the series with a day dedicated to hellebores. On 8th March you are invited to join us for a morning in my winter garden discussing everything involved in growing hellebores, followed by a warming lunch and then an afternoon somewhere cosy where you will learn how to make the most of hellebores as a cut flower. Booking will be through Brigitte and full details are on my Workshops page.
We have also planned a workshop dedicated to tulips in April and roses in June - details on my Workshops page. We have just agreed dates for a day devoted to dahlias in October and a very exciting 2 day workshop in September called Gather & Grow Your Wedding Flowers, which should provide heaps of inspiration and practical knowledge for anyone planning to grow and arrange flowers for a wedding in 2019. So many brides these days love the idea of their flowers being grown and arranged by family members and friends and this course is designed to send you away with planting plans and timetables, colour schemes, seed lists etc as well as some practice in making beautiful natural wedding flower arrangements. Full details will be on my Workshops page soon.
And finally a very heartfelt thank you to everyone who commented on my last post - your comments were very touching and the stories of your losses brought tears to my eyes. I have not replied individually as I was quite emotional reading through them all, but know that I valued every comment and feel stronger for having read them - thank you for sharing your own losses with me.

