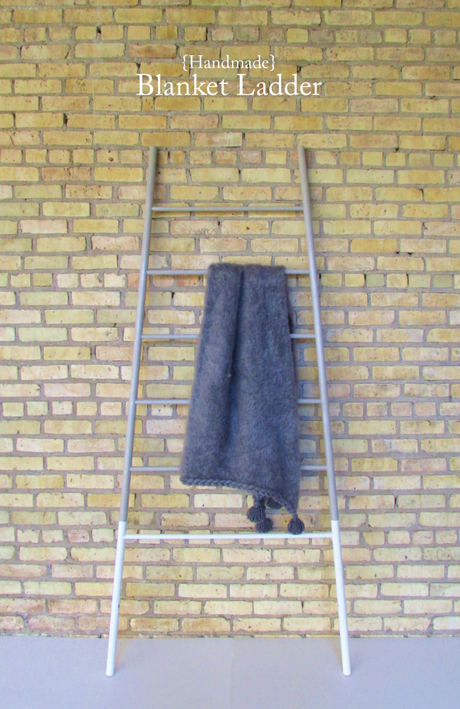
We’ve collected several blankets over the past few years from our travels and as gifts, and with winter approaching, I wanted to create a clean and modern way to display and store them so they’d be easily accessible whenever we wanted to cozy up in one. Enter the modern blanket ladder. I’d seen some high end versions going for $450+ and knew we could make one for alot less. In fact, the wood rods and dowels came to $34 bucks! Can’t beat that!
The assembly of the frame is easier than it looks, and only took about an hour on a Saturday afternoon. It’s simply a matter of cutting the rods and dowels to the appropriate size and gluing them in place. The finished dimensions are 84″ tall x 25-1/2″ at the top of the ladder x 37-1/2″ at the bottom of the ladder. I can’t wait to move this baby into our new apartment next month!
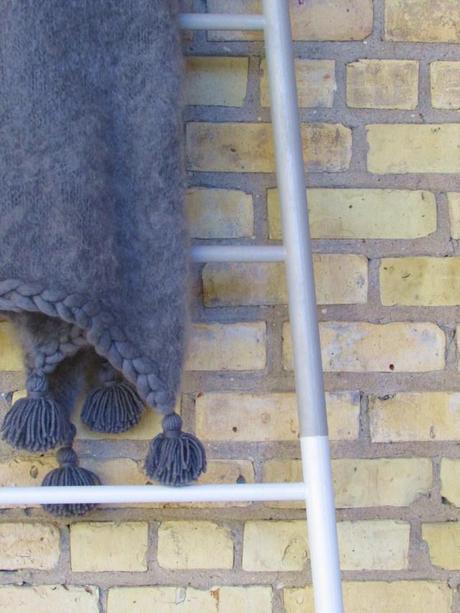
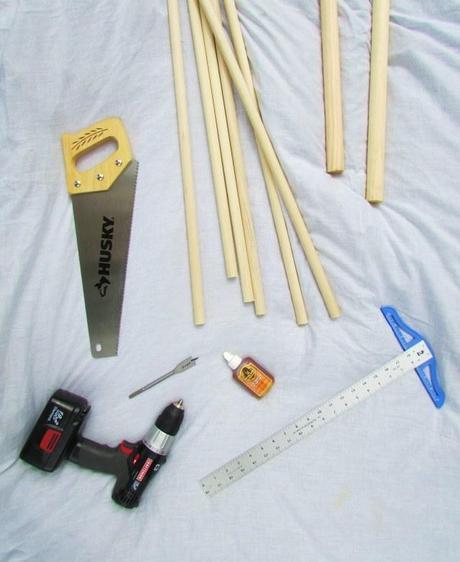
Materials List:
- two, 1-1/4″ dia. x 96″ long unfinished closet rods (available at Menards)
- six, 3/4″ dia. x 48″ long unfinished wood dowels (available at Menards)
- measuring tape
- t-square
- handsaw
- Gorilla Glue
- electric drill
- 3/4″ drill bit
- pencil
- permanent maker
Staining + Painting:
- 1/2 pint of wood stain. I used Varathane in Sunbleached from Home Depot. Buy the small 1/2 pint sample can.
- 220-grit sandpaper
- stain brush
- lint-free cloth
- painter’s tape
- spray paint. I used Rust-Oleum in White Lacquer from Home Depot.
- drop cloth
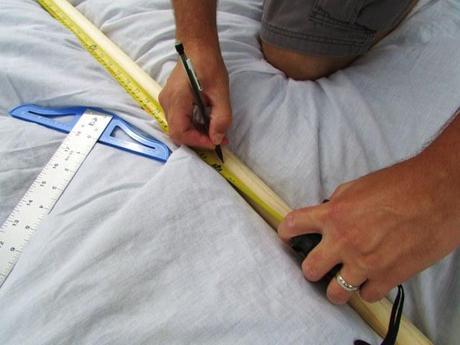
Assembling the Ladder
Step 1. Measure and mark both closet rods to 7′ lengths.
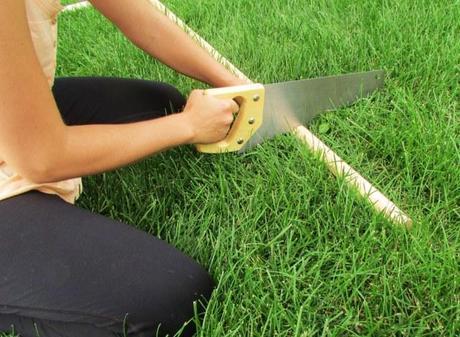
Step 2. Using a hack saw cut closet rods down to 7′ lengths, keeping the saw as straight up and down as possible.
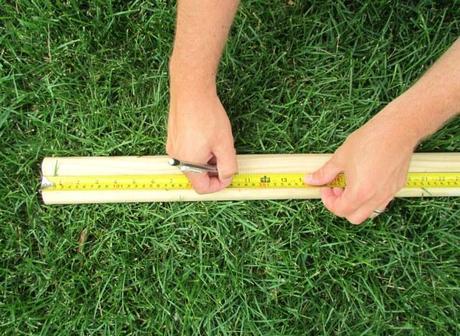
Step 3. Starting at one end of the rod, measure and mark six ‘x’ 10.5″ apart on center on each rod, leaving the other end of the rod 21″ without holes (this is the bottom of the blanket rack.) Repeat with the 2nd rod.
It helps to have another person holding the rod in place as you measure and mark because you want to make sure all of the marks/drill holes line up on one side of the rod.
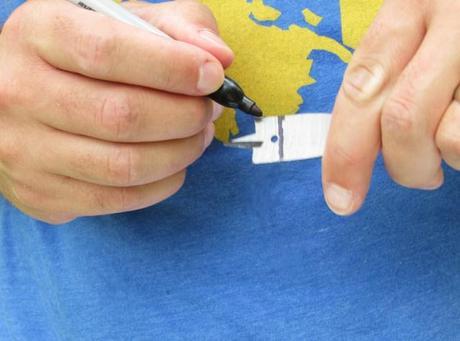
Step 4. Next measure and mark 1/2″ on your drill bit to use as a guideline, so all your drill holes are the same depth and also to make sure you don’t drill all the way through the rod (that would be bad!). This is optional, but we found it super helpful.
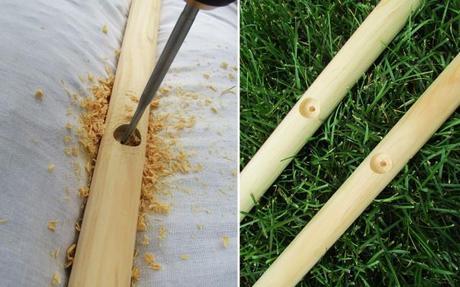
Step 5. Drill the 6 exes you marked on each rod in Step 3, drilling down only to the 1/2″ mark on your drill bit. Again it helps to have another person holding the rod facing upward and in place while you drill.
Step 6. Measure, mark & cut the 6 dowels to the following lengths:
- Dowel #1 (Top Ladder Rung): 25-1/4″ wide
- Dowel #2: 26-3/4″ wide
- Dowel #3: 28-1/4″ wide
- Dowel #4: 29-3/4″ wide
- Dowel #5: 31-1/4″ wide
- Dowel #6 (Bottom Ladder Rung) : 32-3/4″ wide
Essentially, the dowels increase 1-1/2″ in length as they move down the ladder, and the dowel lengths dictate the width of the ladder, so if you want your ladder a bit skinnier or wider, increase your dowel lengths accordingly.
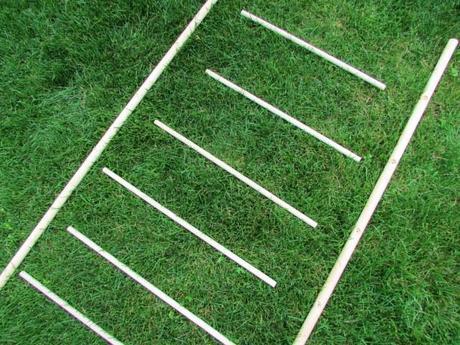
Step 7. Layout pieces in the rough blanket holder format. The shortest rod will be at the top, and the widest rod at the bottom. It’s starting to take shape!
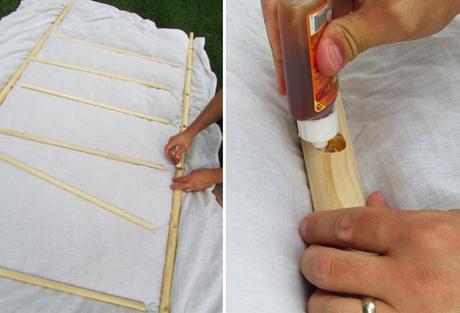
Step 8. Start with one rod, and add a ring of glue inside each drill hole. Shimmy the dowels into each drill hole and press to secure. Add glue to the drill holes on the 2nd rod and press the other ends of the dowels into the drill holes. Press to secure. This may take a little finagling to get all pieces to stay together, so be patient.
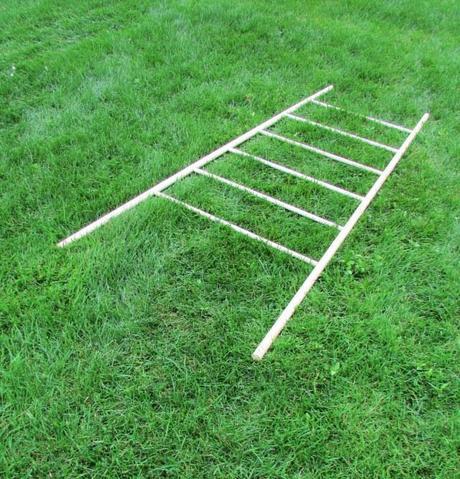
Once assembled, lay flat to allow the glue to dry.
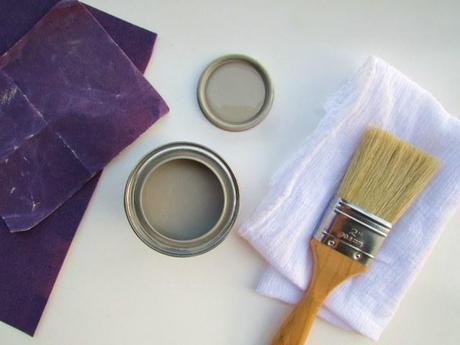
Staining & Painting
At this point, you can totally leave your ladder as raw poplar/pine which would be very Scandinavian of you, but I wanted my ladder to have a two-toned stained/painted effect to it, so I tested out several stains on the leftover scrap dowel pieces and landed on Varathane Wood Stain in Sunbleached.
Step 1. Before you begin staining sand the entire ladder with 220-grit sandpaper (the dowels should already be relatively smooth) and brush off sawdust.
Step 2. The stained/painted blocking look is achieved by measuring 23.5″ up from the bottom of the ladder, marking the measurement lightly with a pencil and then tightly wrapping a piece of painters tape around the vertical rod (in between the 1st and 2nd ladder rungs) so the top edge of the tape lines up with your 23.5″ mark. Do this on both vertical rods.
Step 3. Layout your drop cloth (It’s really best to work outside in a well ventilated area. I set up shop on our balcony.) Position the ladder so it’s leaning against something and standing up.
Step 4. Shake up the can of stain well, and liberally apply stain to the area above the tape lines. Allow the stain to sit for 5 minutes and then wipe off with a clean cloth. To avoid the stain drying before you can get to it with the cloth, it’s best to apply the stain to 1/2 the ladder, wipe off the stain, and continue on with the rest of the ladder.
Step 5. Once the stain is dry, it’s time to spray paint the bottom of the ladder. Reposition the painter’s tape so the bottom edge of the tape lines up with the edge of the wood stain. Essentially you’re trying to create a clean edge between the stain and paint.
Step 6. Apply spray paint to the lower portion of the ladder, and let dry. At this point you can apply a clear drying matte polyurethane to seal the entire piece if you’d like, but I did not.
Et voila!
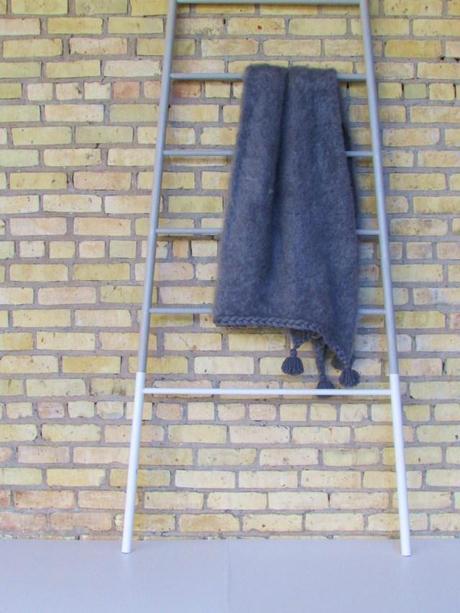
The gray kid-mohair braided throw is available through Blended Blue’s online shop.


