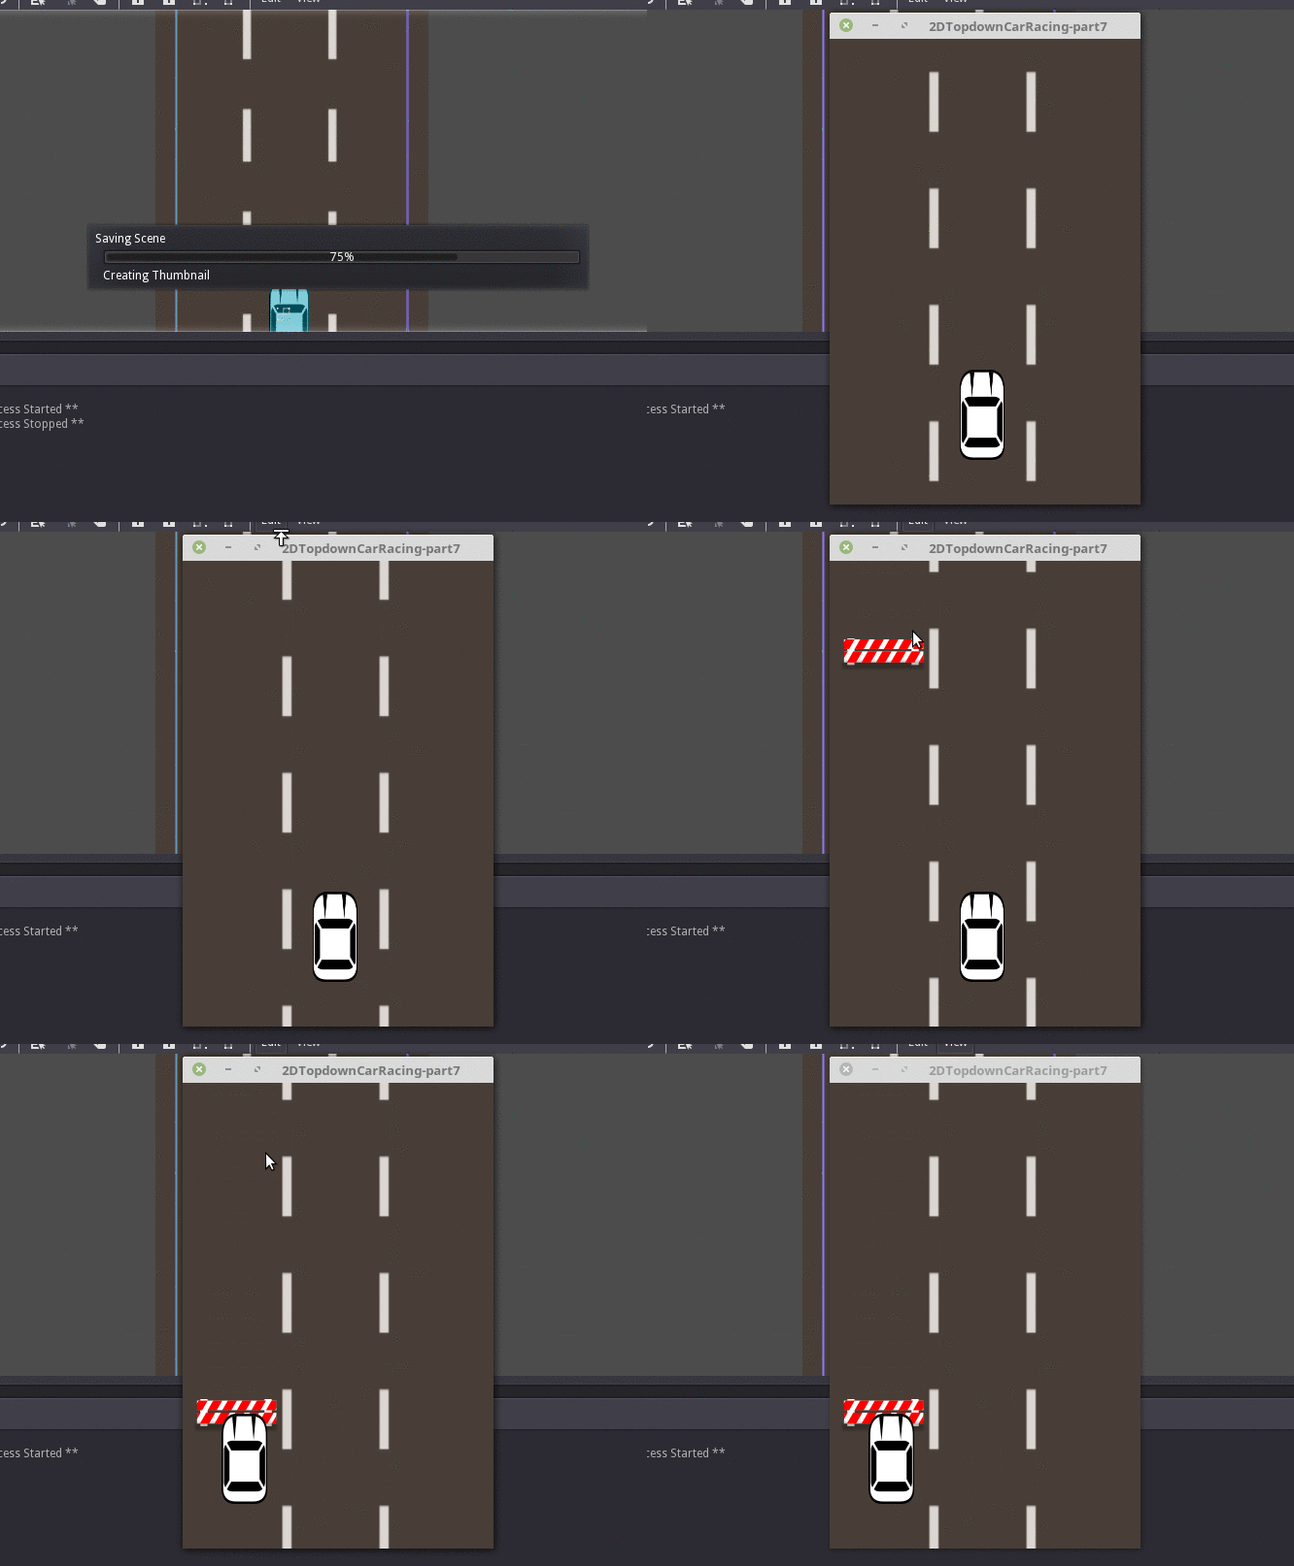
In the previous post of this game tutorial for beginners series, we actually completed the racing game project. We've added some keyboard controls to know how things are going to run. But actually we want tp change the player controls from keyboard to mobile. If we tap to the left of the player car, the car will move to the left and the same for the right side. So let us take a look at the modified player script.
extends RigidBody2D

var speed = 0
var turn_speed = 0.02
var _max_speed = 500
var _acceleration = 0

var _direction = 0
var _target_rot = 0

var _car_width = 0

func _ready():
    _car_width = get_node("Sprite").get_texture().get_size().x
    connect("body_enter",self,"_on_body_enter")
    set_process(true)
    set_process_input(true)

func _input(event):
    _direction = 0
    _target_rot = 0
    if((event.type==InputEvent.MOUSE_BUTTON) and event.is_pressed() and not event.is_echo()):
        if(event.pos.x < get_pos().x + _car_width/2):
            _target_rot = 5
            _direction = -1
        else:
            _target_rot = -5
            _direction = 1


func _process(delta):
    speed += _acceleration
    speed = min(speed,_max_speed)
    if(speed < _max_speed):
        _acceleration += delta
    var new_pos = get_pos() + Vector2(_direction * turn_speed * speed,0)
    new_pos = Vector2(clamp(new_pos.x,0,640 - _car_width),new_pos.y)
    set_pos(new_pos)
    var rot = lerp(get_rotd(),_target_rot,0.3)
    set_rotd(rot)

func _on_body_enter(other):
    if(other.is_in_group("enemy")):
        other.hit_by_player()
    speed = 0
    set_process(false)
We removed the keyboard event logic from the _input() and added the logic for listening to the mouse button event. The mouse button event will also trigger for screen touches so this will work for both mouse and touch.
We declared two new variables:
_car_width - the width of the car texture
_target_rot - to change the direction slightly when turning
We check the tap position relative to the player car. If it is to the left, the car is moved to the left and if it is to the right side, the car is moved to the right. The _target_rot variable is for slightly rotating the car when it is turning. Inside the _process(), the movement code is changed such that the position is clamped between the screen edges - 0 is the left side and the right side will be our game width minus the car's width. Then we lerp the rotation of the player car to the _target_rot. Wait for an article for an in-depth look at lerping. You can subscribe to this blog so you will be notified when it is posted. The article will cover lerping(Linear Interpolation) techniques on various game engines. For now, think that the line
var rot = lerp(get_rotd(),_target_rot,0.3)
will slowly change the rot value to _target_rot, yeah slowly between several frames. So the car rotation won't just jump to the target value, it will rotate smoothly.
Camera Shake

Ok now, we're going to add a nice little effect to our camera so that the car collision impact is not going to be boring. Add a script res://scripts/camera.gd script to the Camera node.
extends Camera2D

var _duration = 0.0
var _period_in_ms = 0.0
var _amplitude = 0.0
var _timer = 0.0
var _last_shook_timer = 0
var _previous_x = 0.0
var _previous_y = 0.0
var _last_offset = Vector2(0, 0)


func _ready():
    set_process(true)


func _process(delta):
    if _timer == 0:
        set_offset(Vector2())
        set_process(false)
        return
    _last_shook_timer = _last_shook_timer + delta
    while _last_shook_timer >= _period_in_ms:
        _last_shook_timer = _last_shook_timer - _period_in_ms
        var intensity = _amplitude * (1 - ((_duration - _timer) / _duration))
        var new_x = rand_range(-1.0, 1.0)
        var x_component = intensity * (_previous_x + (delta * (new_x - _previous_x)))
        var new_y = rand_range(-1.0, 1.0)
        var y_component = intensity * (_previous_y + (delta * (new_y - _previous_y)))
        _previous_x = new_x
        _previous_y = new_y
        var new_offset = Vector2(x_component, y_component)
        set_offset(get_offset() - _last_offset + new_offset)
        _last_offset = new_offset
    _timer = _timer - delta
    if _timer <= 0:
        _timer = 0
        set_offset(get_offset() - _last_offset)


func shake(duration, frequency, amplitude):
    if(_timer != 0):
        return

    _duration = duration
    _timer = duration
    _period_in_ms = 1.0 / frequency
    _amplitude = amplitude
    _previous_x = rand_range(-1.0, 1.0)
    _previous_y = rand_range(-1.0, 1.0)
    set_offset(get_offset() - _last_offset)
    _last_offset = Vector2(0, 0)
    set_process(true)
Now we need to call the shake method in the above camera script whenever a collision happens. So change the player script _on_body_enter() callback to this.
func _on_body_enter(other):
    get_node("../Camera2D").shake(0.1,500,10)
    if(other.is_in_group("enemy")):
        other.hit_by_player()
    speed = 0
    set_process(false)
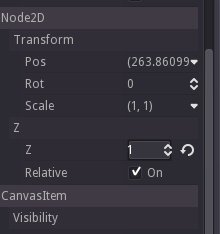
Before running the game, change the Player node Z property to 1. This property determines the depth at which the object is drawn. You may have noticed on your previous runs the car is going behind the roadblocks when hitting. Setting the Z property to a higher value makes the object is drawn above other lower value objects.

#GodotEngine #game #tutorial for beginners - Final part #gamedev #indiegamedev Click To Tweet
Ok. Now run the game. Did we forgot something?
Yeah..
What is it?
..
..
..
OK. I will tell you. Open your assets/images folder in file manager. See those additional images that we didn't use? From car2.png to car6.png. We're going to use that.
Open the Enemy scene in Godot editor. Now, add a new variable ' textures ' like this.
extends RigidBody2D

var textures = [
    preload("res://assets/images/car1.png"),
    preload("res://assets/images/car2.png"),
    preload("res://assets/images/car3.png"),
    preload("res://assets/images/car4.png"),
    preload("res://assets/images/car5.png"),
    preload("res://assets/images/car6.png")
]

var _player = null
var _speed_factor = 0.5
...
#other code
...
And set the Sprite's texture to a random one from the array. So the _ready() will look like below.
func _ready():
    var random_texture = textures[rand_range(0,textures.size())]
    get_node("Sprite").set_texture(random_texture)
    _player = get_node("../Player")
    add_to_group("enemy")
    set_process(true)
Now run the game and you can see our game is now complete.
That's it and this tutorial series came to an end. Thanks for reading. The complete source can be downloaded from here.
[Total: 1 Average: 5/5]
