This is the sixth part of the 2d racing game tutorial for beginners series. We've already done most of the work in the previous posts. In this one, we will spawn the enemy cars and the roadblocks. Let us start without any delay.
We've already added the enemy and roadblocks directly into the scene for scripting purposes. We're going to remove them because they have to be spawned at regular intervals. So delete all the nodes except bg, Camera2D and the Player nodes.
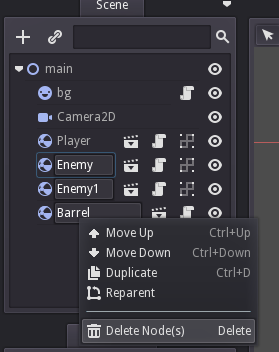
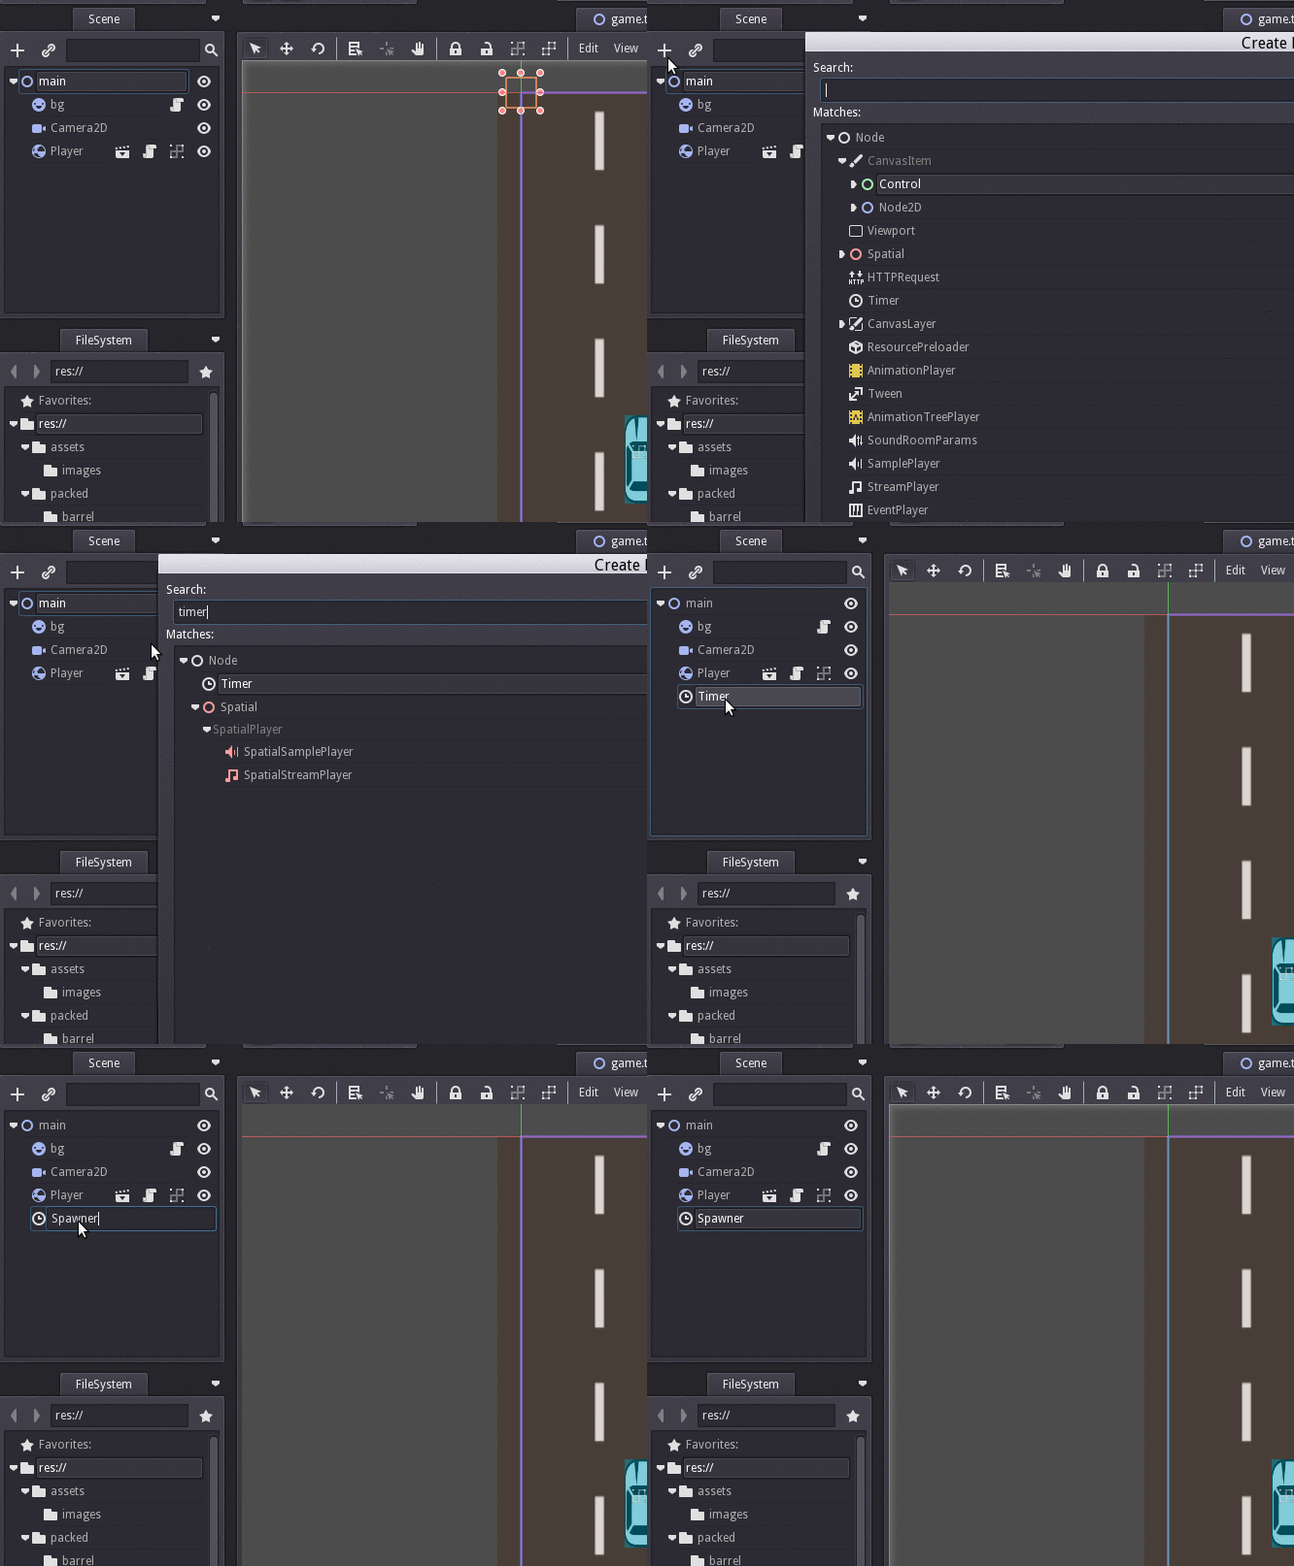
Now add a Timer node to the main node and rename it to 'Spawner'. Then add a script to this node as 'spawner.gd' and save it in 'res://scripts'.
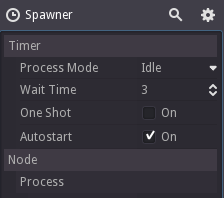
Set the Spawner properties like shown below. Set the 'Wait Time' to 3 and enable the 'Autostart' property. This will make the timer will start automatically and emits the 'timeout' signal at a 3-second interval.
Then copy and paste this code to the spawner.gd
extends Timer

var spawn_items = []

func _ready():
    connect("timeout",self,"_on_timeout")

func _on_timeout():
    print("emitting timeout signal")
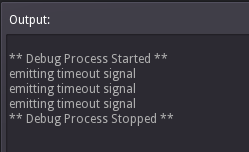
The code is self-explanatory. We declared an array for the items to spawn. In the _ready , it listens for the 'timeout' signal and calls the _on_timeout method whenever the 'timeout' happens. Run the game and we can see the console output.
Now we need to add the items to spawn into the array. We need to preload the barrel, roadblock and the enemy packed scenes. Now the script looks like this.
extends Timer

var spawn_items = [
    preload("res://packed/barrel/Barrel.tscn"),
    preload("res://packed/enemy/Enemy.tscn"),
    preload("res://packed/roadblock/RoadBlock.tscn")
]

func _ready():
    connect("timeout",self,"_on_timeout")

func _on_timeout():
    var item = spawn_items[0].instance()
    var r = rand_range(0,500)
    item.set_pos(Vector2(r, -100))
    get_parent().add_child(item)
We can copy the resource path from the resource tab like this.
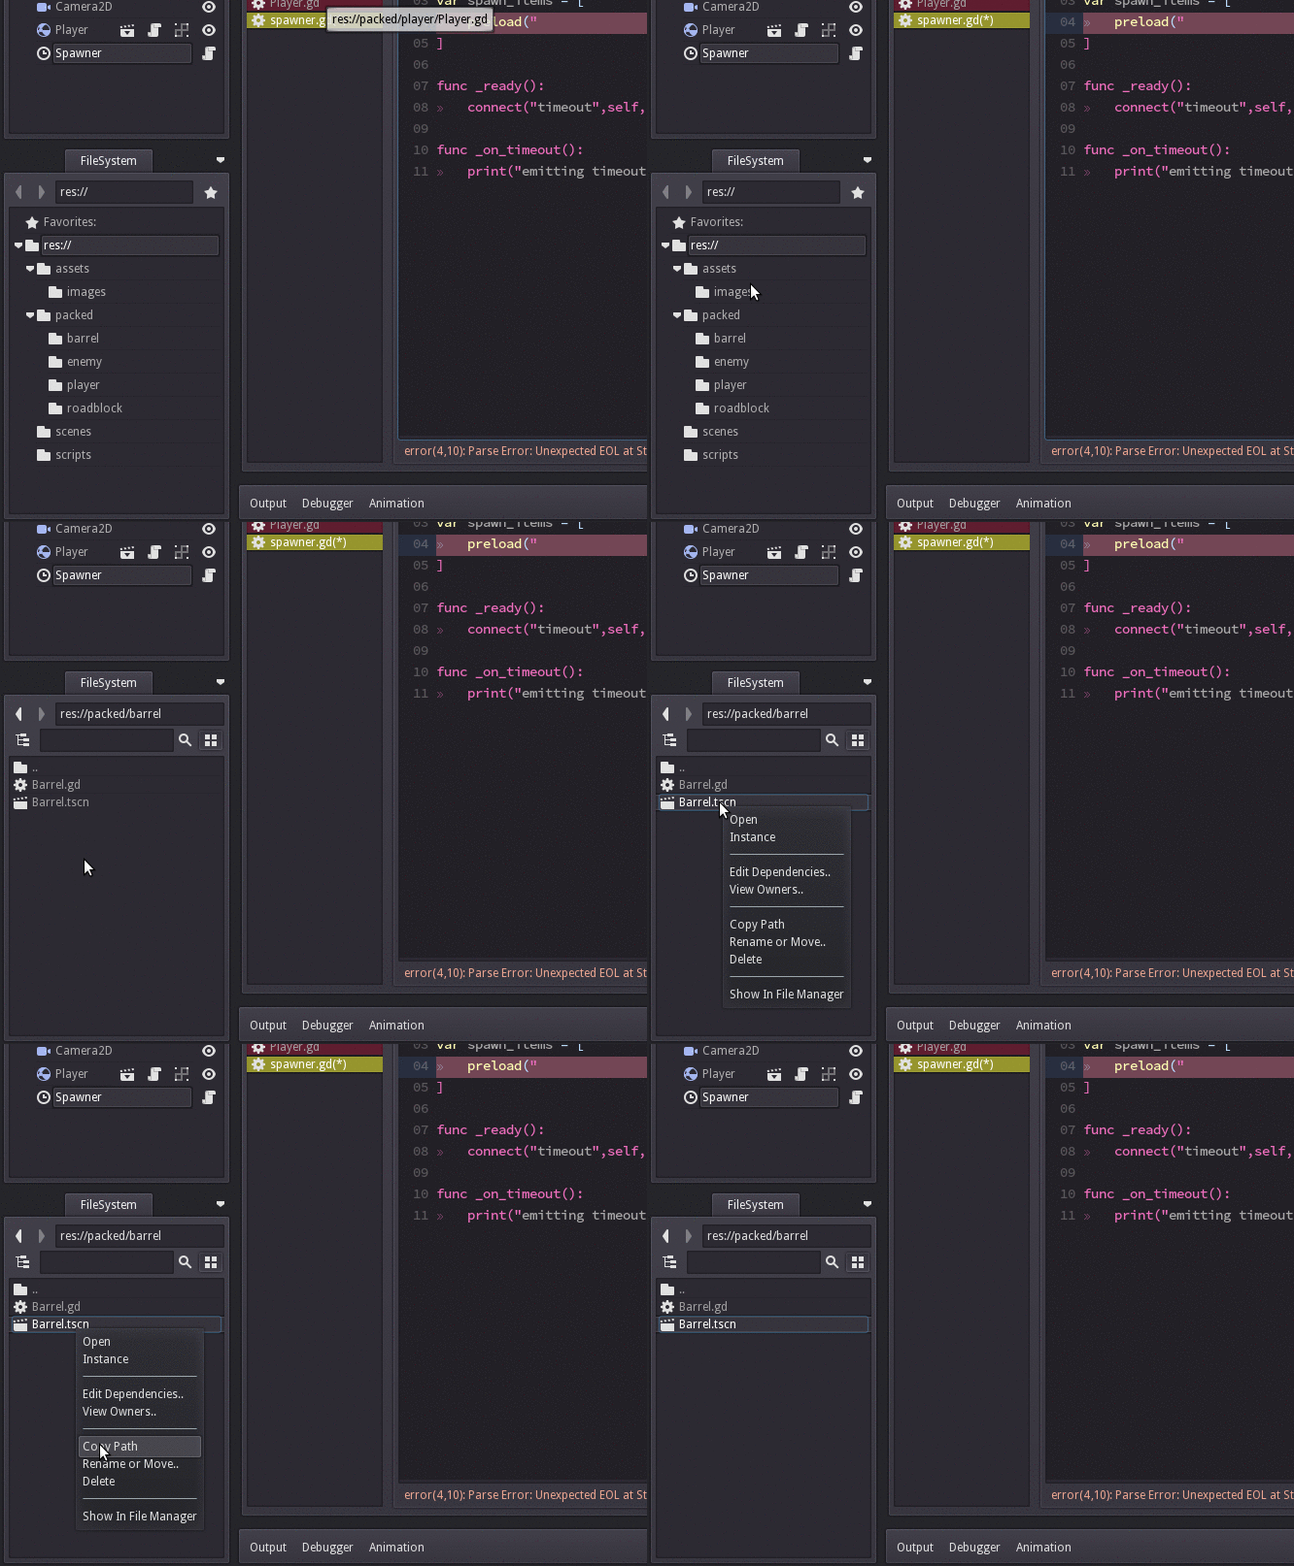
The 'preload' method will jump ahead and caches the required resources before running the game. So an important thing to note is that the preload method argument has to be a string and not a variable declared somewhere like this.
var BARREL_SCENE_PATH = "res://packed/barrel/Barrel.tscn"
preload(BARREL_SCENE_PATH)
This won't work.
Because when running the preload, i.e., before running the game, the engine has no idea about the BARREL_SCENE_PATH. So make sure you put the actual string inside the preload command.
If you did notice, we have made some changes in the timeout callback. We just took the first item from the array and added an instance in a random x position. Run the game and we can see barrels spawning at 3 second intervals. And the collisions are also working, great.
Let's change the timeout callback to this.
func _on_timeout():
    var r = rand_range(0,spawn_items.size())
    var item = spawn_items[r].instance()
    r = rand_range(0,500)
    item.set_pos(Vector2(r, -100))
    get_parent().add_child(item)
This will take a random item from the array and add an instance of that item to the scene. Run the game and we can see all items spawning with a 3 second interval.
Godot engine 2d car racing tutorial Click To Tweet
Player control
Change the player script to this.
extends RigidBody2D

var speed = 0
var turn_speed = 5
var _max_speed = 500
var _acceleration = 0

var _direction = 0

func _ready():
    connect("body_enter",self,"_on_body_enter")
    set_process(true)
    set_process_input(true)

func _input(event):
    _direction = 0
    if(event.is_action("ui_left")):
        _direction = -1
    if(event.is_action("ui_right")):
        _direction = 1
    if(event.is_action_released("ui_left") or event.is_action_released("ui_right")):
        _direction = 0

func _process(delta):
    speed += _acceleration
    speed = min(speed,_max_speed)
    if(speed < _max_speed):
        _acceleration += delta
    set_pos(get_pos() + Vector2(_direction * turn_speed,0))

func _on_body_enter(other):
    if(other.is_in_group("enemy")):
        other.hit_by_player()
    speed = 0
    set_process(false)
We've added a turn_speed and a _direction variable. The turn_speed determines how quickly the player car responds to the player input i.e., the horizontal movement speed. In the _ready(), we enabled the input processing and added a new _input() method in the script body. If we look at Scene > Project Settings > InputMap tab, we can see that ui_left and ui_right are already set by default to the left and right keyboard arrow keys.
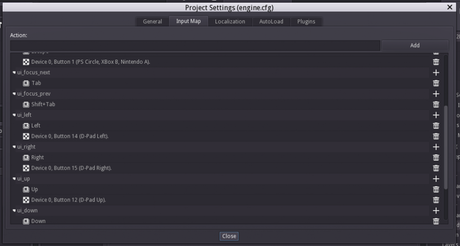
The same actions are also assigned to gamepad analog sticks. So using 'action' in the input will make sure that we don't need to code separately for key codes and game pad buttons.
In the _process(), we move the car according to the _direction and turn_speed.
You can download this project from here.
[Total: 1 Average: 5/5]
