In the past 3 parts of the 2d racing game tutorial for beginners, we setup the scene, created enemy cars and obstacles and setup the bg scrolling. Now we just need to spawn the cars and the obstacles to make the game look like moving. Welcome to the fourth part of the series and in this post we will make the enemy cars moving by adding the enemy script.
We already have the Enemy car as a packed scene, so let's import it into the game scene. We are adding one enemy car temporarily into the scene for now and after the scripting done, we can remove it from the scene and the spawner(we will create the spawner in the next part) will take care of adding them.
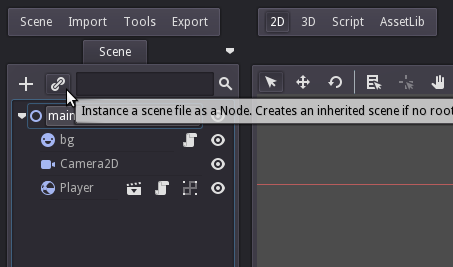
Ok, let us add an enemy instance into the scene. Click on the 'main' node where we want to add the child, then click on the 'chain' icon and choose 'Enemy.tscn' from 'res://packed/enemy' folder.

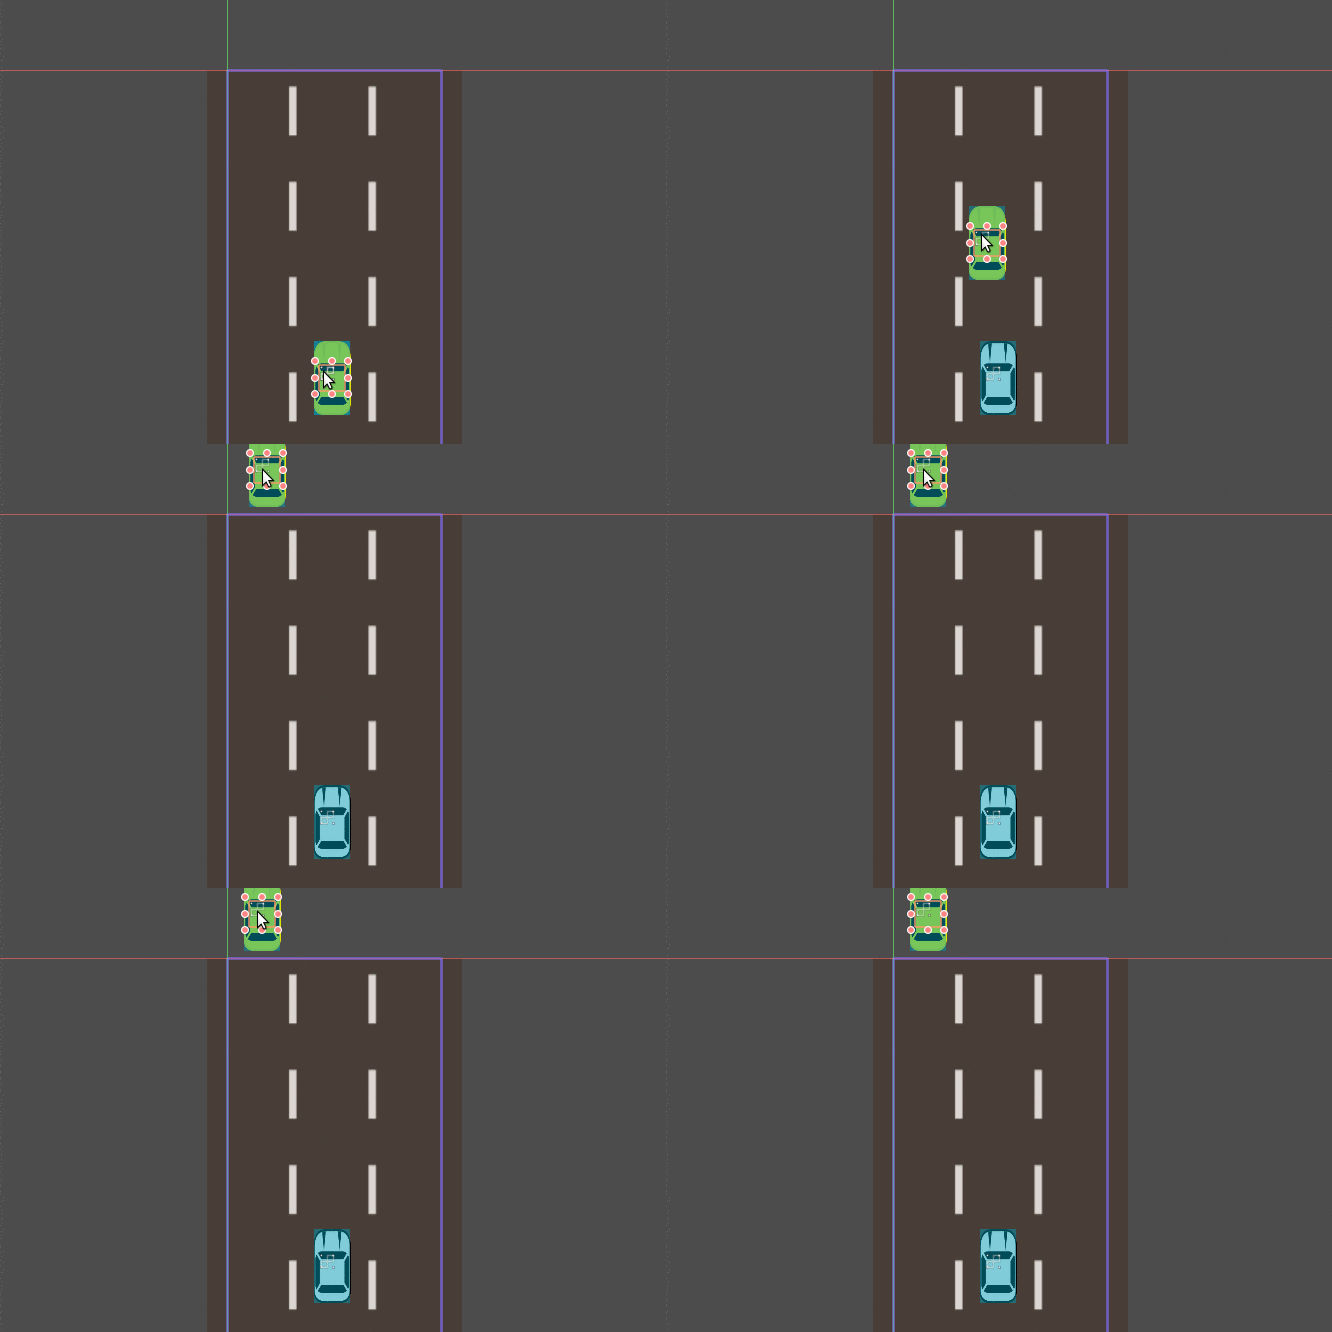
Now move the enemy to the top of the road in the scene.

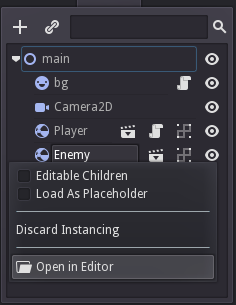
To add a script to the enemy, we need to open the enemy scene and add script to its root node. This will make the script available for all instances of enemies because we are adding the script inside the PackedScene. Click on the 'clap' icon to the right of the Enemy node in the main scene and choose 'Open in Editor'. This will open the enemy scene in a new tab.

Now, inside the Enemy scene, right-click on the Enemy RigidBody2D node and add a script. The script path is 'res://packed/enemy/Enemy.gd'. Paste the below script into it.
extends RigidBody2D

var _player = null

func _ready():
    _player = get_node("../Player")
    set_process(true)

func _process(delta):
    var current_pos = get_pos()
    current_pos.y = current_pos.y + _player.speed * delta
    set_pos(current_pos)
Usually we don't mess with a RigidBody position manually with set_pos, Godot's built-in physics updates it automatically. But here, we have set the RigidBody mode to Kinematic so the engine expects us to update the physics manually.
We already scrolled the bg down in an earlier post and we do the same to the enemy car. In the _process function, we just did that. The y position is incremented with the player speed multiplied by delta. This makes the enemy car to move exactly the same speed as the bg.
In game development, position and direction of an object is represented in vectors and not in separate 'x' and 'y' parameters. Think the 'x', 'y' and/or 'z' as a whole as a position vector. We will change the above code to the 'vector math' way.
extends RigidBody2D

var _player = null

func _ready():
    _player = get_node("../Player")
    set_process(true)

func _process(delta):
    set_pos(get_pos() + Vector2(0, _player.speed * delta))
Godot Engine game tutorial for beginners - Create a 2D Racing Game 4 Click To Tweet
Run the game and the enemy car looks like it is just parked on the road. To make it look like it is moving forward, we need to reduce the speed.
extends RigidBody2D

var _player = null
var _speed_factor = 0.5

func _ready():
    _player = get_node("../Player")
    set_process(true)

func _process(delta):
    set_pos(get_pos() + Vector2(0, _player.speed * _speed_factor * delta))
We added a speed factor for the enemy and now the enemy car looks like it is moving forward.
In the next part we will do the same for the obstacles and add a spawner.
Download the project here.
[Total: 1 Average: 5/5]
