This is the third part in the 2D racing game tutorial for beginners. In previous posts we setup the scene and created the enemy cars and roadblocks. Before going into this one, let me explain how this game is going to work. This is a top down racing game, the ideal thing would be to move the car upwards and the camera will follow the player car. But, we are not going to do that. Instead of moving the car and the camera, we will scroll the bg down - player car and the camera will be static. There are some scripting sections from now on and I expect you to have a basic understanding of Godot scripting. If you don't know that, the official website provides some excellent tutorials in gdscript.
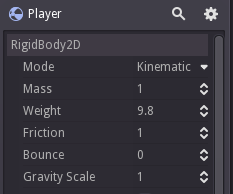
First, open the Player scene and set the Player RigidBody mode to Kinematic mode.

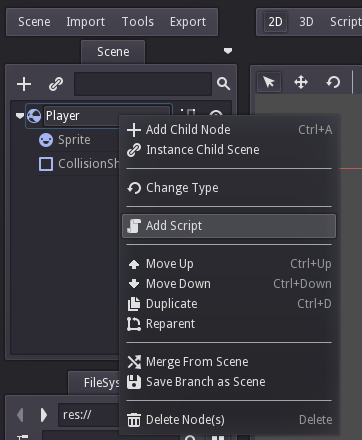
Then right click on the Player node and click on 'Add Script'. Yeah, we are starting scripting.

It will show a popup box asking the name and path to save the script. Godot recommends the path to save as 'res://packed/player/Player.gd'. Save it.
The scripting window will open, we can delete all the commented lines. The player car has to have a speed variable, by which we will scroll the bg. So declare a new speed variable. The code looks like this.
extends RigidBody2D

var speed = 0

func _ready():
    pass
The first line says we are extending the RigidBody2D. It is true because the Player node is a RigidBody2D node type. The speed variable is declared on line 2. The function '_ready' is called internally by Godot, when this node is added to the scene. So we can usually initialise properties here. We don't have anything to put there for now but Godot won't allow an empty function. A 'func' statement expects its body to be indented. If nothing is there like in the code shown below(line 1), Godot will throw an error.
func _ready():


func _someother():
    var somevar = 6
    .....
    .....
A 'pass' statement is a placeholder which doesn't do anything. So we add 'pass' statement to empty methods thus keeping the indentation and syntax correct.
Godot Engine game tutorial for beginners - Create a 2D Racing Game 3 Click To Tweet
Scrolling the bg
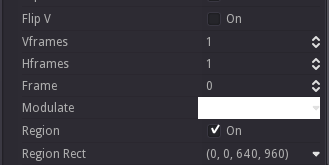
We are going to scroll the bg texture down according to the speed of the player. Yes, we are not moving the bg down, instead we scroll the bg texture down. For that, we need to enable the Region and set the region rect in the inspector first.

What this does is Godot will use the region specified properties as the texture for the sprite. This will make the scrolling easy for us because changing the region rect 'y' value will scroll the texture vertically. Remember, we already enabled the road texture repeat flag in the first part of this tutorial. So theoretically, if we change the y value, the texture will be repeated on the other side. But the repeat won't work, we will solve this later. Just try it, change the x and y values of the rect and see how the texture is shown in the scene view.
Now add a script to the bg node in the game scene and save it as 'res://scripts/bgscroll.gd'. We need to create the scripts folder by the way.
Add this code to the bg script.
extends Sprite

onready var player = get_node("../Player")

var _ypos = 0

func _ready():
    set_process(true)

func _process(delta):
    _ypos -= player.speed * delta
    set_region_rect(Rect2(0,_ypos,640,960))
As you already know, line 1 says we would like to extend the Sprite because bg is a Sprite node. In line 2 we assign the Player node to a variable called 'player'. The onready command is a short hand to initialise something inside the _ready method. We also set a '_ypos' variable which is 0. We will change this variable to scroll the texture. Inside the _ready, we are telling Godot to start the _process loop. This will start calling the _process method every frame per second. This _process method is what we call - the gameloop. We are reducing the _ypos and re-assign the region rect with the changed _ypos.
Delta time
The delta value is the time duration from the last frame to the current frame. This helps to make the game run at constant speed on different types of devices.
For a 60 fps running device, the delta value will be 1/fps which is 1/60 = 0.0166. Let us think that the device has gone mad and now the game is running at 30 fps. When this happens, the delta will be 1/fps which is 1/30 = 0.033. If we multiply the speed with the delta value, the actual movement that happens will be the same for 60 fps and 30 fps conditions, so if our speed is 100, then our actual speed will be 100 * delta which is 100*0.0166 = 1.66 for 60 fps and 100*0.033 = 3.3 for 30 fps. The speed is doubled for 30 fps and the object will travel as much as distance it travels for 60 fps. In reality, both are same to the viewers.
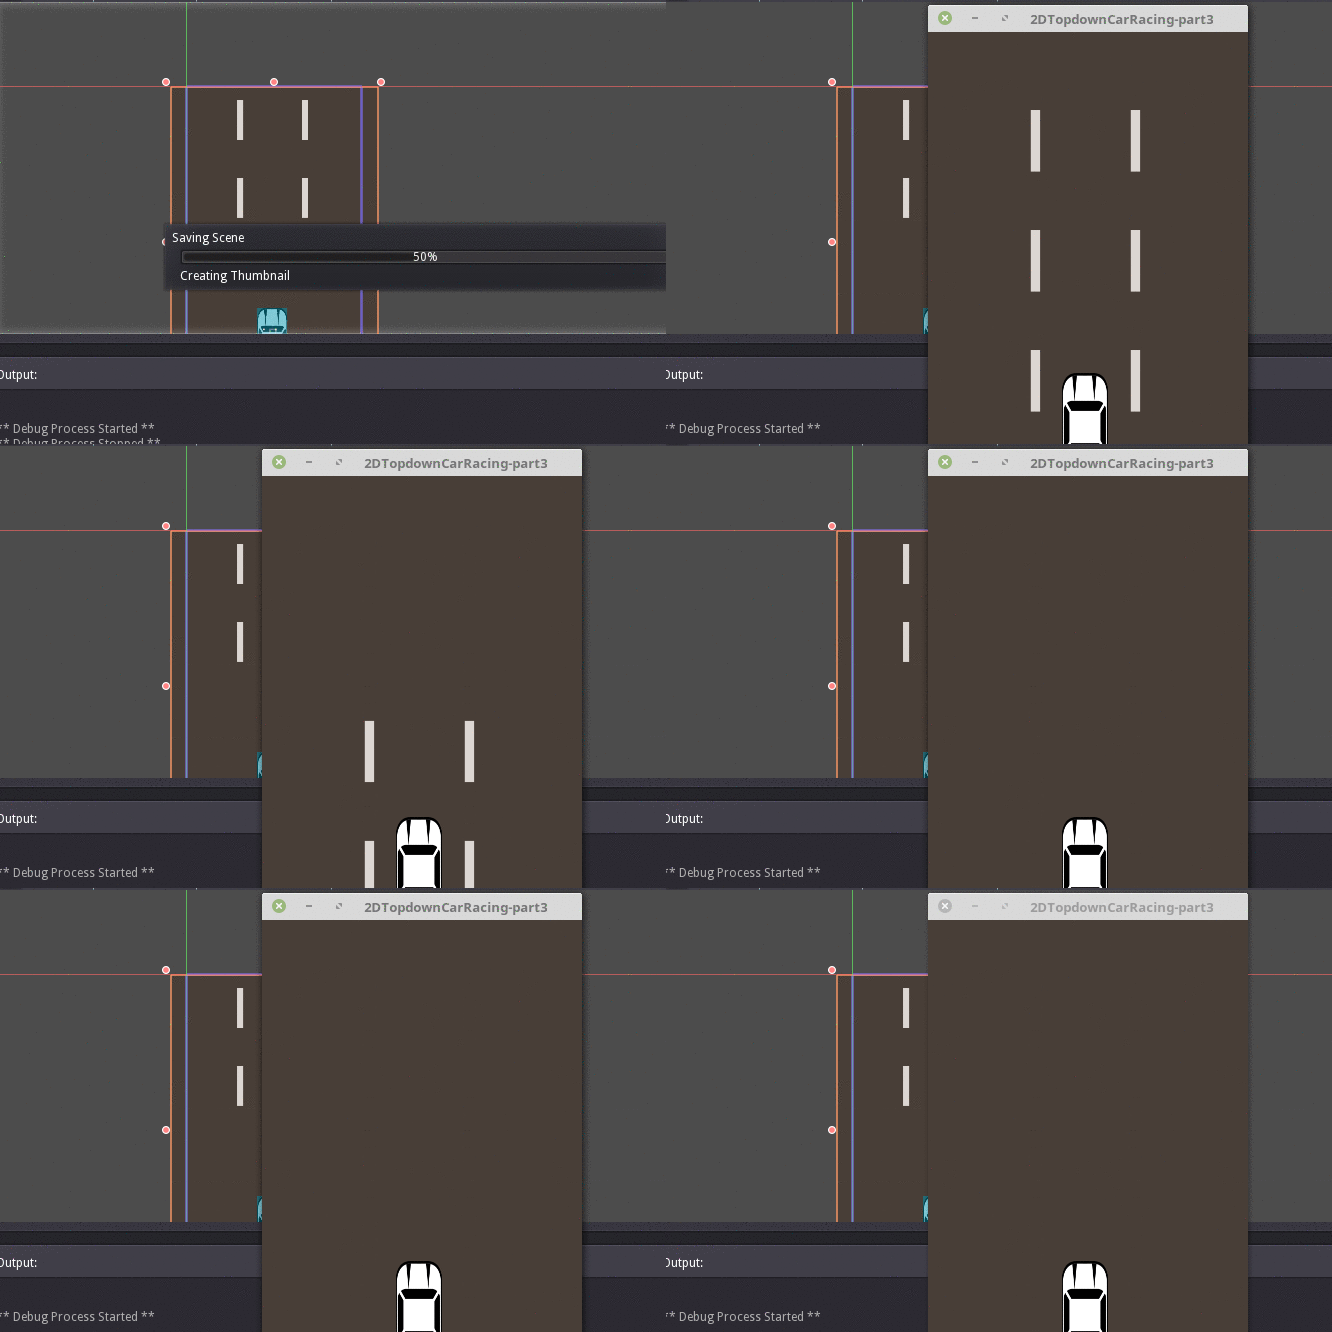
Ok, now run the game and we can see nothing happens because the speed is now 0. So change the speed value in the Player script to 500 and see if that make things any better.

Yeah, the worst happened. But don't worry, Just go to the bg texture settings and enable Mipmaps and run again. Now it works. But...? How..?
This is a GLES2 limitation that we need to enable mipmaps to make the Repeat flag work. What is GLES2? It is an older OpenGL version which is used in Godot Engine. A GLES3 renderer is in the works for Godot 3.0 and future versions. I know what you are thinking now.
"You told me to disable mipmaps earlier and now this..? Why?"
Because this is the way to do it. Enabling mipmaps on 2d games make the texture appear a little blurry because of the compression applied to them. So we don't want mipmaps enabled. This will work for all current and future game engines that uses newer OpenGL versions. Our workflow is right but we disable it for this Godot version to make it work. That's all to it.
I have another tutorial on scrolling the bg using shaders, we can use any of these scrolling techniques.
Acceleration
Open the player script and change the code to
extends RigidBody2D

var speed = 0
var _max_speed = 500
var _acceleration = 0

func _ready():
    set_process(true)

func _process(delta):
    speed += _acceleration
    speed = min(speed,_max_speed)
    if(speed < _max_speed):
        _acceleration += delta
We added a maximum speed limit and an acceleration value. The speed is incremented by acceleration and the acceleration is incremented by delta every frame. The speed is limited to max speed. So the movement will start slow and it is accelerated slowly towards the maximum speed.
Run the game and see the bg scrolls nicely. That's for now. You can download the completed project for this part from here.
Thanks for reading.
[Total: 2 Average: 4.5/5]
