Getting Started in Phaser 3 (ES6) - Create a Boomdots game
In this tutorial, we're going to create a Boomdots type game in Phaser 3. Using ES6 will help us to make use of the most modern features of Javascript. With babel and webpack it is not a problem to transpile ES6 to browser-understandable javascript.
Prerequisites
I am going to assume you are an absolute beginner and only know a little about node, es6, babel, and webpack.
I think it is good to do that for beginners to understand better.
Setup project environment
First, install two things.
- NodeJS - Visit https://nodejs.org/ and install nodejs for your operating system. This will also install npm - node package manager. Npm helps us to manage our dependencies without any difficulties.
- Visual Studio Code/Atom/Sublime Editor - You can use a Javascript editor of your choice.
After installing these, open the project folder in a terminal and type,
npm init -y
This will quickly create a package.json file with some basic parameters.
After that, install phaser library as a dependency.
npm install phaser --save
Open the package.json now and we can see that phaser 3 is added as a dependency.
ES6 is not widely supported in all browsers and has to be transpiled to browser understandable ES5 version. For this, we need a transpiler, which is called babel. We write ES6 classes in separate files and import them as we want in other files. Webpack handles all other things like transpiling with babel and bundling them into application and vendor javascript files. If you are new to all these, just go forward as we don't usually get it for the first time.
Install our development dependencies by typing this to the terminal,
npm install webpack webpack-dev-server raw-loader babel-loader babel-core babel-polyfill babel-preset-env html-webpack-plugin copy-webpack-plugin clean-webpack-plugin --save-dev
It takes some time to install these dependencies.
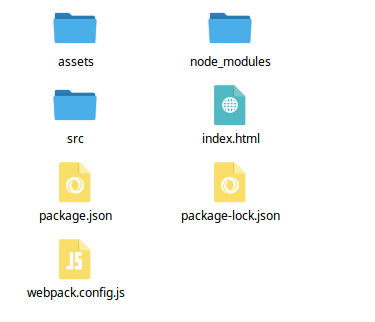
Next, create a webpack.config.js. This is the configuration file that webpack looks for. Copy and paste this config into the file.
'use strict'

const webpack = require('webpack')
const path = require('path')
const HtmlWebpackPlugin = require('html-webpack-plugin')
const CopyWebpackPlugin = require('copy-webpack-plugin')
const CleanWebpackPlugin = require('clean-webpack-plugin')

module.exports = {
    entry: {
        app: ['babel-polyfill', path.resolve(__dirname, 'src', 'index.js')],
        vendor: ['phaser']
    },

    output: {
        path: path.resolve(__dirname, 'build'),
        filename: '[name].[chunkhash].js'
    },

    module: {
        rules: [
            { test: /\.js$/, include: path.join(__dirname, 'src'), loader: "babel-loader" },
            { test: [/\.vert$/, /\.frag$/], use: 'raw-loader' }
        ]
    },

    plugins: [
        new CleanWebpackPlugin('build'),
        new webpack.DefinePlugin({
            'CANVAS_RENDERER': JSON.stringify(true),
            'WEBGL_RENDERER': JSON.stringify(true)
        }),
        new HtmlWebpackPlugin({
            path: path.resolve(__dirname, 'build', 'index.html'),
            template: 'index.html'
        }),
        new webpack.HashedModuleIdsPlugin(),
        new webpack.optimize.CommonsChunkPlugin({
            name: 'vendor'
        }),
        new webpack.optimize.CommonsChunkPlugin({
            name: 'manifest'
        }),
        new webpack.optimize.UglifyJsPlugin({
            comments: false,
            sourceMap: true
        }),
        new CopyWebpackPlugin([
            {from:path.resolve(__dirname,'assets'), to:path.resolve(__dirname, 'build', 'assets')}
        ])
    ]
}
The entry section will transpile all js files inside src folder to a single app js file. Vendor-specific files such as phaser are separated. The module section is where we set rules what to do with the files. The plugin section has different plugins for cleaning the previous build folder, HTML injection, minification, copying of all assets etc. For more information on these, you can visit the official webpack website - https://webpack.js.org/
Setup project structure
Create two folders - assets and src inside our project folder.

Open package.json and add two commands under "scripts" section. The file looks like this,
{
  "name": "phaser3",
  "version": "1.0.0",
  "description": "",
  "main": "index.js",
  "scripts": {
    "build": "webpack",
    "dev": "webpack-dev-server"
  },
  "keywords": [],
  "author": "",
  "license": "ISC",
  "dependencies": {
    "phaser": "^3.1.0"
  },
  "devDependencies": {
    "babel-cli": "^6.26.0",
    "babel-core": "^6.26.0",
    "babel-loader": "^7.1.2",
    "babel-polyfill": "^6.26.0",
    "babel-preset-env": "^1.6.1",
    "clean-webpack-plugin": "^0.1.18",
    "copy-webpack-plugin": "^4.4.1",
    "html-webpack-plugin": "^2.30.1",
    "raw-loader": "^0.5.1",
    "webpack": "^3.11.0",
    "webpack-dev-server": "^2.11.1"
  }
}
Go to our src and create index.js and this is how to initiate our phaser game.
import phaser from 'phaser'
import { Preloader } from './scenes/preloader'

const config = {
    width: 270,
    height: 480,
    parent: 'content',
    scene: [
        Preloader
    ]
}

const game =  new phaser.Game(config)
Preloader scene is not created yet so let us create it.
Create a scenes folder and 'preloader.js'. Then copy paste the following code.
import phaser from 'phaser'

export class Preloader extends phaser.Scene {
    constructor () {
        super({
            key: 'preloader'
        })
    }

    preload () {
        console.log('Preloader preload')
    }
}
This is the index.html file which serves as a template for the html-webpack-plugin. The plugin will auto inject the scripts.
<!DOCTYPE html>
<html lang="en">

<head>
    <meta charset="UTF-8">
    <title>Phaser</title>
    <meta name="viewport" content="width=device-width, initial-scale=1, user-scalable=no">
    <style>
        html,
        body {
            margin: 0;
            padding: 0;
            overflow: hidden;
        }
    </style>
</head>

<body>
    <div id="content"></div>
</body>

</html>
Open a terminal and type and hit enter. This will start webpack-dev-server as specified in package.json. To build the project, run npm run dev npm run build . The copy-webpack-plugin will copy our assets into the build folder.
Add game background
Let us add our game background. The background is an infinite scrolling texture, phaser has a special class for this called TileSprite.
I have a white png which is used as a static bg and a striped arrow bg which is overlaid over the static one. So if I need a color change later, I could simply change the tint of the static bg.
 White Background
 Stripes Overlay
While I was re-creating the Boomdots game, I created the art so similar to the original one, so please don't use the images provided in this page for any purpose. I strongly recommend you don't even use this for learning. Simply follow the tutorials with your own custom artwork.
Preload the required assets in preloader scene in the 'preload' method.
...
preload () {
    this.load.image('bg-static', 'assets/square.png')
    this.load.image('bg-overlay', 'assets/bg.png')
}
We need a game scene, so let us create it.
Game scene
Create game.js in src/scenes
import { Scene } from 'phaser'
export class Game extends Scene {
constructor () {
super({
key: 'game'
})
this.staticBg = null
this.scrollingBg = null
}
create () {
// Add the static square bg first at 0,0 position
this.staticBg = this.add.image(0, 0, 'bg-static')
// Apply a grey tint to it
this.staticBg.setTint(0x444444)
this.staticBg.setOrigin(0.5)
// Add a tilesprite so the striped image(396x529) can be scrolled indefinitely
this.scrollingBg = this.add.tileSprite(0,0,396,529,'bg-overlay')
this.scrollingBg.setOrigin(0.5)
// We can add multiple cameras in a Phaser 3 scene
// This is how we get the main camera
let cam = this.cameras.main
// Set its viewport as same as our game dimension
cam.setViewport(0,0,270,480)
// Center align the camera to occupy all our game objects
cam.centerToBounds()
}
update () {
this.scrollingBg.tilePositionY -= 1
}
}
The staticBg is the white square which is placed at 0,0 and a tint value if 0x444444 is applied to it. The scrollingBg is the image with the stripes and is placed over the white bg. We are using the phaser TileSprite class to scroll the image indefinitely. The image has a weird dimension of 396×529 which is set in the creator method. This is required to loop the image correctly.
The art is done with a game dimension of 270×480 in mind. The square static bg has the same dimensions and hence the camera viewport is set.
We also need to add this new Game scene to the game config. So open index.js and add our scene to the scenes property.
...
import { Game } from './scenes/game'
const config = {
width: 270,
height: 480,
parent: 'content',
scene: [
Preloader,
Game
]
}
...
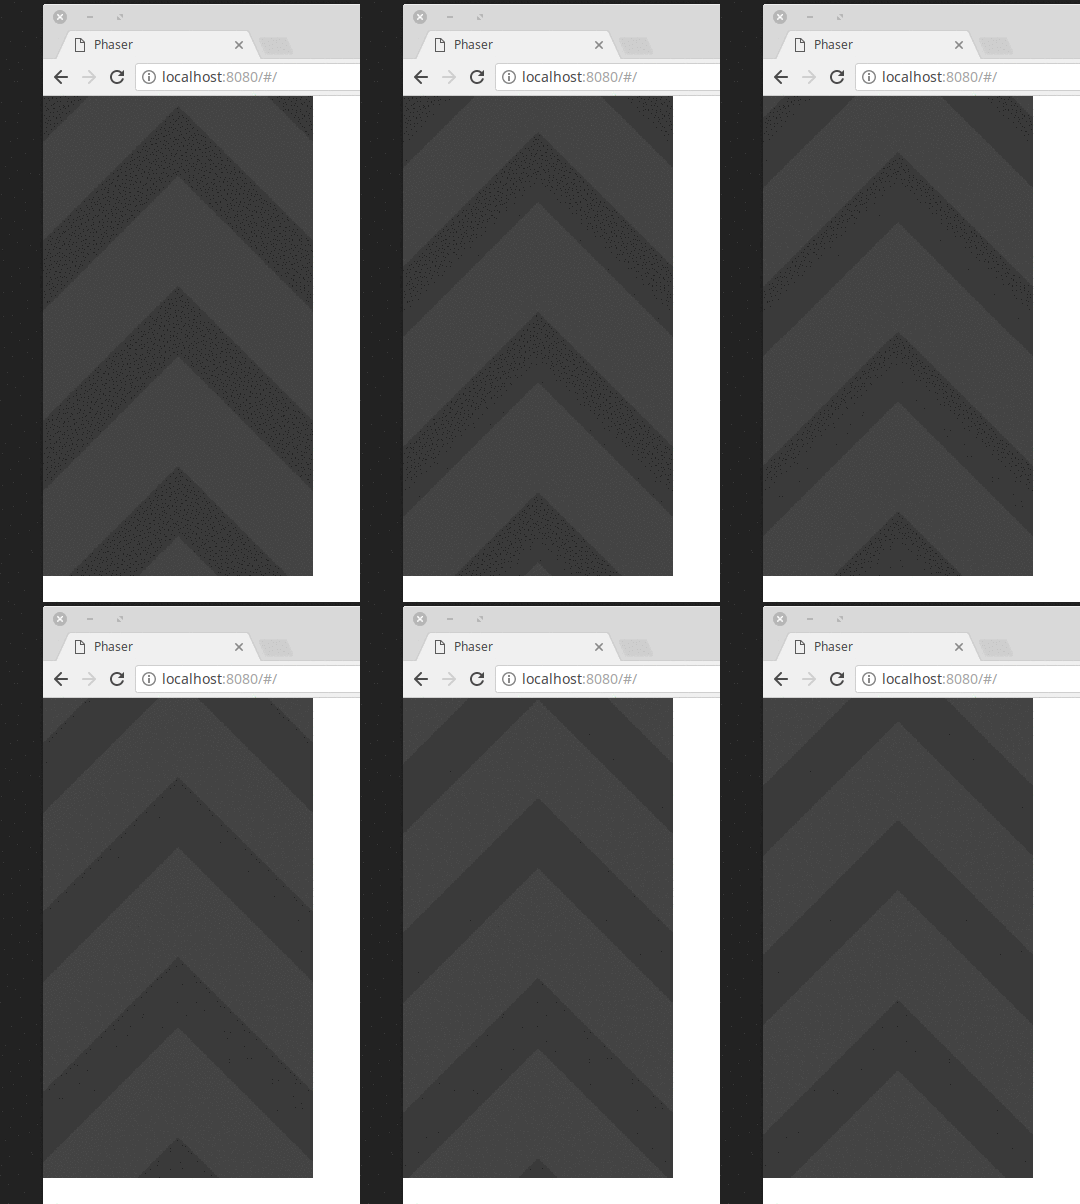
If you didn't close the terminal and the dev server is still running, you can see the output in the browser like this.

This doesn't loop the bg correctly, right? No, it is because the gif is not looping. Our game is perfectly ok.
Resizing our game
If we open the game in chrome and check if how it works on smaller screens, we can see that the game doesn't scale well.
I like to fill the screen with our game, without any black bars on sides keeping the aspect ratio. In order to do that, we need some small changes to the above scripts.
import phaser from 'phaser'
import { Preloader } from './scenes/preloader'
import { Game } from './scenes/game'
const config = {
width: window.innerWidth,
height: window.innerHeight,
parent: 'content',
scene: [
Preloader,
Game
]
}
const game = new phaser.Game(config)
window.onresize = function () {
game.renderer.resize(window.innerWidth, window.innerHeight)
game.events.emit('resize')
}
We've changed the game size to fit the window by giving the dimensions to the window inner sizes. There is an onresize handler which resizes the renderer to fit the screen. However, this only resizes the canvas to fit the screen. It doesn't apply any scaling to the game.
We are also telling the game to emit a 'resize' event. There is no predefined 'resize' event in phaser game. So please don't confuse, as we can pass any string to the emit function and it emits an event with that name.
import { Scene } from 'phaser'
export class Game extends Scene {
constructor () {
super({
key: 'game'
})
this.staticBg = null
this.scrollingBg = null
}
create () {
this.staticBg = this.add.image(0, 0, 'bg-static')
this.staticBg.setTint(0x444444)
this.staticBg.setOrigin(0.5)
this.scrollingBg = this.add.tileSprite(0,0,396,529,'bg-overlay')
this.scrollingBg.setOrigin(0.5)
// Add a listener to our resize event
this.sys.game.events.on('resize', this.resize, this)
// Call the resize so the game resizes correctly on scene start
this.resize()
// Listen for this scene exit
this.events.once('shutdown', this.shutdown, this)
}
resize () {
let cam = this.cameras.main
cam.setViewport(0,0,window.innerWidth, window.innerHeight)
cam.centerToBounds()
// Adjust the zoom such that it scales the game
// just enough to clear out the black areas
cam.zoom = Math.max(window.innerWidth/270, window.innerHeight/480)
// If we want to fit our game inside, then use the min scale
// cam.zoom = Math.min(window.innerWidth/270, window.innerHeight/480)
}
update () {
this.scrollingBg.tilePositionY -= 1
}
shutdown () {
// When this scene exits, remove the resize handler
this.sys.game.events.off('resize', this.resize, this)
}
}
Check if our game scales to fill the screen now. We can use the min scale of the window and game dimension ratio so that our game does not fill, but fit inside the screen.
Yes, the scaling code can be moved to a separate base scene and extend all game scenes from it. So scaling and event handling will be handled by the base scene. However, we're not going to do that for now, it is for another time.
Wait for the next part to add the rocket, alien and other game specific things.
[Total: 0 Average: 0/5]
