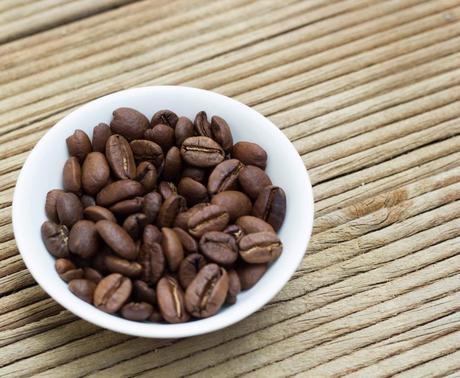
Coffee is KING in our house and over the weekend, we RAN OUT OF BEANS! An event which I am fairly sure gave us a sneak preview of the apocalypse.
What ensued was a ripper coffee withdrawal headache and the husband and I struggled to think of the last time we had a coffee free day. The most certain date we could come up with was sometime in April 2011 when we were in Japan on our honeymoon. The land where HOT coffee comes in a CAN from a vending machine! I swear some ancient Italian coffee connoisseurs just rolled over in their graves.
So this week, following the coffee apocalypse, we are back on the coffee train and this week the husband and I celebrate our second wedding anniversary. One of my husband’s favorite treats is a cappuccino mousse, so the latest Sweet Adventures Blog Hop seemed like a great opportunity to turn this fave into a boozy treat. Coffee + Booze. Tick and Tick. Enter Espresso Martini Mousse Cake.

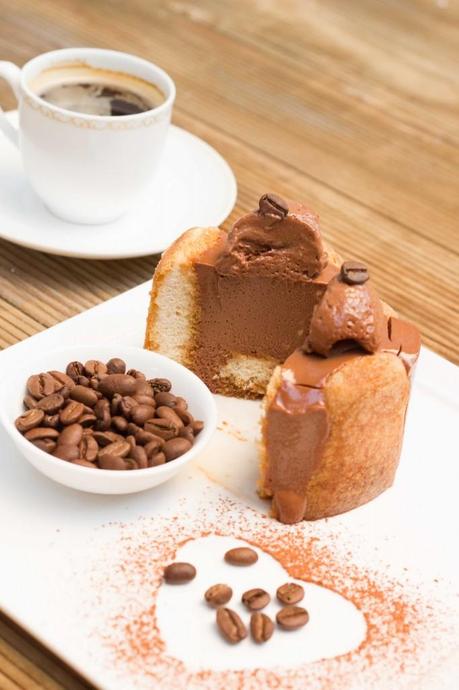
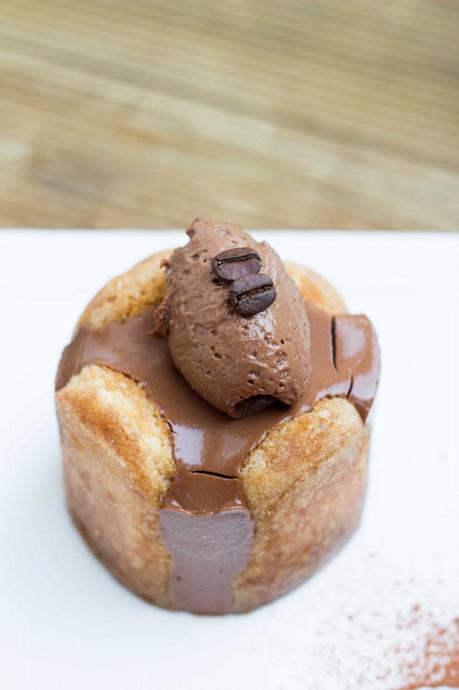
espresso martini mousse cake
ingredients
- 9 Italian sponge fingers {8 cut in half, 1 cut into four}
- 2 cups Kahlua
- 1 espresso
- 360 ml thickened cream
- 3 egg yolks
- 200 grams dark chocolate
- 40 ml golden syrup
- Four 7cm ring moulds or layer in bowls if you don’t have rings
method
- Place the ring moulds on a tray covered in baking paper {or grab out your bowls}.
- In a bowl {with a wide enough base to fit a sponge finger} place the Kahlua and espresso shot.
- Cut each of the sponge fingers in half, then dip each half in the Kahlua/coffee liquid, tossing so that each side sucks up a good amount. What you’re after is a soft exterior, but the finger still maintaining its shape. If you soak it for too long it will fall apart in your hands and not maintain its shape when un-moulded.
- Place each finger half around the edge of the mold with the cut side on the tray. You will notice that each sponge finger has a ‘top’ which is coated in sugar. To make the dessert look its best place the ‘top’ on the outside.
- Repeat with all four moulds and add a small dry piece of sponge in the bottom of the mould, it will suck up all the delicious liquid which drains from the other four pieces. Pop the tray in the fridge.
- Moving on to the mousse. In a medium bowl whip the cream until it reaches soft peaks. Refrigerate. Whip the egg yolks until they reach the ribbon stage and become pale.
- In a small saucepan heat the golden syrup until hot and it will pour easily. Whilst beating the egg yolks, pour the golden syrup onto the eggs. Continue whipping until the mix cools.
- Stir in the espresso.
- Meanwhile…in a double boiler melt the dark chocolate. {I have recently discovered heat resistant rubber spoons – seriously amaze-balls when it comes to getting all of the melted chocolate out of the saucepan}
- Whilst still mixing the egg/golden syrup mixture, pour in the melted chocolate. Mix until cooled.
- Grab the whipped cream back out of the fridge. Fold 1/3 of the whipped cream into the the chocolate mixture {that spoon I mentioned earlier is great for this job too}. When combined, add the next third, mix thoroughly. Then add the final third until combined. The mix may look a bit thin, but trust me it comes up a treat.
- Get the moulds out of the fridge and gently pour the mousse into the mould, up to the top. Place back in the fridge and leave until mousse sets, generally at least 4 hours, but overnight is best. There will be a bit extra mousse, so pop it into a container to make quenelles later {or to sneakily snack on}.
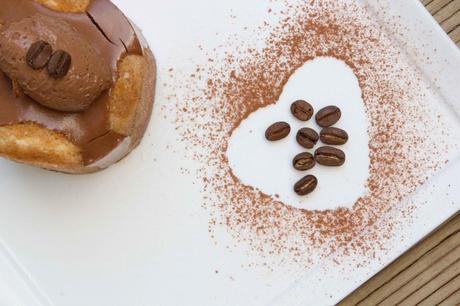
- When you’re ready to serve place the mold gently on a plate. To release the cake from the mould, licking a blow torch around the mold gently will release it. Serve with a quenelles of mousse and coffee beans.
- NOTE: This cake is pretty boozy, so consider it as a standard drink…we don’t want anybody copped for drink driving!


This recipe is part of the wonderful and delightful Sweet Adventures Blog Hop – Cocktail Party hosted by JJ from 84th & 3rd.

Thanks for hosting JJ, great theme idea…my husband is one happy man.
Happy eating!
Emmy xx

