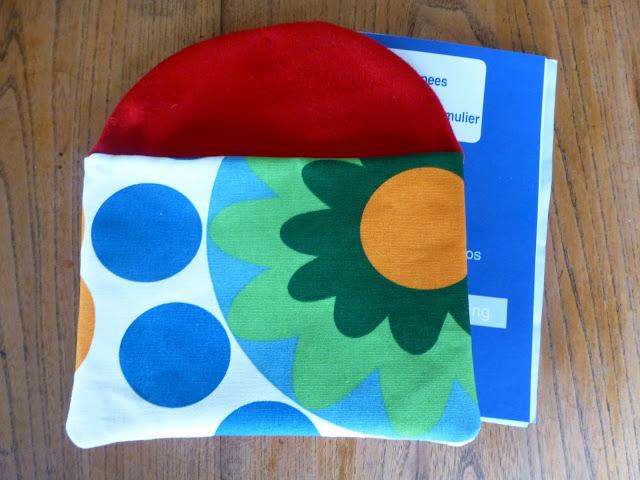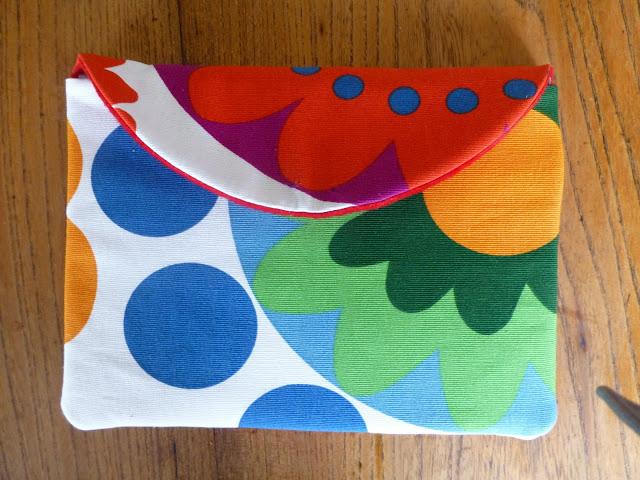
I decided on a two part clutch, a soft red inside and a flowery outside (the outside fabric was a left over from when I redid our couch). Since I knew the exact size of the papers (half an A4), I used a folded piece of paper as a size template. In short I needed two pieces of fabric a cm bigger than my papers, and I needed two pieces the same size, but with a flap on it. If you trace around the papers, make sure you keep a little more space so that if the pile grows you still have place enough for them. I used 0.5 cm for extra space and 1 cm (at least) for a seam. And you'll need pieces of vlieseline (an iron on stiffener) to fit on every piece of fabric you'll need.
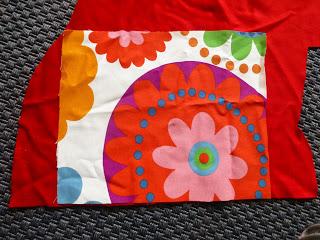
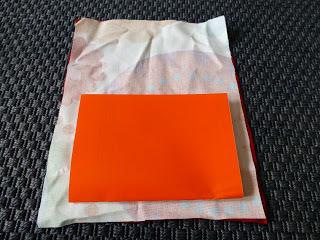
To get a nice round flap I used a plate of more or less the same with as my stack of papers.
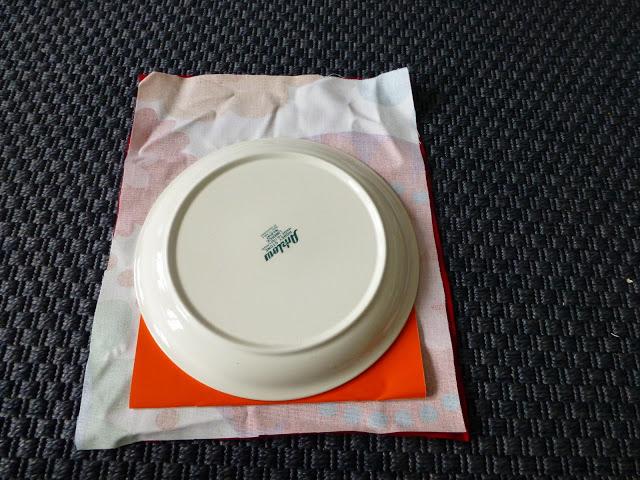
Iron on the vlieseline, if you have a thin version (link me) you can see your marks through the vlieseline. I iron it on with the temperature on two dots and no steam. The glossy and smooth side is the ironing side, the other side sticks to the fabric.
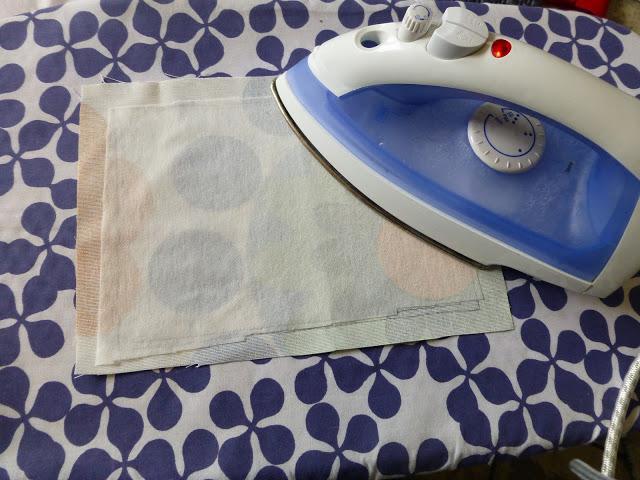
Pin together the tops of the front and back parts. Make sure the pretty sides face each other!! Sew and trim the fabric. Pull your parts inside out and iron down the seams. This makes it easier to get them straight if you sew everything together in the end.
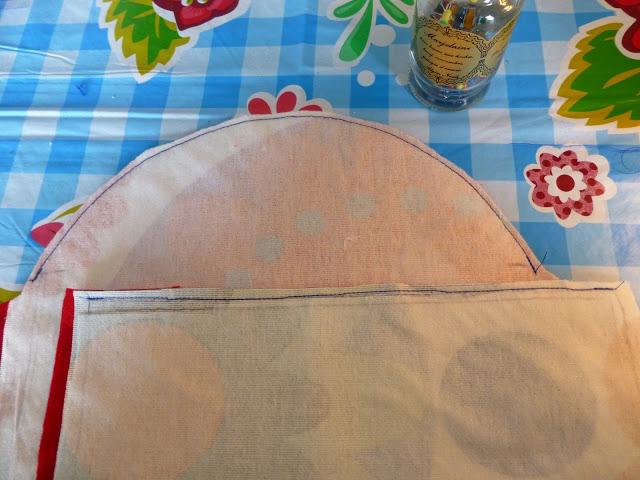
Place your front and back together with the outside in. So for me that is the flowers on the inside and the red on the outside. Use your paper to mark where your stack should come and pin off the area. Make sure to leave some room for the eventual bigger stack of paper (the 0.5 cm remember).
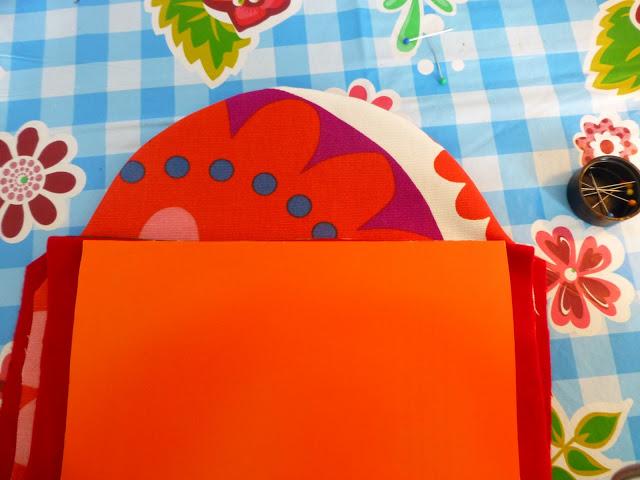
Sew the sides together and trim the sides. Make sure not to cut into your own sewing.
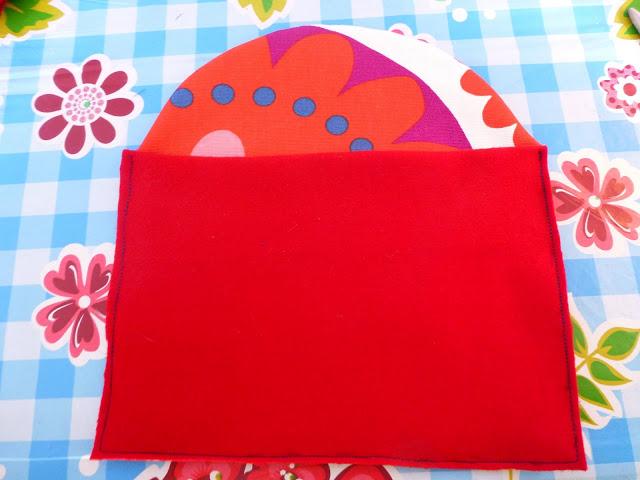
Pull your work the right way round, and voila, your clutch! You could add a button to keep it shut (the fabric was too thick to do that with my machine - so I'm planning to use magnetic buttons). Can you imagine the look on the face of the next cop who will pull you over to ask for your papers??
