Enlarging a design: our string art of Dal Verme Castle | #LRCrafts - DIY Passion: if you can think it, you can make it
Leggi in italianoString art has always been a cherished craft for my husband and me, the first technique we practiced together. We’ve embarked on numerous projects, crafting pieces for ourselves as well as for our loved ones. Over the years, though, we explored other crafts, so string art took a back seat for a while.
One day though, while out and about, we stumbled upon a discarded treasure: a magnificent piece of wood someone was throwing away. It was a big solid wood board we soon adopted for a big project.
You might recall another project we made a few years ago, a small string art panorama of the Dal Verme Castle of Zavattarello, a place that’s particularly dear to me.
Well, what that piece was missing were details: too small windows, a tiny terrace with too tiny columns… we couldn’t help but feel it lacked the intricate features of the original building.
So, armed with newfound inspiration and a larger canvas, we set out to recreate the castle on a grander scale.
Just how big, you ask? Well, the wooden board we acquired measured a whopping 62cm x 55cm—more than double the size of our previous creation.
String art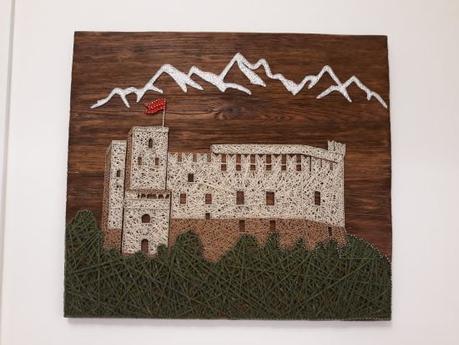
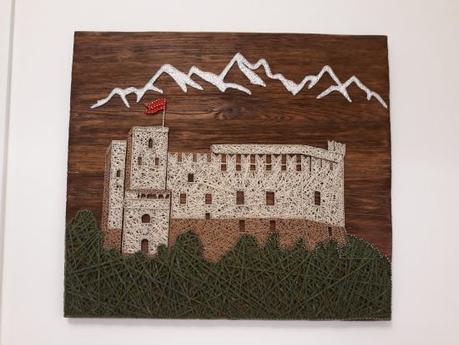
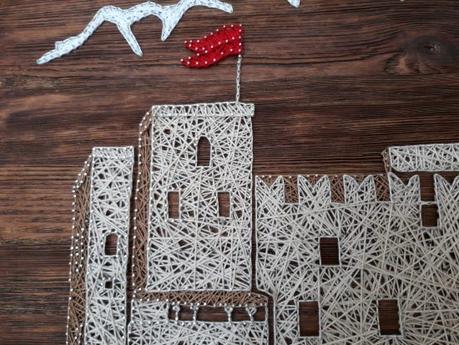
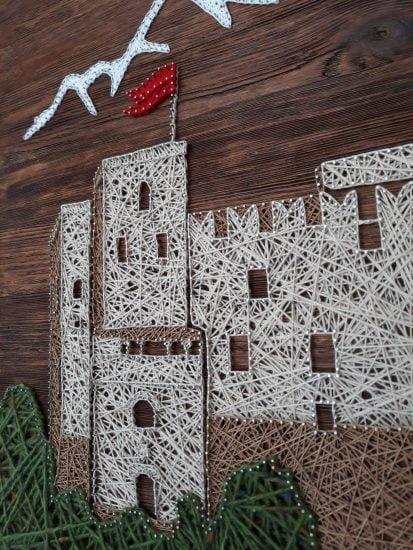
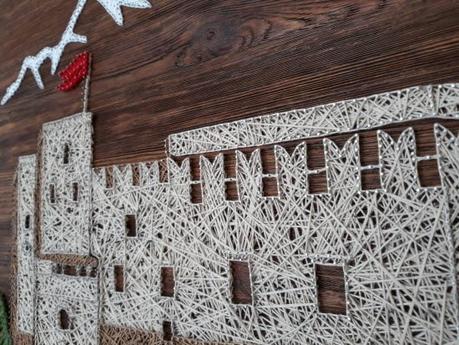
Click for the finished project detailed photos
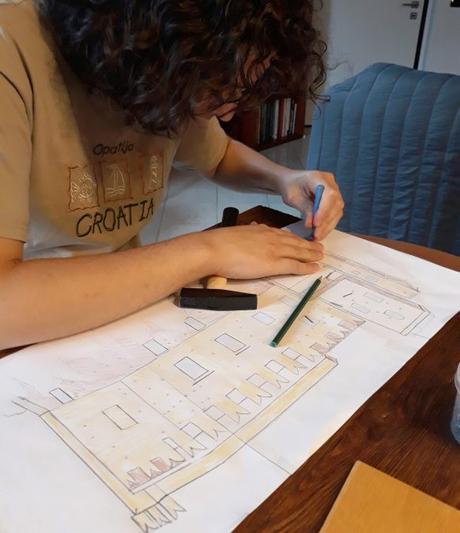
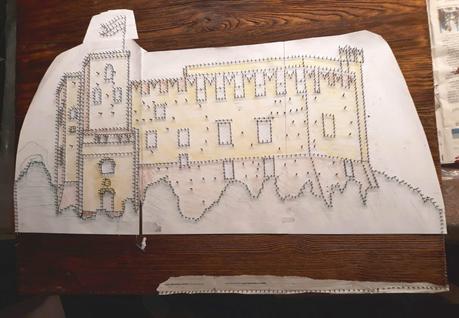
Our choice was to use the same photograph that had been the basis of the previous string art design as our guide: we wanted to appreciate the differences in detail scaling up from the previous 35cm wide project.
We adapted the image to suit the technique, allowing for a more pronounced 3D effect by strategically spacing out the architectural elements. Separating the main parts of the architecture with a small gap made in particular the main tower stand up, surrounded by a hollow gap like to suggest its prominence towards the spectator.
I meticulously retraced the photograph, transferring it on paper. I also brought the design to life with colored pencils, giving each feature the right color to match the yarn we had in mind: a creamy tone for the walls and elements in sunlight, brown for shaded areas and green for the hills. Iintentionally left the windows and doors hollow, allowing the natural wood grain to peek through from the back.
Scaling the design, we ensured that a charming wooden knot was visible above the castle, standing out like a hovering cloud, adding whimsy to the scene.
And while I was taking care of the design, being the one who deeply know the original castle, my husband prepared the board, sanding it and, before painting, passing it gently with a metal brush to let the natural wood veins stand out.
As for the yarn, we opted for the very same ones we chose for the previous castle string art. Bamboo yarn, a beloved choice for string art projects, was our go-to once again. Its softness, lack of lints and ease of weaving, especially with our trusty hollow punch passed down from my husband’s grandfather, made it an obvious choice.
However, for the hill and its surrounding forest, we ventured into new territory – literally. During a recent trip to Ireland, we stumbled upon a delightful woolen yarn adorned with tiny multicolored flecks, reminiscent of the diverse hues of nature. Working with wool for the first time was a learning experience; its delicate nature required us to handle it with care, mindful not to break its fragile strands.
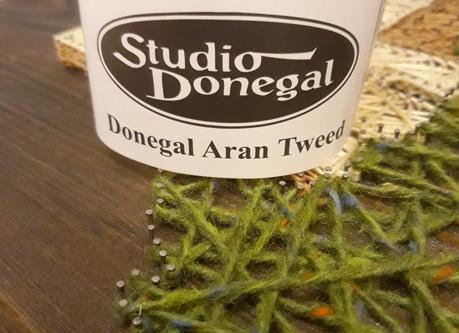
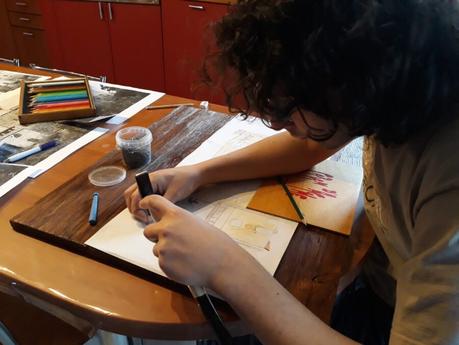
All our materials and design ready, we began the proper crafting.
First step was the monumental task of hammering countless nails down into our massive wooden board. We didn’t dare count them, but we suppose there could be thousands.
Nailing down is indeed the longest phase of a string art project. To ease the process, while one of us marked every single nail position with a sharp awl, the other could be quicker with the hammer. This is an aspect of string art we loved since the first project: it’s a craft that’s good to make in pair, working together on the same piece at the same time.
At the end of this long step, the real fun could begin when the thread came into play.
What a delight it was to finally weave the yarn through the intricate network of nails! As we meticulously worked our way through the design, we marveled at the details beginning to emerge, a subtle interplay of colors and textures bringing our creation to life.
This time, we made a conscious decision to focus solely on yarn, leaving aside our initial thoughts of a mixed media approach. We wanted our piece to convey the beauty of simplicity, where yarn and nails alone left the castle building as protagonist.
But we didn’t ditch depth and three-dimensionality: we strategically placed the nails, varying their heights to create a sense of perspective. Those in the foreground stood taller, while those in the background lay lower, as receding into the distance. It was a delicate balance, but one that ultimately enhanced the 3D effect we sought to achieve, and that became apparent while working the yarn through the different sections.
We also decided to add the Alps on the background, as they can be seen on clear days. This adds a certain depth to the composition, with snowy mountains depicted on lower nails and the wooded landscape below the castle on higher nails. With the substantial size of the canvas, we were able to play more with intricate details.
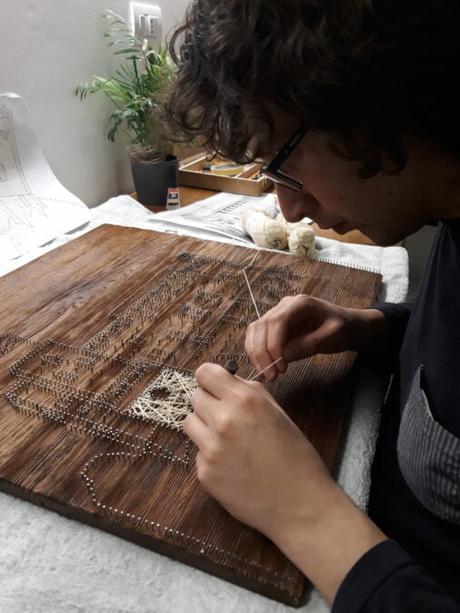
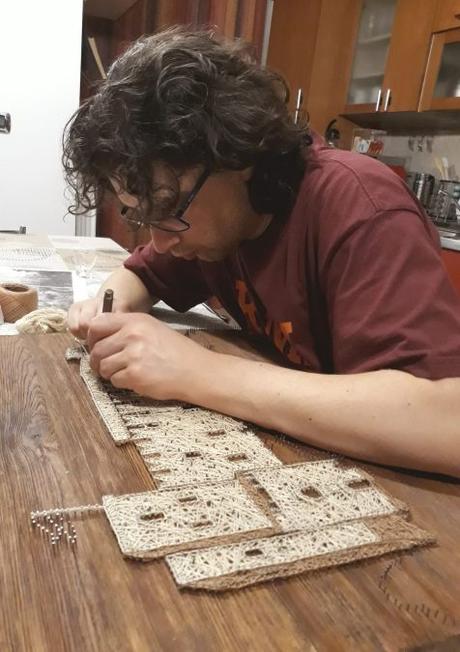
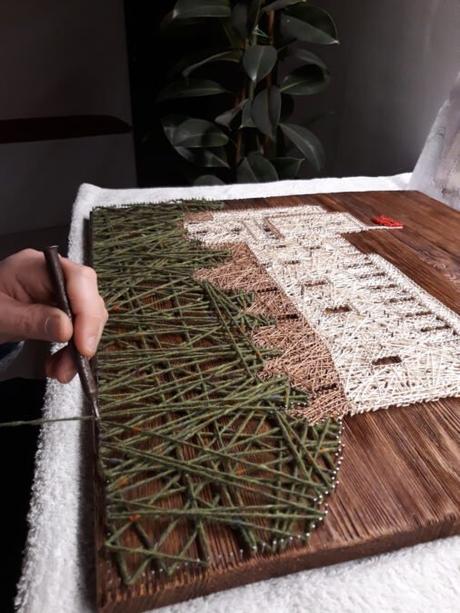
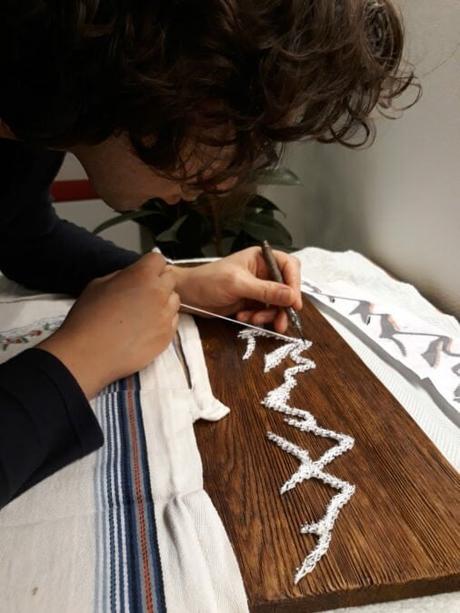
I’m sorry the photos do no justice to the size of this piece: there was just one wall at home suitable for hanging it.
As we stand back and admire our creation, we invite you to tell us your opinion about this string art masterpiece: we’re eager to hear your thoughts.
Did we succeed in capturing the essence of the castle of Zavattarello? Did our choice of materials and techniques resonate with you? Please share your opinions, insights, and also even your own string art experiences in the comments below.
by Rici86.
