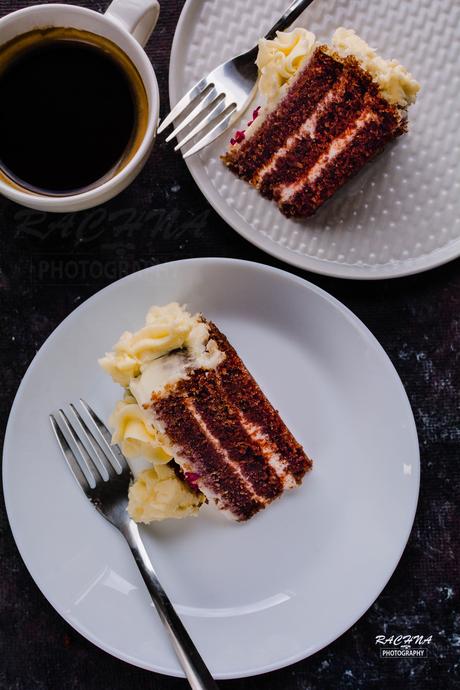
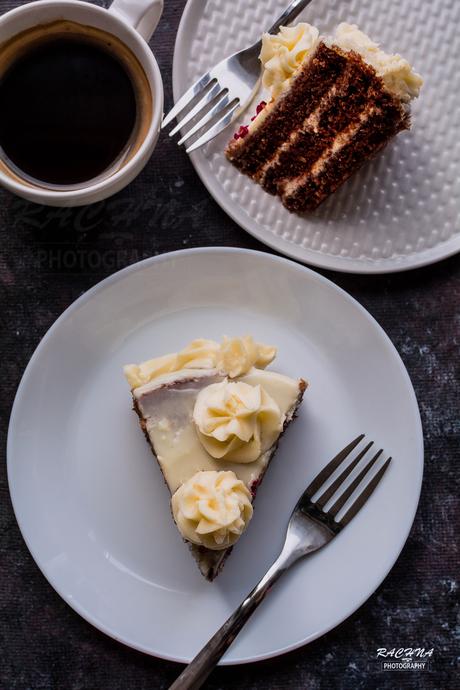
Eggless red velvet cake is soft, super moist, melt in mouth cake with hint of tang from buttermilk. This cake is soft like velvet, smothered with delicious cream cheese frosting.
In one month I made this eggless red velvet cake for 3 times. You must be thinking why 3 times?
So the answer is that I never post a recipe until I am satisfied with it. In first two trials it was close to my expectation but still I felt there was something missing. So I made changes and in 3rd trial I got as close to taste we get from cakes from posh bakeries.
Red velvet cake origins ?
This cake looks so beautiful and tastes just out of this world (in positive way 😉 ). While developing this eggless version of red velvet cake I became inquisitive about it. After doing some research online I found several theories of origins of this cake. According to one theory, when during war-time food was rationed, some bakers began adding beets or beet juice to their cakes. While according to American theory Red velvet cake was a signature dessert at Waldorf Astoria Hotel in New York City during the 1920s. Some argue that the Red Velvet cake started in the south of America.
So what is Eggless red velvet cake exactly?
Eggless Red velvet cake is like cross between chocolate cake and vanilla cake with the tanginess from buttermilk. However chocolate flavour is very mild in this red coloured cake. It is generously topped with cream cheese frosting.
Ok. Now coming the most difficult part of the recipe , the chemistry among the ingredients.
A beautifully textured cake is really the result of chemistry of ingredients. You have to understand what are the ingredients and how they behave upon mixing. One biggest hurdle I came across was to find the substitute of eggs . In traditional red velvet cake recipes, eggs play very important role. They create structure and stability within the batter, and add moisture to cakes. The substitutes I used worked so well that I swear no one could guess it's eggless red velvet cake.
Important Tips to make a classic eggless red velvet cake:
- Patience and relaxed - This delicious velvety cake is simple to make if you show some patience. I found that my baked goods give best results when I am relaxed. Whereas I have created some tremendous disasters in jiffy.
- Type of flour - This eggless red velvet cake requires cake flour. It is easily available in supermarkets. But if in any case you don't have it, you can prepare it yourself. What you have to do is measure 1 cup of plain flour, take out 2 tablespoons of flour and replace it with 2 tablespoons of cornstarch. That's it. Easy right?
- Choosing right red food colouring - I think this is the point where most of the people go wrong. So the best food colouring I would recommend here is gel colours. In UK gel colours are popular. Don't use that little liquid bottle available in most of the supermarket. They will NOT work! You will end up having to use about 5 bottle to make it work, and it'll just taste funny.
- Choosing the cream cheese for frosting - I always use Philadelphia when its comes to choose cream cheese frosting. UK Philadelphia cream cheese has a lower fat %, comes in tubs, and it's spreadable while in India and US, it comes in block. Philadelphia cream cheese in UK is much softer than what you get in US and India is much firmer. So it is difficult for frosting made of UK Philadelphia cream cheese, to hold shape. The solution is to either make whipped cream cheese frosting as I have instructed below or make frosting by adding equal quantities of cream cheese and of butter.
- Cocoa powder - Use natural organic cocoa if available, don't use dutch process cocoa powder (less acidic) in this recipe. Natural cocoa is acidic in nature which reacts with buttermilk and vinegar to create reddish hue.
Ingredients
Dry ingredients
1 1/4 cup cake flour
3/4 cup sugar
1 teaspoon baking powder
1/2 teaspoon baking soda
A pinch of salt
Wet ingredients
1/3 cup oil
1/3 cup butter
1/2 cup buttermilk (See step 2)
1 teaspoon vanilla essence
1 tablespoon vinegar
1 1/2 tablespoon red food colour (gel)
1/4 cup plain hot coffee
For classic cream cheese frosting
180 grams cream cheese (Philadelphia )
1/4 cup softened butter
1 teaspoon vanilla
1 1/2 cup icing sugar (sifted)
Instructions
Step 1. Sifting Dry Ingredient
Preheat oven to 325 F. Butter a 6 inch or 8 inch round cake pan and dust with flour.
In a medium bowl, whisk together flour, baking soda, baking powder, cocoa powder, and salt. Set aside.
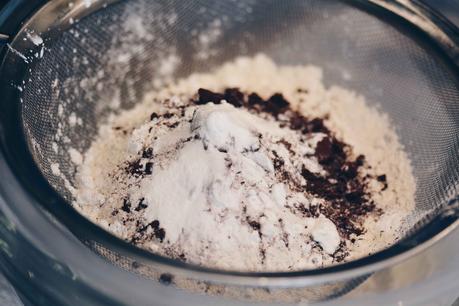
Step 2. Prepare buttermilk by adding vinegar to milk. Let it set for 5 minutes aside.
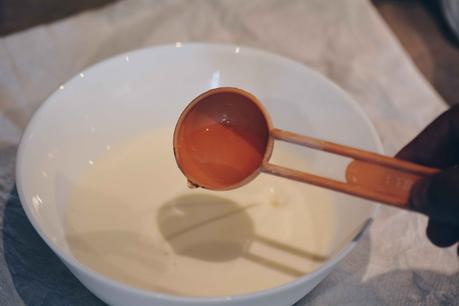
Butter milk is ready to use.
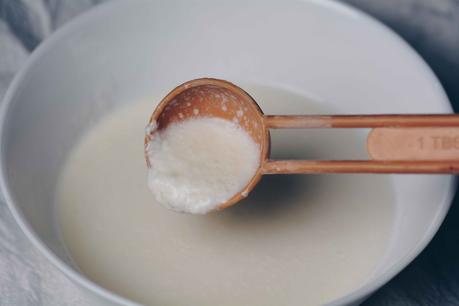
Step 2. Prepare wet ingredient
In a large bowl, combine the butter and sugar.
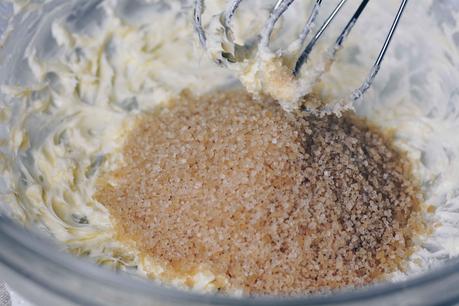
Add in oil.
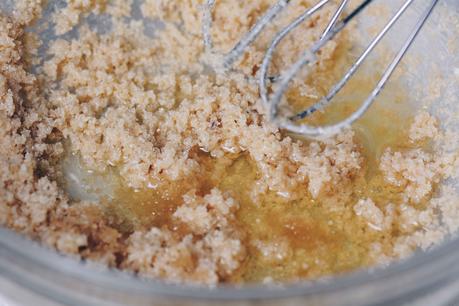
Mix in vanilla until combined.
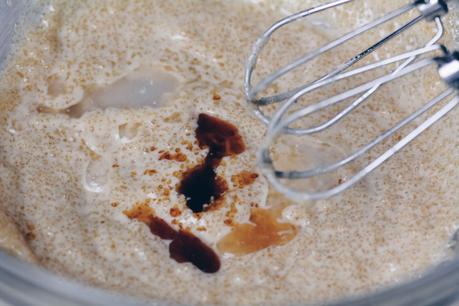
Add buttermilk, white vinegar and red food coloring until combined.
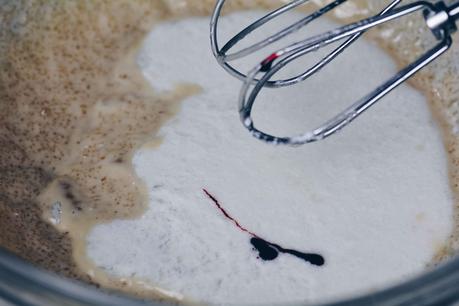
Look at the gorgeous colour of prepared batter.
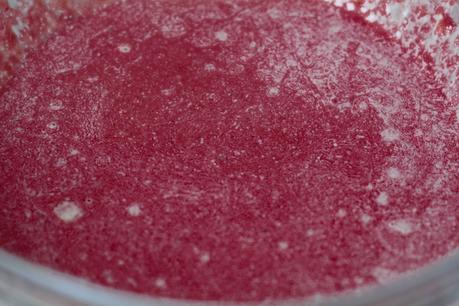
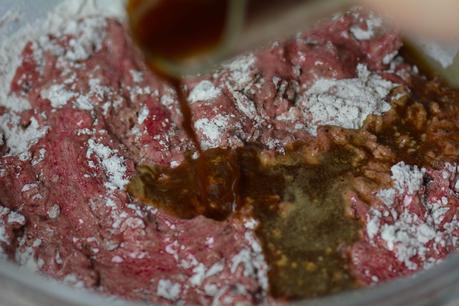
Combine the wet ingredients with the dry ingredients a little at a time, mixing after each addition, just until combined.
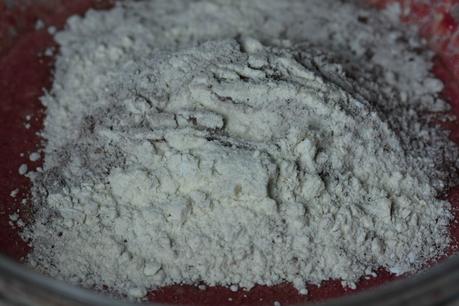
Add the coffee in to the mixture. Batter will be medium consistency not thick nor thin.
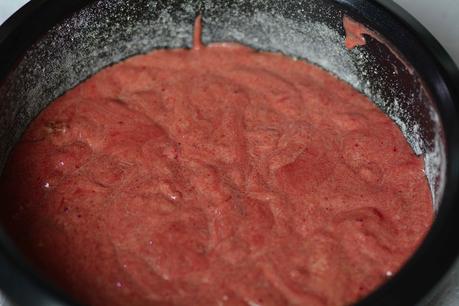
Pour the batter evenly into prepared pan. Spread into an even layer.
Bake in preheated oven for 40 - 45 minutes or or until a toothpick inserted into the centre comes out clean.
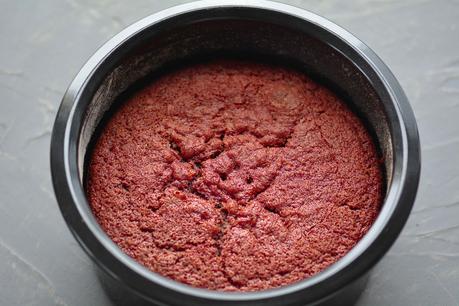
Cool in cake pan 10 minutes then run knife around edges of cake to loosen and invert onto wire racks to cool completely.
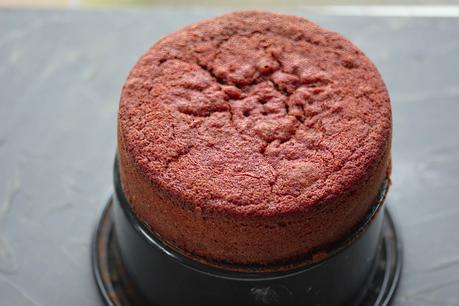
Cut the cake into three layers. Note - Make sure cake doesn't break. If not sure its better to cut into just two layers.
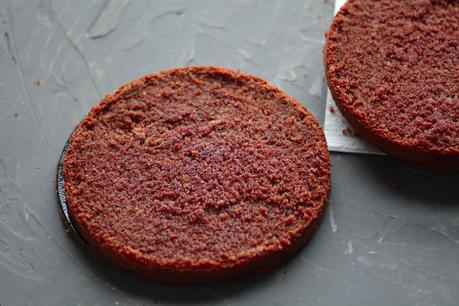
For Cream cheese frosting
Take out chilled cream cheese in a large mixing bowl .
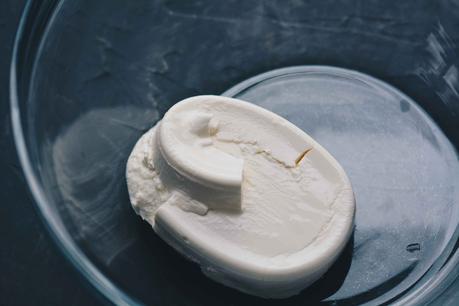
Whip cream cheese and add butter and vanilla essence. Whip until smooth and fluffy.
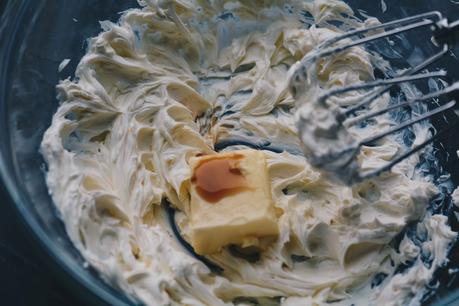
Mix in powdered sugar and whip until light and fluffy.
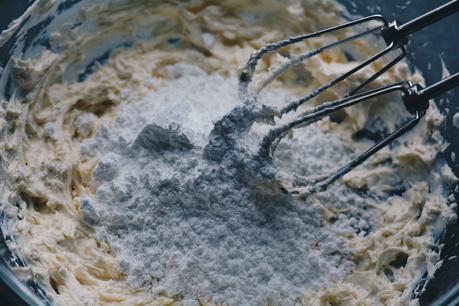
Make sure that you don't over beat. Or you may chill this frosting in refrigerator and then return to mixer and whip occasionally.
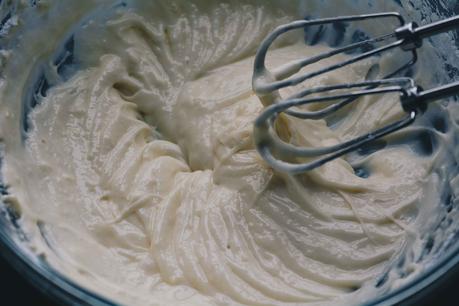
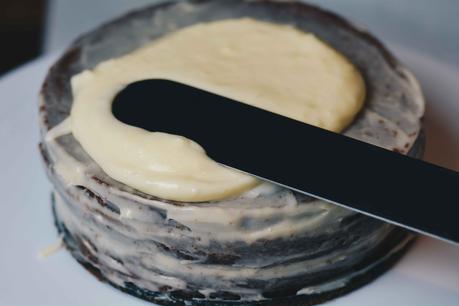
Put a thick layer on each part of cake and spread.
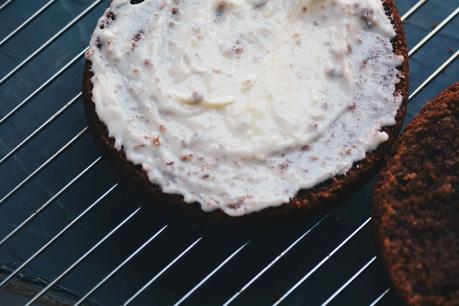
Stack up the cake.
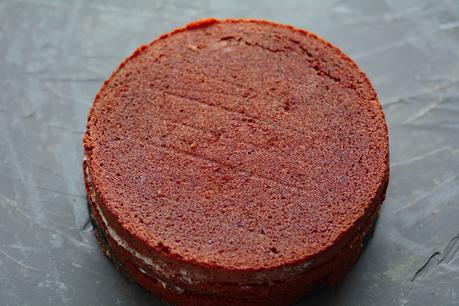
I first crumb coated the cake. Chilled in refrigerator for half an hour.
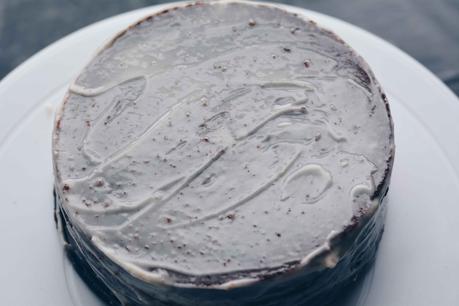
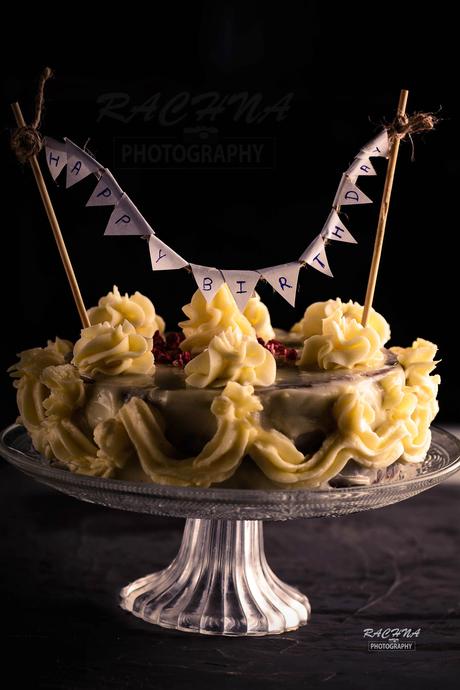
Then finished the cake with remaining frosting. Also I made this cake for my son's birthday so decorated little bit more with buttercream frosting. Slice and serve, or store in the fridge for 2 days.
