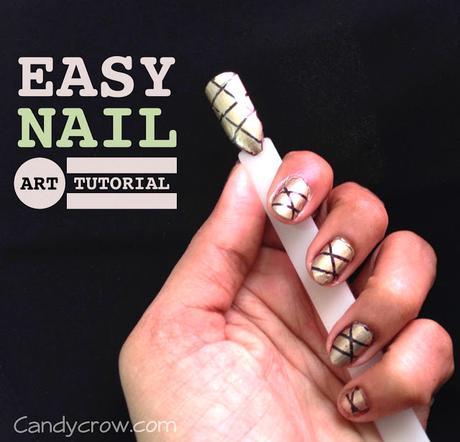
Nail stripping tapes has made salon like nail art possible at home. This ultra thin adhesive is available in all colours. With these stripping tapes you can create endless creative nail art once you get hold of it. I got mine from ebay.
Things Required:
2 Nail different nail colours
Top coat
Stripping tapes
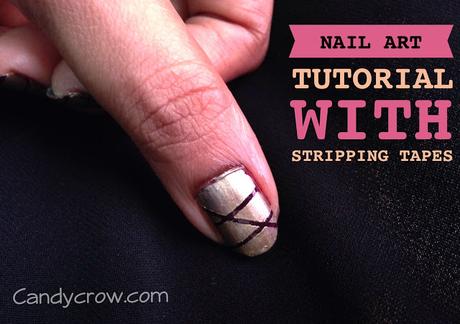
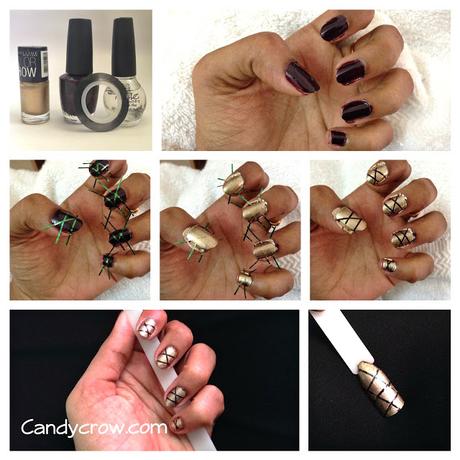
Easy Nail art Tutorial with Stripping Tape
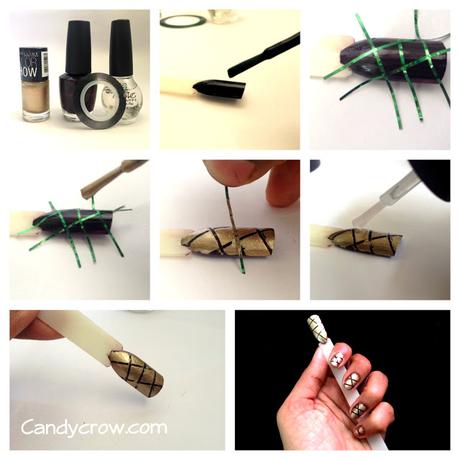
1. Gather the materials required.
2. Paint your nails with with a dark nail polish.
3. Once it is dry, cut the stripping nail tapes and apply it over the nails and press it.
4. Apply the second color over the nails.
5. Remove the stripping tapes, before the second coat is dry.
6. Once the second coat is dry seal it off with top coat.
7. Allow it dry completely.
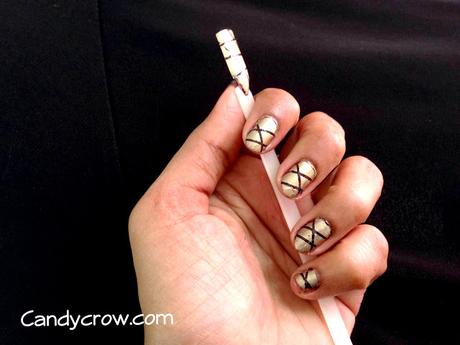
8. Here you are with a pretty SALON like NAIL ART!
Tips:
- Make sure the taps are completely stuck to the nails, esp in the sides otherwise the second nail color might sweep in.
- Remove the top stripping tape before removing the bottom stripes.
- You can use a tweezers to place and remove the tapes.
- Use your creativity and create endless designs with stripping tapes.
Hope you like my tutorial, Have a Happy Weekend!

