After we had our Angel eggs craft session, it was a pity that the eggs did not hatch into chicks magically. So, we decided to give up on the wait and make our own cute little chicks.
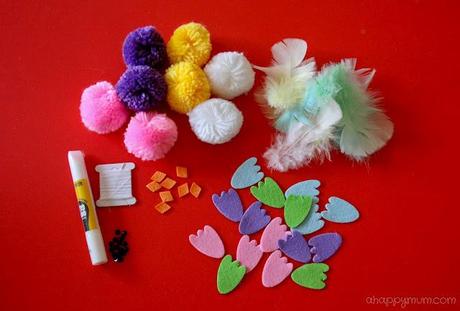 I got my materials from the craft store but these should be pretty easy to buy or make!
What you need:
1) Yarn balls
2) Felt wings
3) Feathers for the tails
4) Diamond shaped felt for the beaks
5) Black beads for the eyes
6) White glue
7) Needle/sewing thread (optional)
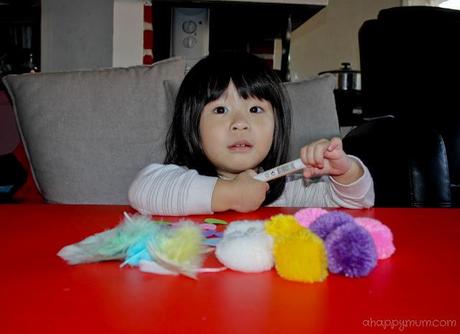 Have your child seated in a comfy chair and tell him/her we are gonna have a fun craft time!
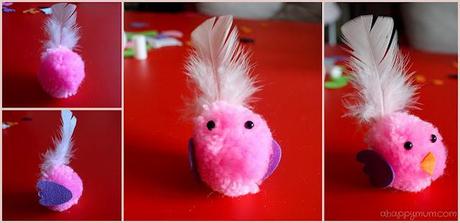 Choose a yarn ball and stick on the different parts of the chick - Tail, wings, eyes, beak. You can let your child mix and match the colours of his/her choice.
 Tip: For the beak, fold the diamond shaped felt into half so that it has a fold and apply glue along it to stick onto the chick.
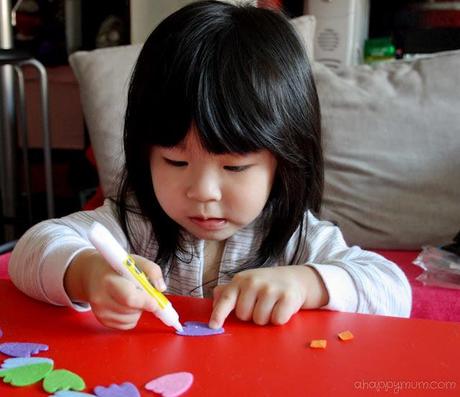 Since I envision my girl to be a future craft expert, I do let her use the glue though she's only two. If you do so too, just ensure that he/she does not inhale it or stick his/her fingers into the mouth. Be sure to wash his/her hands thoroughly before and after every craft session!
Tip: Teach your child to use one finger to hold down the wings when applying glue. For smaller parts like the eyes and beaks, do help and guide them along.
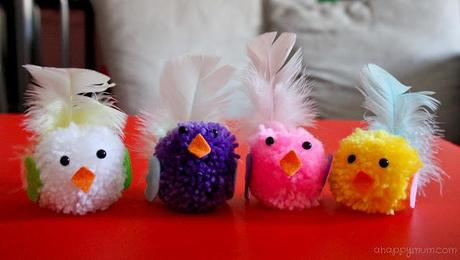 Repeat doing until you and your child are happy with the number of chicks.
 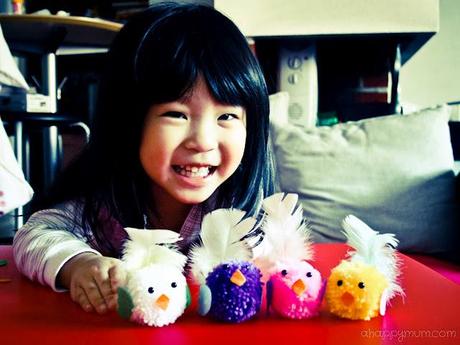 We did 4 chicks today in less than 30 minutes. It was probably a good number for us considering Angel's attention span rarely exceeds that and she soon got bored of gluing and kept counting the eyes of the chicks.
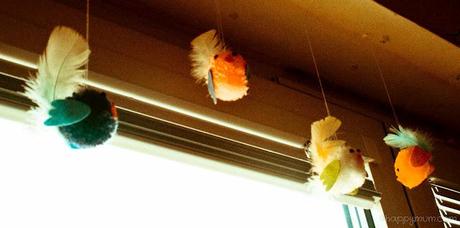
To hang up the chicks, simply sew on a piece of thread through the tip of the yarn ball and make a loop. See, now we have 4 cute little flying chicks in our house! Plus 4 angel eggs!
It's gonna be such a merry Easter.

