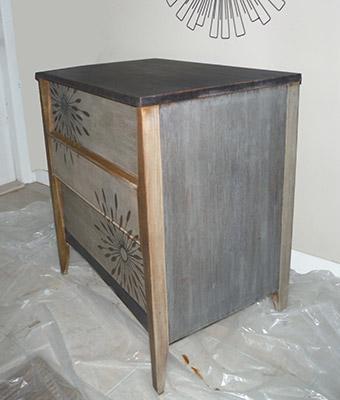
Project – Using Driftwood Weathered Wood Finish on Mid-Century Modern Nightstand
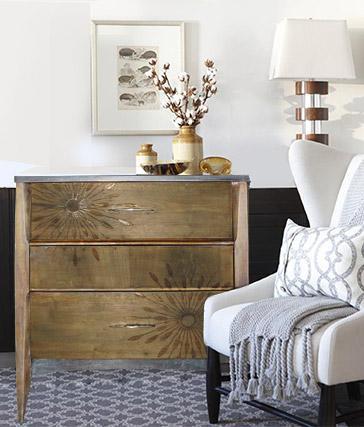
I found this beautiful nightstand at Goodwill for $25.00. I knew right away that it was a good, quality piece of furniture and sure enough, a little online research and “Dixie” furniture company was well known for mid-century furniture pieces. So, my problem is I want a mid-century modern piece with the look of driftwood. I’ve recently become infatuated with mid-century accessories and furniture – especially atomic art represented by the starburst.
This is my experiment to see if I can successfully combine the two with an updated, driftwood mid-century modern piece.
One of the things I found so special about this little nightstand was the handles – they had little “starburst” like symbols engraved in the metal. I had never seen that before but I thought that was pretty cool.
So my thought in this project is to use a starburst pattern and apply it using a mixture of wood glue and water like you would a stencil. Here is how the project went:
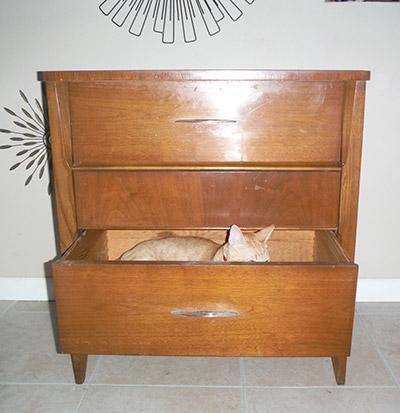
Original piece being investigated by my little helper.
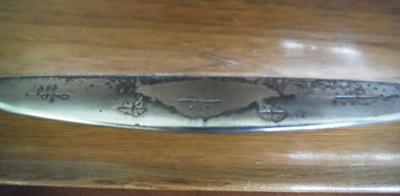
These are the handles with the little “starbursts”
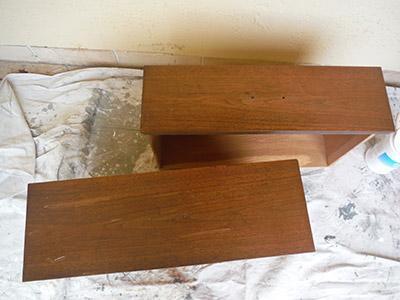
Stripping the stain
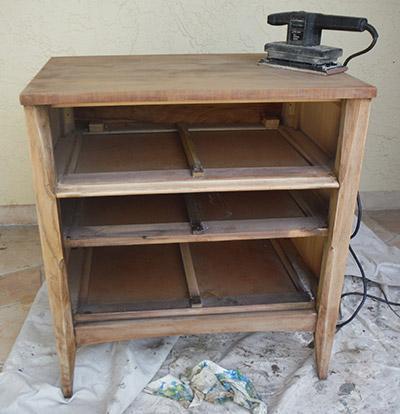
Sanding the finish and then removing all the dust with tack cloth.
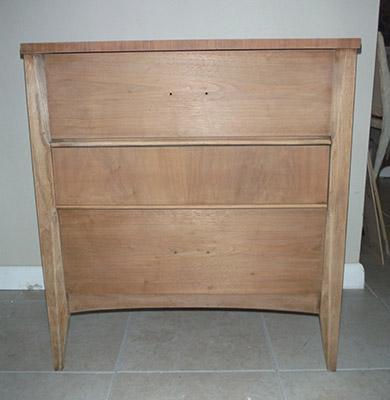
All stripped and sanded and ready for the next step – adding the graphic.
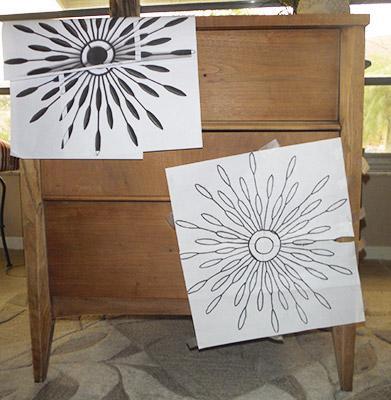
Adding the graphics. I used carbon paper and traced the image onto the nightstand. Then carved around the image with an exacto blade. The idea behind this was that the Driftwood Weathered Wood Finish would get in the cuts and create a darker outline of the image.
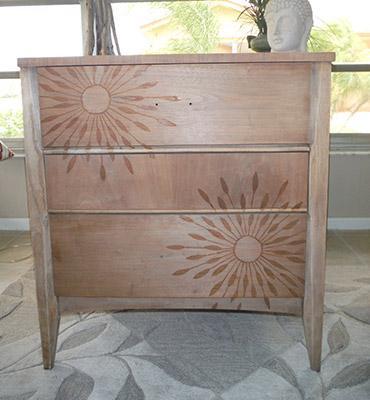
Once I had the image on the nightstand with the carbon paper – I then used a mixture of Elmer’s glue and water (half n’ half) and went over the graphic using an artist’s brush. The glue mixture should prevent the stain from adhering and it will give me the graphic on the nightstand. There are wood glues out there that are specifically made to stain and others that should not take stain. Another idea might be to use an artist masking fluid. I suspect that would work just fine and it would give you a lighter graphic. You should be able to remove the masking fluid and reveal the unfinished wood coming through your pattern. I wish I had tried masking fluid first but patience is not one of my virtues and I wanted to get started with what I had. I’ll try it with the next project.
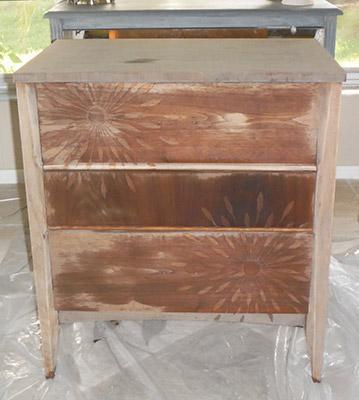
I’ve applied the Driftwood Weathered Wood Finish. One thing I noticed once I stripped the piece was that there were different types of wood used to make this piece. The legs were a blond oak and the sides I believe were a maple but I’m not 100% positive about that. The top piece is veneered – so I knew once I applied the Driftwood Finish, the different types of wood would each take the color differently.
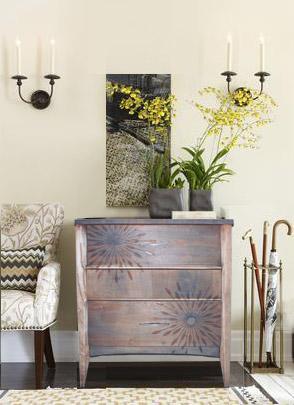
As you can see, the final piece has a lot of different tones – the legs are much lighter. But I love how the graphic came out. Now I have the problem of putting a protective finish on it. My first thought was to put a coat or two of the Driftwood Beeswax Wood Butter but I quickly nixed that idea. I realized that putting the wax over the cuts in the pattern would leave bits of wax in the cuts – like you get when someone does a poor job of waxing your car. Thankfully, I realized this before I went ahead with putting on the beeswax. But it does need some type of protective finish.
I’ve decided to put a matte polyurethane coating on the top at least. I’ve applied the polyurethane to the top and sides and it really darkens the finish quite a bit – more than I think I want. So I’m hesitating about putting the polyurethane on the front over the graphic – I’m afraid I’ll lose the graphic. I may decide to use the Driftwood Liming Wax on the whole piece. I suspect that I will lose the graphic if I do but I may be brave and do it anyway. I will post pics if I do.
I think I have at least achieved my driftwood mid-century modern look that I was going after.
Follow-up – I decided to sand the polyurethane off and apply the beeswax wood butter instead to the sides and top. The beeswax wood butter actually made the sides and top just as dark as the polyurethane so my only alternative is to leave it as is with a darker top and sides than I want or move on to trying the liming wax. I decided to go with the liming wax and I’m happy with that. It lightened up the top and sides a bit. In the picture below, I have not applied to the Driftwood Liming Wax to the top yet – just to the side.
