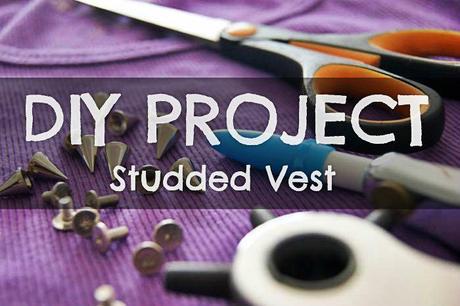
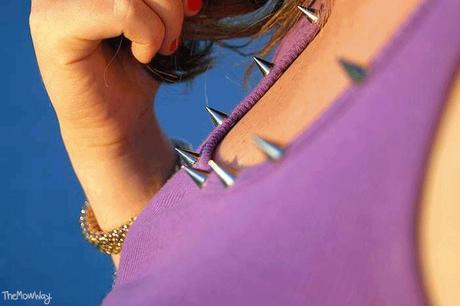
 And here we go!This is the little DIY "tutorial" I've put together for appling studs to a vest.You saw the outcome on this Outfit post and I am really happy of the outcome!This technique can be used to apply studs to any garment of material what so ever, so you just get your hands on your fave tee and start "stud-diy-ing"!
 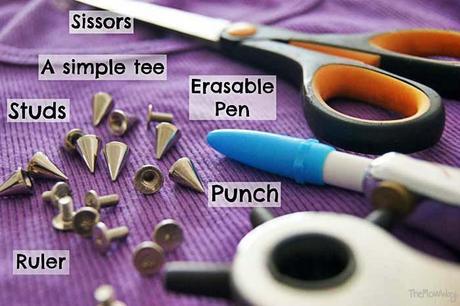 You will need: - Studs (got mine from Ebay!) **These are actually SPIKES!- Tee (mine is from Primark 2EUR)- Erasable pen (mine has watersoluble ink)- Scissors (ETA: OMG just noticed I wrote "sissors" on the image above...)- Punch- Ruler (not pictured, ooopsy!)
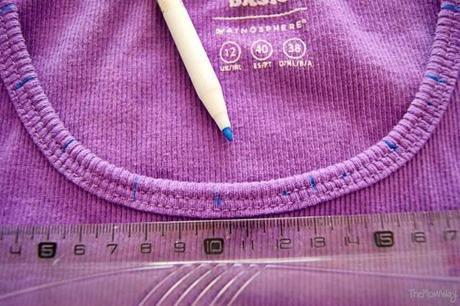 1) Place tee on a flat surface and mark where you want your studs to go. I used a ruler to place them perfectly and an erasable marker to avoid any mess in case I made a mistake. (You just dampen the mark you want to erase and it disappears like magic!)
 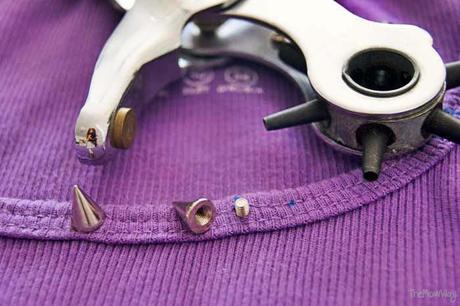 2) Use a punch at the smallest setting to pierce the fabric. This makes the process much easier!I used the scissors to cut off the little bits that came off.
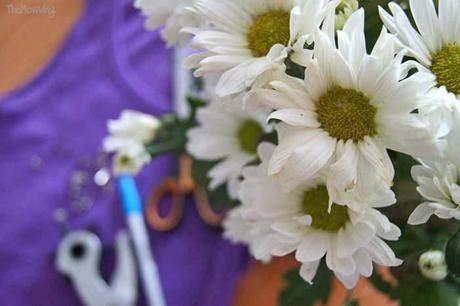 3) Get distracted and take a few "artistic" photos!
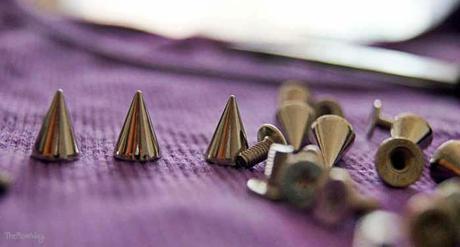
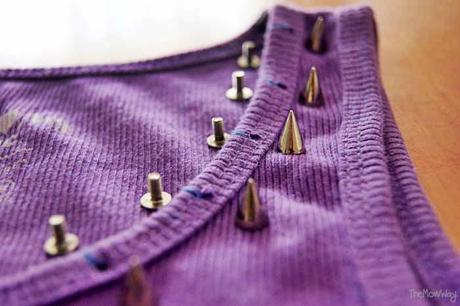 4) Align all the studs nicely, to take a good shot and then start inserting the back pieces and screwing the front pieces on.You can use a screwdriver, but it is not necessary, I fastened them all on perfectly by hand.
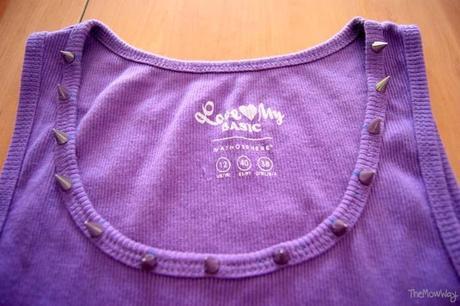 5) TA-DAH!!!!! You're done!Sit back and admire your wonderful and extra-easy DIY project!And now get dresses and wear your super cool DIY studded vest!
Click HERE if you want to the full post on how I styled this DIY project!!!
Quick translation into Spanish!Aquí tenéis un pequeño tutoria que he hecho para hacer una camiseta con tachuelas. Muy sencillo y rapido!Materiales: Pinchos - Camiseta - Rodulador de tinta hidrosoluble - Tijeras - sacabocados - regla1) Marcar en la camiseta donde queremos poner los pinchos
2) Con el sacabocados al tamaño mínimo, hacer agujeros en la camiseta y cortar el pequeño sobrante.
3) Parar a tomar unas cuantas fotos artísticas.
4) Poner todos los pinchos de manera bonita y ordenada para sacar unas buenas fotos y proceder a atornillar los pinchos (no hace falta destornillador).
5) Admira tu primera camiseta DIY con pinchos y ahora ve a vestirte con tu nueva camiseta "tuneada"!!
Difficulty: 0/5Total time: 7 minutesTotal cost: 2.95EUR (studs + tee)Overall mark: 6/5!!
If you use this tutorial, please send a photo or a link!
I would LOVE to post about it on Facebook and Twitter!!!
Like us? Find us on Google Friend Connect,Bloglovin', Twitter, Pinterest, Instagram and Facebook!!!!

