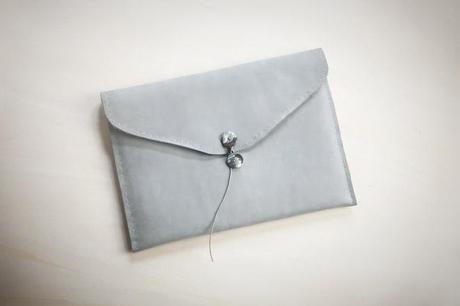
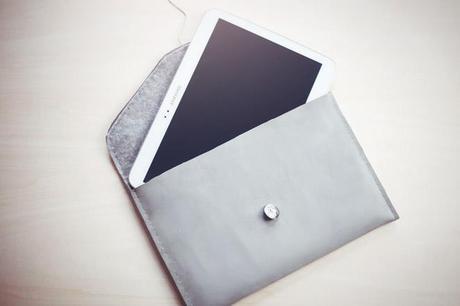
This DIY tablet case is the perfect little protective accessory to add to the collection. It’s super easy, all you need are the right tools and a thimble and you’re good to go!
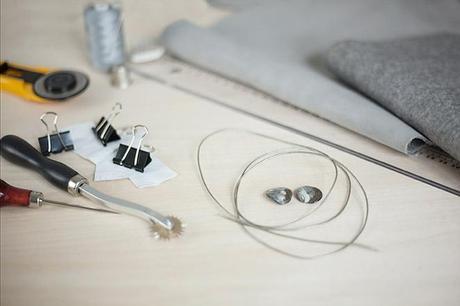
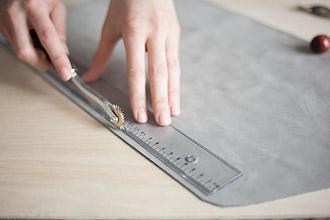
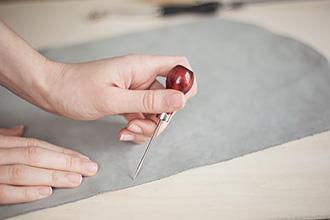
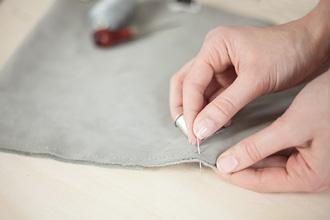
I sewed the case by hand because the felt and the leather together would have been too thick to pass through the sewing machine. You can find an awl and the stitching wheel on ebay for next to nothing, I’m definitely going to be putting the tools to good use. Next month I’m going to make a handbag, and maybe some more leather accessoires!
Below you’ll find the video and a step by step!
You will need :- Leather
- Felt
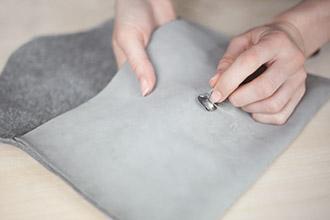
- 2 buttons
- 4o cm of cord
- Chalk
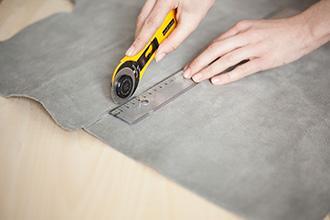
- A ruler and a stanley knife or rotary cutter
- A leather needle and thread
- A thimble
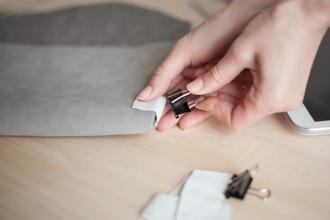
- Bulldog clips and scraps of leather
- An awl & a stitching wheel (available on ebay)
