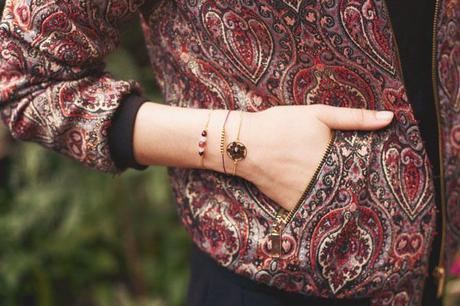
These little DIY stack bracelets are so cute and they take no time at all, plus making them yourself, you can really make them to fit your wrist and to your favorite colours. I made mine to match my bomber jacket, still a personal favorite of mine since last christmas! It’s quite adicitve when you realize how easy it is to make! I feel a jewelry workshop coming on…

1. For the leather bracelet you will need : Leather cord, metalic beads, choker ends, 2 jump rings, a clasp, crimping pliers, cutting pliers and 2 pairs of pliers. For the chain bracelet with the sampling you will need : Chain (around 15cm per bracelet) a stampling and a gem, 2 jump rings, a clasp, cutting pliers, 2 pairs of pliers and jewelry glue. For the beaded bracelet : Wire, beads, chain, 2 jump rings, a clasp, cutting pliers and 2 pairs of pliers. 2. For the leather bracelet, cut the leather to size and slide the beads on, I secured my beads with a crimping bead, up to you!

3. Secure the ends of the leather bracelet with choker ends using the crimping pliers to squeeze the opening shut.
4. Using the jump rings attach the clasp. When using jump rings, make sure you twist open the bead to form a spiral and not pulling open to form a “C”, here’s a link if you’re a newb.

5. The stampling bracelet: Using the jewlery glue, stick the gem onto the stampling. 6. With the gem dry on the stampling, cut and attach the chain and the clasp using the jump rings and the technique as explained in step 4.
For the beaded bracelet the method is exactly the same as my handpiece DIY from last month! Voilà!
