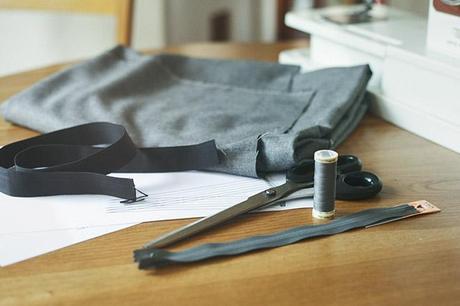
I received a request from a reader a while back asking me if I had a DIY on a tartan skirt I had made and worn in a style post, so I thought I’d make one for you!
This fabric is admittedly a little more subdued and probably more professional than Friday night fun, but changing the fabric changes everything. The sizes go from a UK 8, Eur 36, US 10 to a UK 14, Eur 44, US 16. I made the pattern using an old book I found on pattern making. It is very easy to make. The seam allowances are included in the pattern. I constructed something that fits a general shape, and I suggest you take in the side seams where you see fit to really taper the dress.
Download the DIY pencil skirt pattern here and follow on for instructions! The pattern is suitable for polyesters, cottons and crepes as well as thicker wool fabrics.
How to make the Pencil Skirt

1. You will need : Fabric (1m – 1.85m with a 114cm fabric or 1m with a 140cm fabric), petersham ribbon, an invisible zip (22-25cm long), thread, the downloadable pattern, scissors, an iron and a sewing machine.
2. Layout the pattern pieces over the fabric and cut. The front piece should be laid on a straight grain fold right sides facing in. The back panels should be cut along the straight grain, if you use a single layer, the pattern should be pinned to the right side. Seam and hem allowances are included.
3. Baste the upper edge of the skirt. And optionally here you can zig zag stitch the edges to avoid any fraying in the wash. You may want to wait on the side seams until you’ve tailored it though!

4. Pin and sew the darts. To avoid a peak, stitch the darts towards the points avoiding back stitching the ends.
5. Iron the darts to the center front and back.

6. Attach the invisible zip. Here is a very nifty video tutorial on how to attach one of those.
7. The back skirt panels right sides together, stitch a line from the bottom of the slit to the zip. Iron the seam open.
8. For the slit, iron back the seam allowances and baste.
9. Side seams : With the right sides together again with the back panel, stitch the side seams together and press open. You can fit your skirt to your shape here, bringing the seams in if needed.

11. Hem the bottom of the skirt using a slip stitch or blind hem.
If you have any questions or comments leave me a message below!
