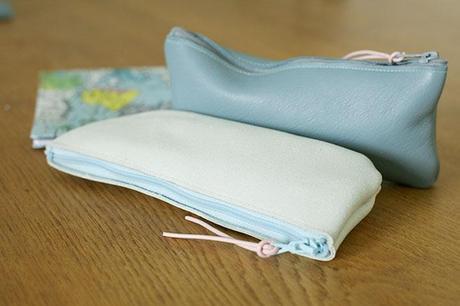
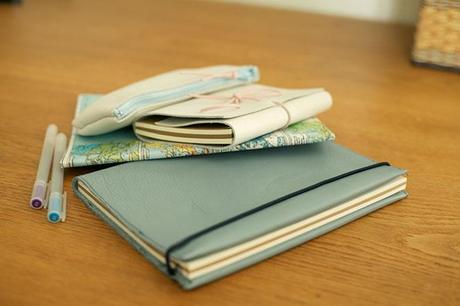
 As part II of the back to school series this week I thought I’d show you two more easy stationery tutorials, I’m loving the color scheme thats going on, if I was still at school, I’d be too cool fot it. Jokes.
You can make both of these with or without a sewing machine, thats the great thing about leather, it doesn’t fray, and it looks great on it’s own. Of course, you can do the same with faux leather if you prefer too!
How to make the DIY Pencil Case

1. You will need : A piece of leather, a zip, scissors, thread and a sewing machine (optional). 2. Cut the leather to the desired size. I cut two pieces to 20cm by 9cm.

3. Sew the zip to the edges using a basting stitch.
4. Open the zip, with the right sides facing sew the three remaining edges.
5. Add a charm to the zip if you like!DIY Leather book cover


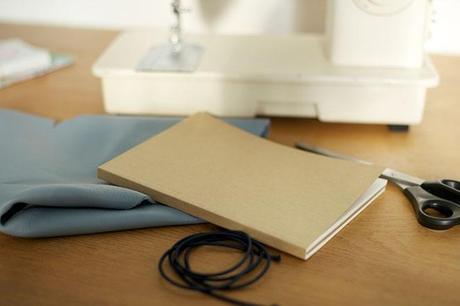
1. You will need : Leather or faux leather, elastic, a notebook, scissors and a sewing machine (optional).

