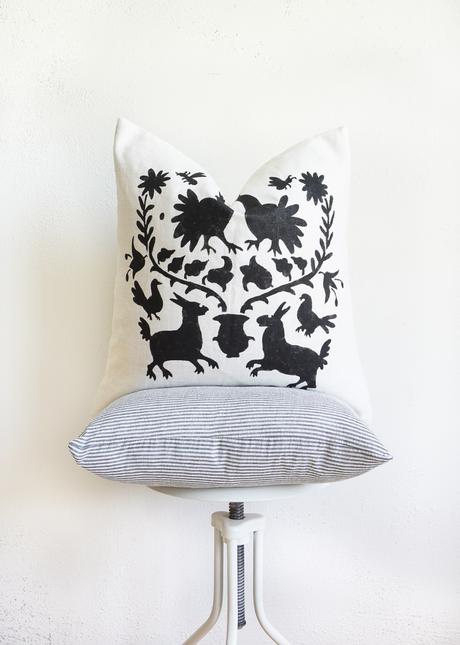
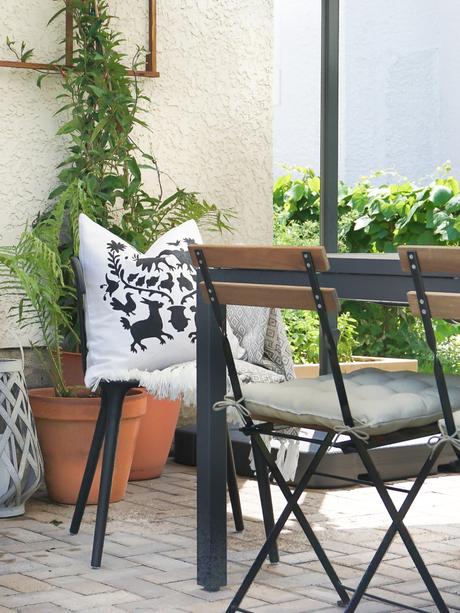
I've long loved the Mexican Otomi pattern, but authentic Otomi is ex-pen-sive. And for good reason too. It's hand hand-crafted, hand-embroidered, and stunningly beautiful. Unfortunately, authentic Otomi is just not in the stars for the Francois Fam right now, so using a big stencil, a little paint, and some plain pillow covers, I've created Otomi pillows for our home at a fraction of the cost! Originally, I had planned to use the pillows in our backyard, but now that they're done, I kind of want to keep them inside!
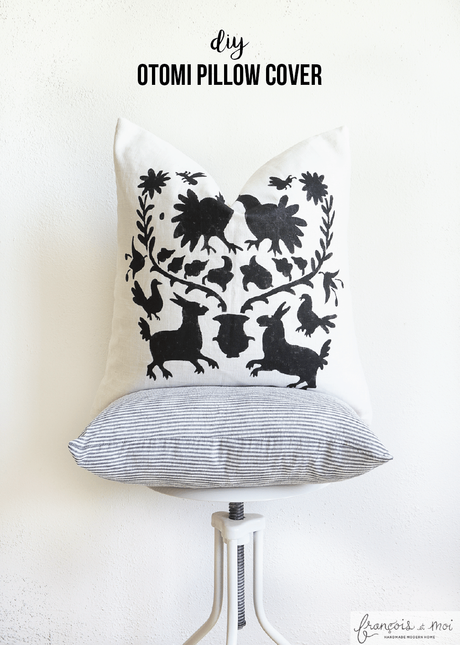
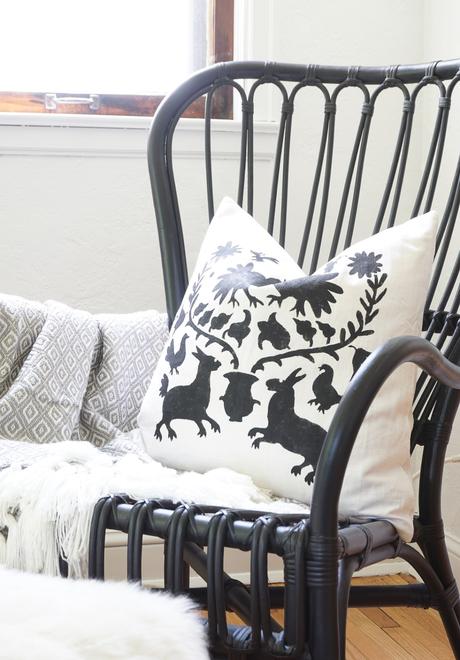
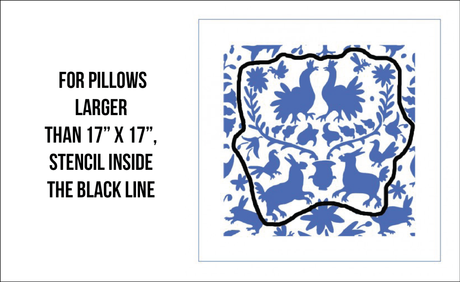
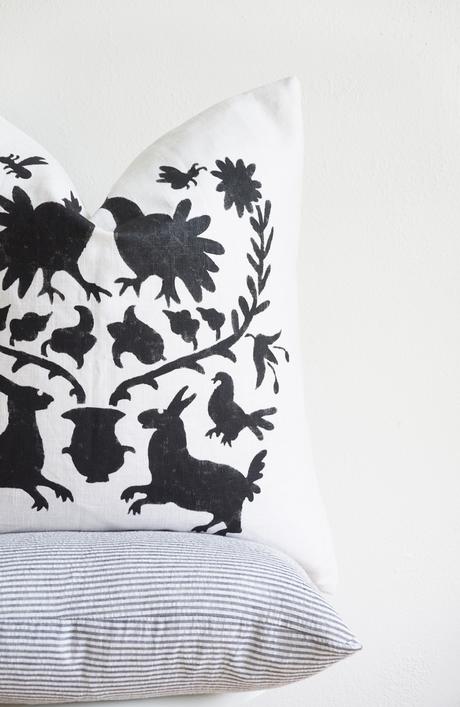
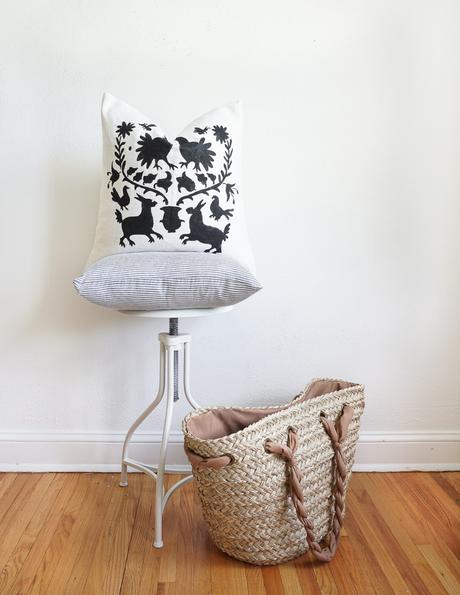
So here's the skinny on the stencil. The largest otomi stencil I could find (before the price more than doubled) was 17″ x 17″. You guys know how I feel about small pillows -anything smaller than 20″, and they're just really wimpy looking and it makes me sad. So, in trying to balance the cost of the project and my hate for tiny pillows, I decided to use 20″ pillow covers and still use the 17″ stencil. But instead of stenciling the entire design and ending up with a pattern that ends before it reaches the edges of the pillows, I chose not to stencil in the entire design, and instead, centered a grouping of motifs on the pillow. Read on for the full instructions!
Materials:

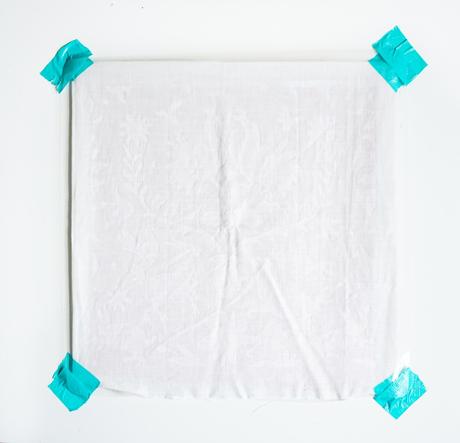
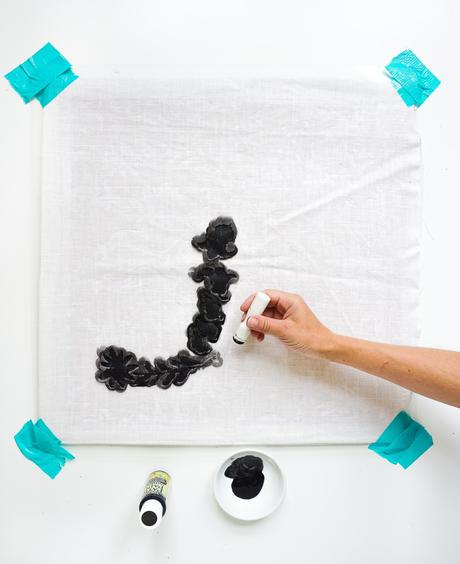
1. Insert a piece of cardboard inside your pillow cover to prevent paint from bleeding through onto the back of the pillow. Then tape down your pillow with heavy duty tape.
2. Next tape your stencil over top of the pillow cover using the same heavy duty tape. Just eyeball it to get it straight and centered.
3. Mix up your paint and fabric medium so that the paint flexible, cleanable and suitable for your pillow fabric.
4. Dip the foam dauber onto the edge of your paint, daub off excess then begin stenciling! Press the stencil down in the areas you're stenciling to avoid the paint bleeding underneath the stencil, and keep daubing until all the motifs you want painted are filled in. Don't forget to follow the black outline above if you're using a pillow larger than 17″ square!
5. Allow to dry, and stuff with your pillow form!
Though I will be keeping the pillows inside, I did want to try them outside just to see how they might look. I love them at the dining captain's chairs on the patio, but alas back inside they go!
Did you make this project?! Take it with hashtag #handmademodernhome on Instagram to be featured!
