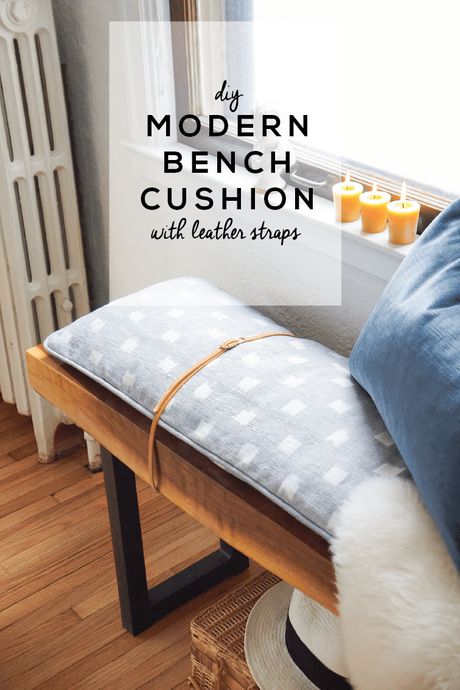
 Francois et Moi's tagline, Handmade Modern Home, is not only about getting our hands dirty and DIY-ing one-of-a-kind pieces for our homes. It's equally about celebrating expert artisans and feathering a conscious home rooted in soul and intention. Today we're combining the best of both worlds-I'm teaming up with KUFRI Life Fabrics on a bench cushion project that has the most fab details...
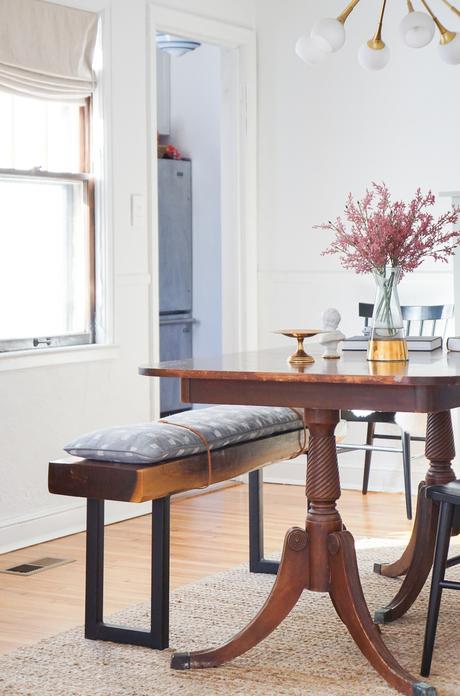
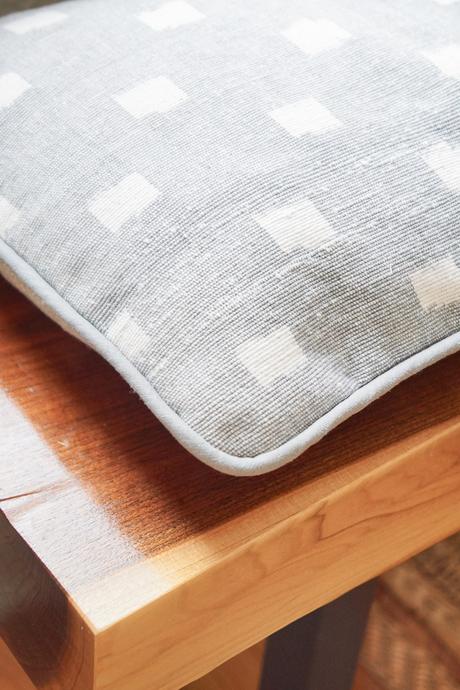
Let's start with the fabric, shall we? KUFRI creates the most luxe hand-woven textiles that expertly balance rustic texture and refined sensibility. Woven by artisans in India, each yard is as individual as the maker who created it.
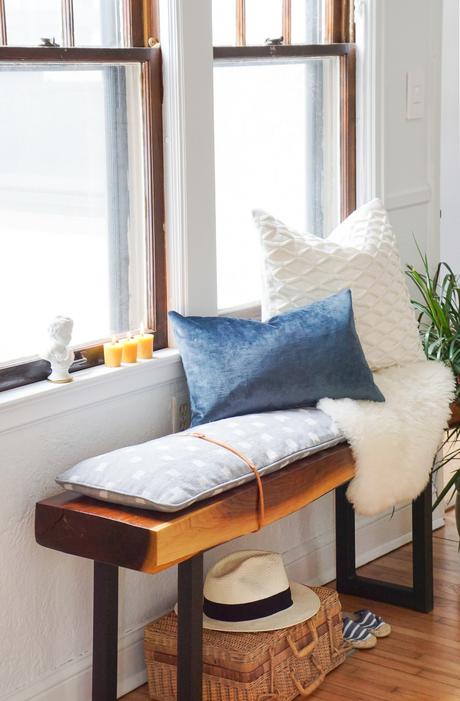
The inspiration for the bench cushion was born from my infatuation with deconstructed design details. Like this one, this one, and this one, for example. I've introduced a little of this flavor to the DIY bench we made last year as a way of softening its strong clean lines. (Go HERE for the DIY Bench tutorial.) KUFRI's Spring 2018 collection launched a few weeks ago, and the moment I saw pattern REX in the Grey colorway, I knew its small-scale soft pattern, and organic texture would be the perfect counterpart.
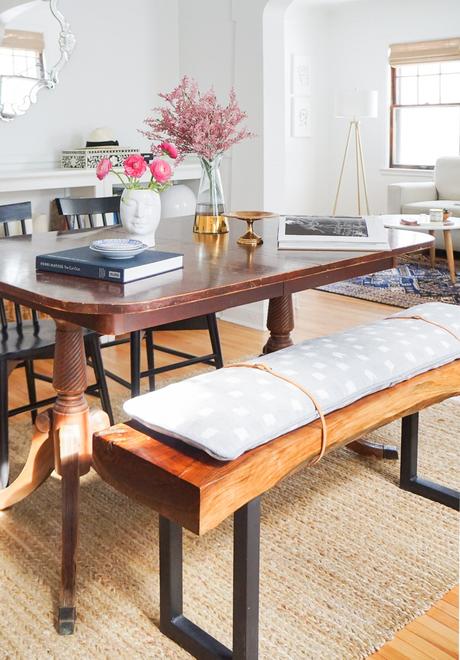
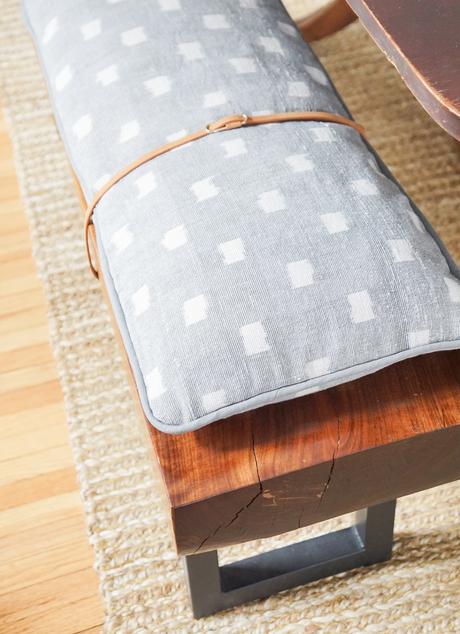
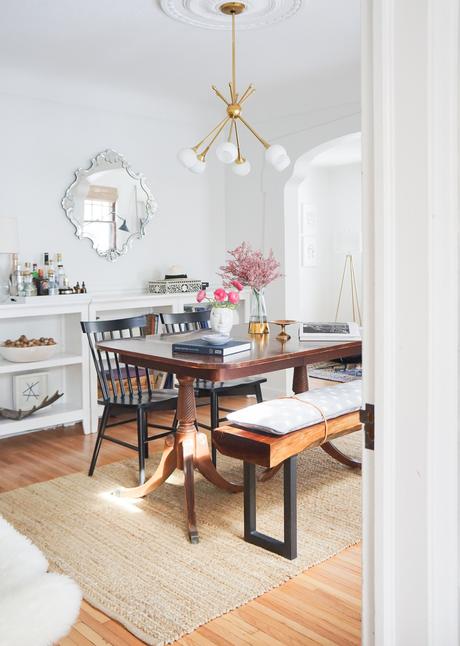
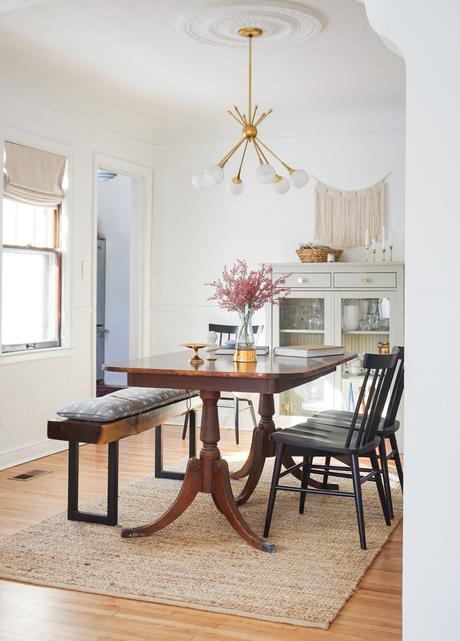
The cushion has an envelope closure on the bottom, so there aren't any crazy zippers to put in, but there is welting which makes this an intermediate sewing project. I absolutely love the way the welting creates a casual, pillow-like vibe. However, if you don't want to commit to welting, just leave it out and, I promise, your cushion will still turn out beautifully.
In the coming weeks I'll be sitting down with Mili Suleman, KUFRI's founder and designer for a chat on all things love, life, and of course, textiles, so make sure to keep an eye out! In the meantime, scroll to the bottom of this post for a video with more on the magic of KUFRI.
Materials
- 1/2 yard decorative fabric (I'm using Kufri, Rex in color Grey)
- 1/2 yard of coordinating fabric for welt
- 1/2 yard ticking fabric for cushion insert
- 4 yards of 5/8″ welt cording
- Coordinating thread
- Sewing machine
- Zipper foot
- Sewing pins
- Scissors
- Down feathers from a 26″ x 26″ pillow insert.
- Measuring tape
- Fabric marker
- 3″ dia. object to use as rounded corner guideline (I'm using a glass.)
- Iron
- Two skinny leather or faux-leather belts
CREATE THE LONG FEATHER INSERT
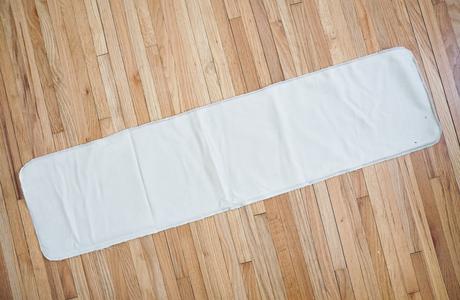
Cut 2 pieces of ticking fabric roughly the size of your bench (or a bit shorter if you'd like the ends of your bench exposed). In this case, the bench is 12″w x 52″l, so I cut two rectangles of fabric 13″w x 49″l. Typically you'd want your pillow insert to be an inch or two larger than your pillow case for a nice plump pillow, but for this project we're going for a thinner, flatter style of cushion
Pin the two pieces "right" sides together.
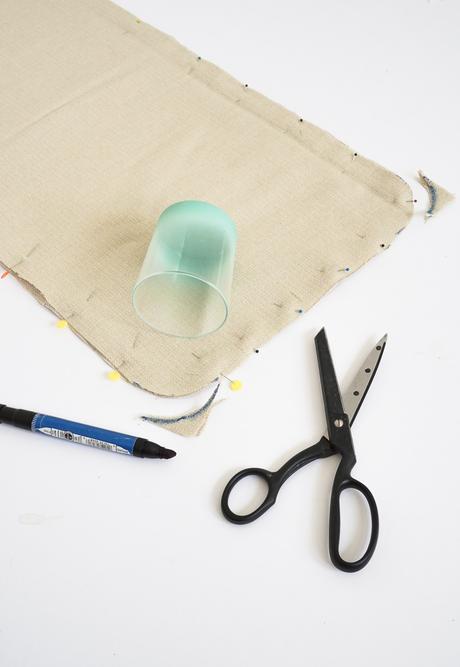
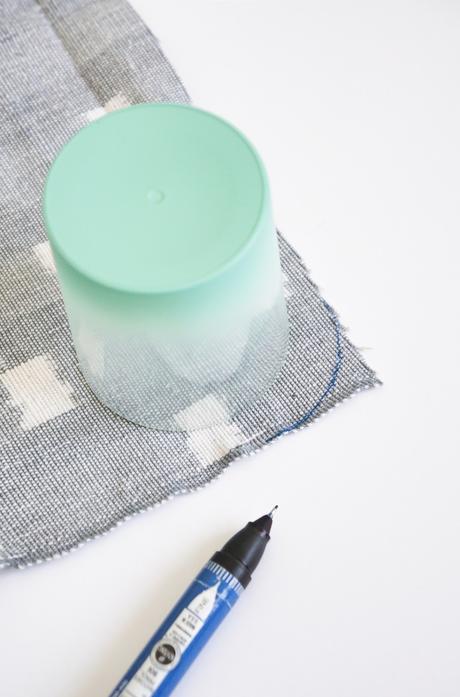
Create rounded corners by tracing a glass onto each corner, and cutting through both layers of fabric along your guideline.
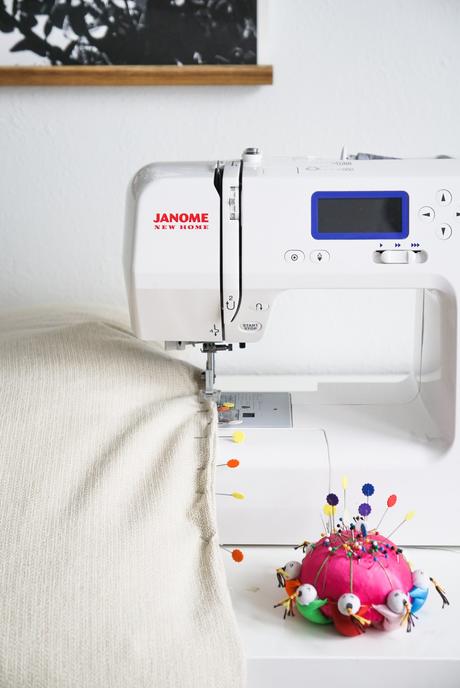
Sew the two layers of fabric together with 1/4-1/2″ seam allowance, leaving an 8″ opening (so you can stuff your cushion).
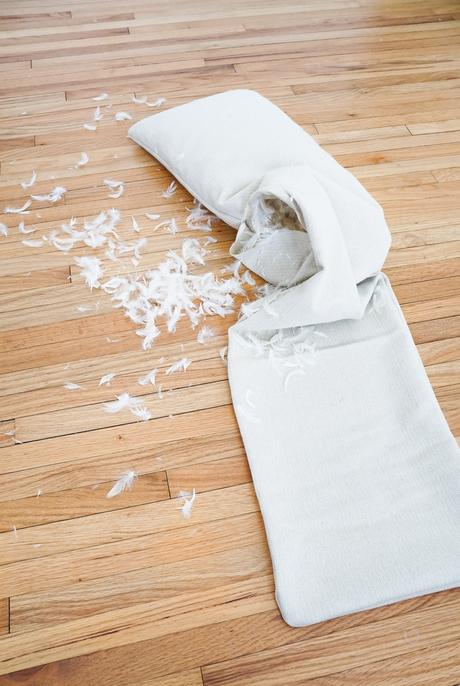
Turn the cushion right side out, and stuff with feathers from your premade pillow form. (This will get kind of messy!) Since this is the cushion insert, I didn't do anything fancy when closing it up. I turned the edges of the opening under, pinned the two pieces of fabric together, and sewed it shut on the sewing machine.
MAKE YOUR BIAS WELTING
Skip this section if you're omitting welting or you purchased pre-made welting/piping.
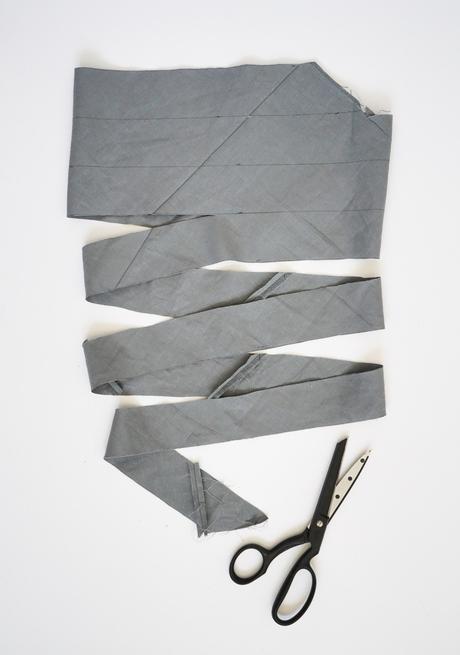
Beautiful welting starts with bias tape. To create 2″ wide continuous bias tape, I used THIS tutorial . You can also simply cut 2″ fabric strips at a 45 degree angle, and sew them end to end to create one long strip of fabric.
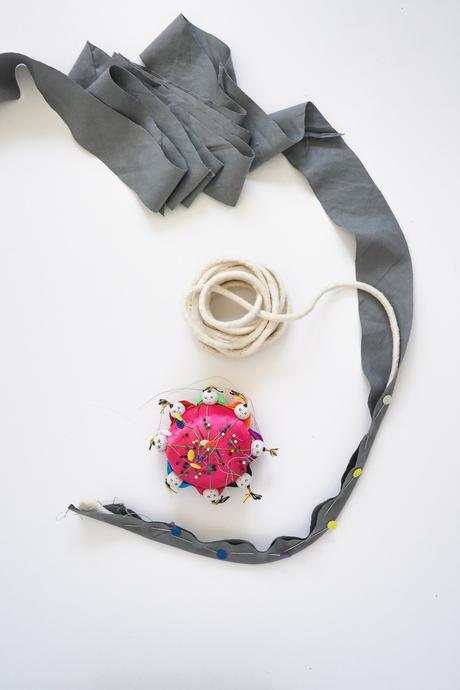
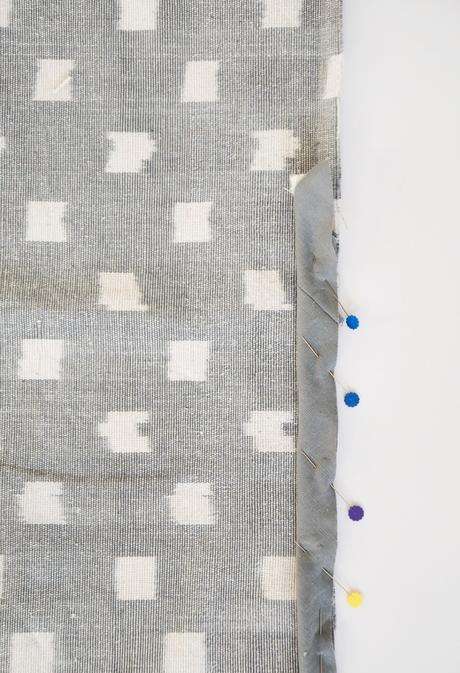
Wrap the bias tape around the welt cording and use sewing pins to secure in place.
CREATE THE ENVELOPE CUSHION COVER
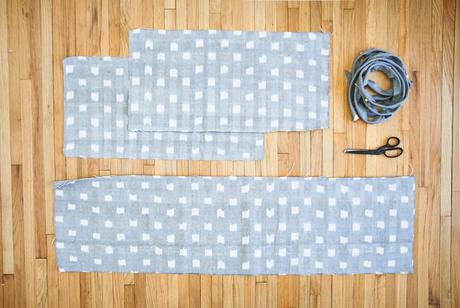
Cut the front and back pieces for your cushion cover. Since I'm going for a 12″w x 48″l finished cushion, I cut the following piece sizes of KUFRI fabric:
- One 13″w x 49″l front panel
- Two 13″w x 27″l back panels
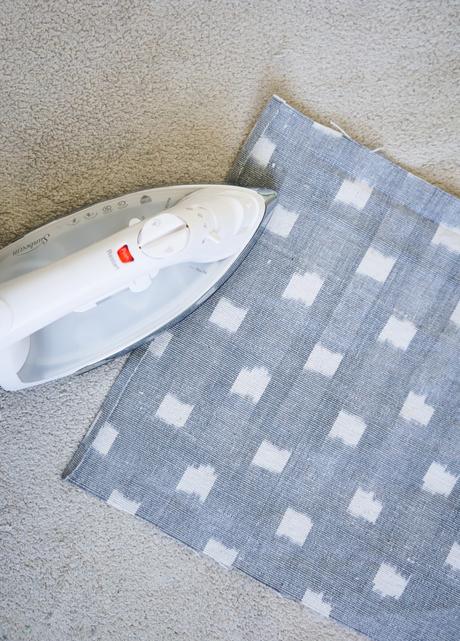
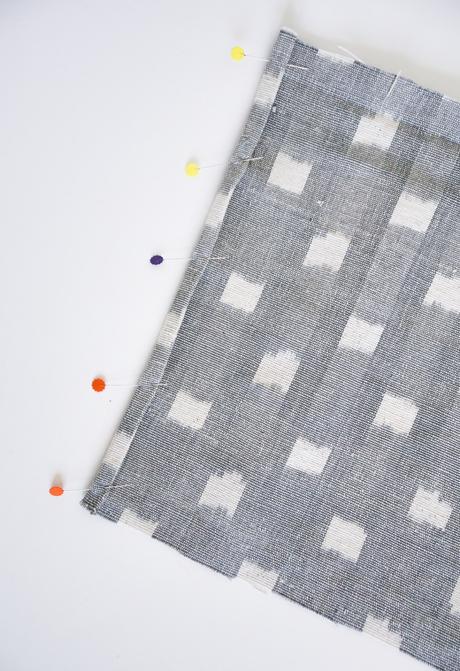
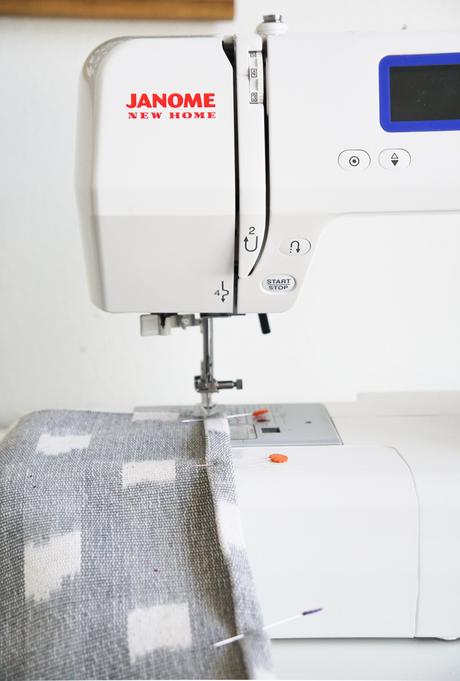
Starting with the 13″ x 27″ back panels, fold one of the short edges over 1/4″ and iron to set the crease. Fold the fabric over another 1/4″ (to hide the raw edge) and iron to set crease. Pin fold to keep in place. Sew along left edge of crease, and repeat with the 2nd back panel.
Next, create rounded corners on all three fabric pieces using the round cup guide as you did for the pillow insert. Only the two unsewn corners of back panel pieces will need to be rounded. All 4 corners of the front panel will need to be rounded.
Begin pinning the first few feet of welting to the front or "right" side of the long cushion panel by lining up the raw edge of the welting to the edge of the cushion panel. I started about 1/2 way down one of the long sides. I only pinned the first few feet of welting to get started, and then positioned the rest of the welt as I went.
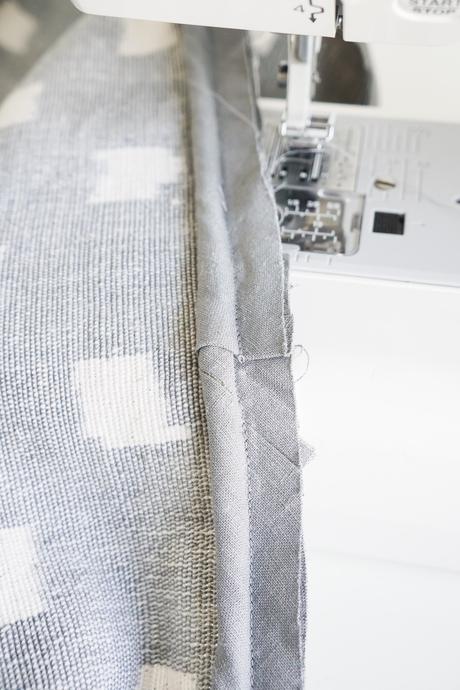
BEGIN SEWING THE WELT
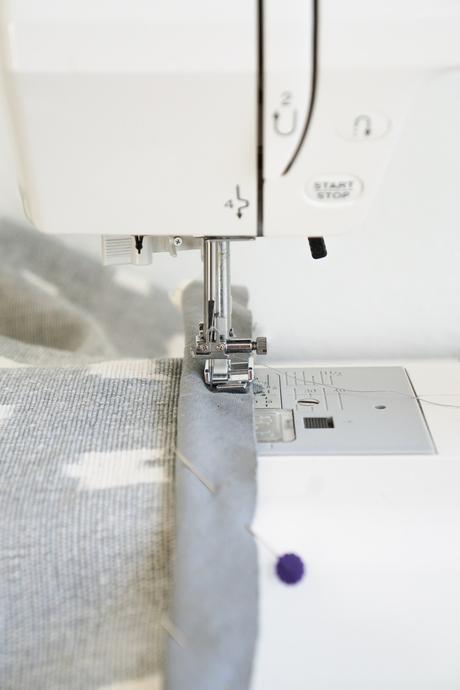
Move over to your sewing machine and swap your general sewing foot for a zipper foot. Move your sewing needle over so that it's in the far left position. This will help you sew as close to your welting as possible.
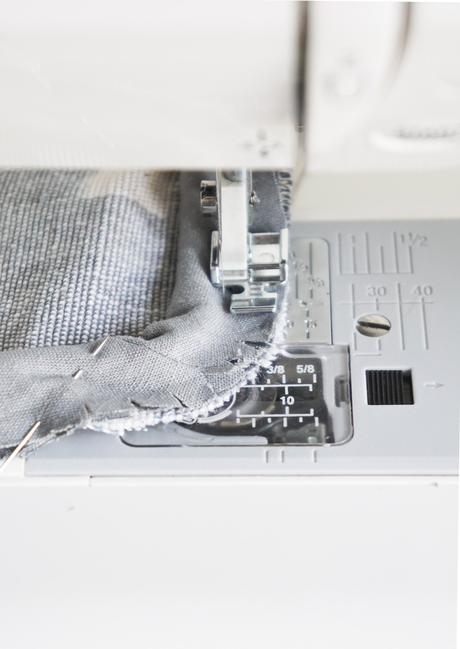
Leave a 2″- 3″ tail of welting, and start sewing just to the right of the welting making sure the raw welting edge stays aligned with the edge of your fabric as you sew. When you reach the corner, make a couple snips on the welting fabric to give it some ease to wrap the rounded corner nicely. Attach the welting all the way around the fabric panel.
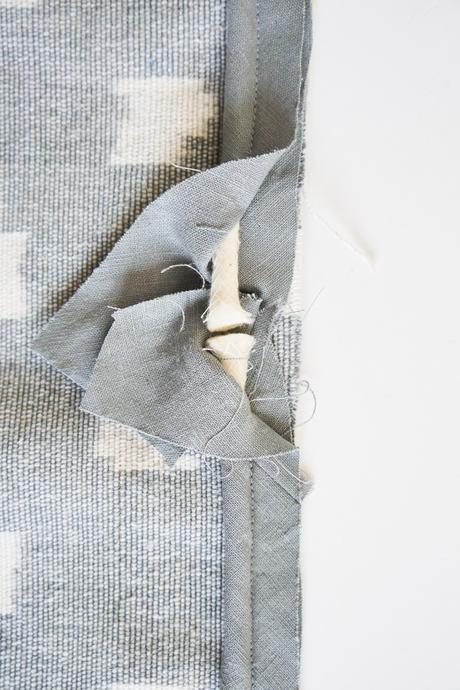
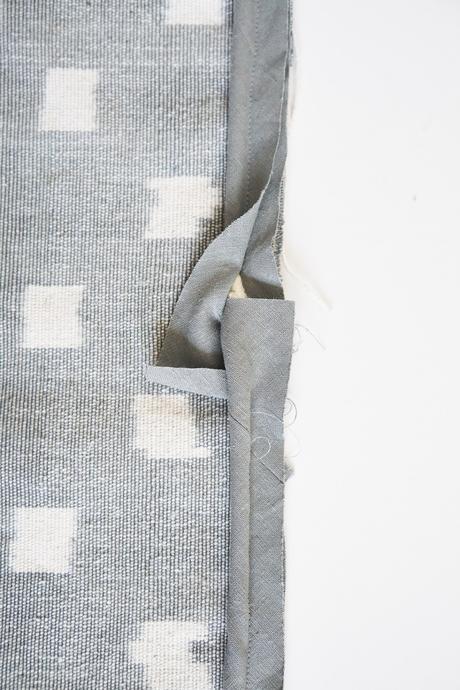
When you make it back to where you started, cut the cording so the ends butt up to one another. Position one of the fabric welting inside the other, and fold the edge of the outer welting over slightly to hide the raw edge. Then wrap the outer welting entirely around the other, and pin into place. Take it over to the sewing machine to finish off the welt closure.
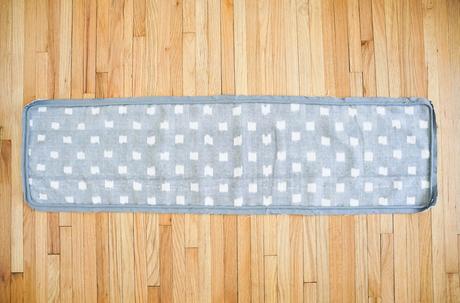
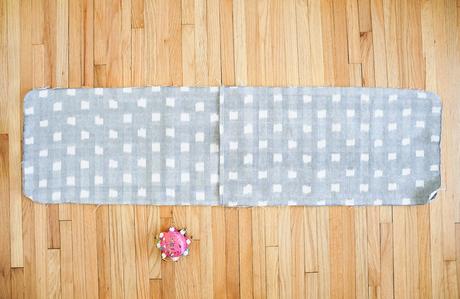
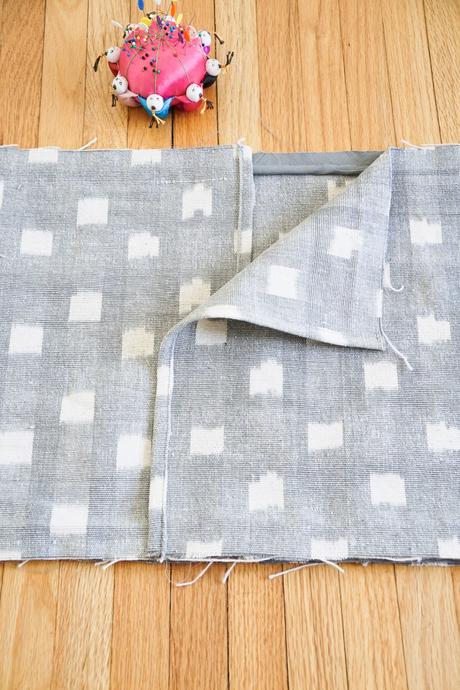
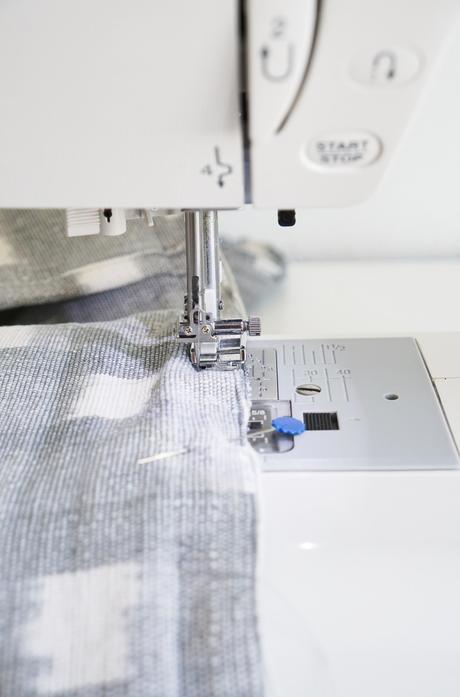
Next place the front panel "right" side up (welting should be showing) and place the two smaller back panel pieces face down on top. The back panel pieces will overlap slightly. Pin the front and back pieces together, and sew around the entire perimeter just to the right of the welting. You wont be able to see the welting, but you'll be able to feel it. Use the welting as a guide for your zipper foot.
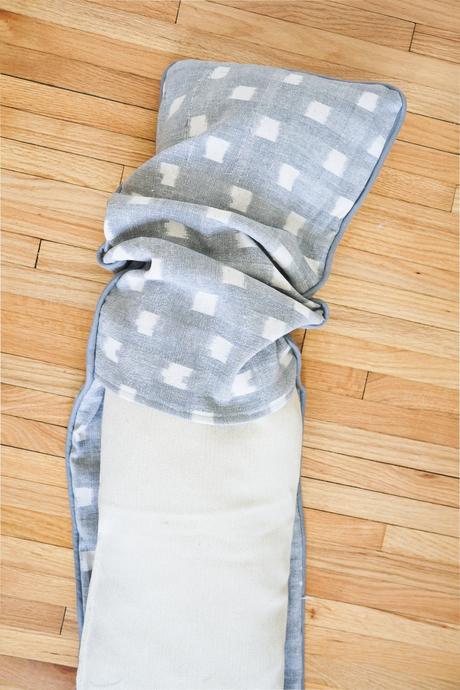
FINISHING TOUCHES
Turn the entire cushion cover right side out, and stuff with the feather cushion insert.
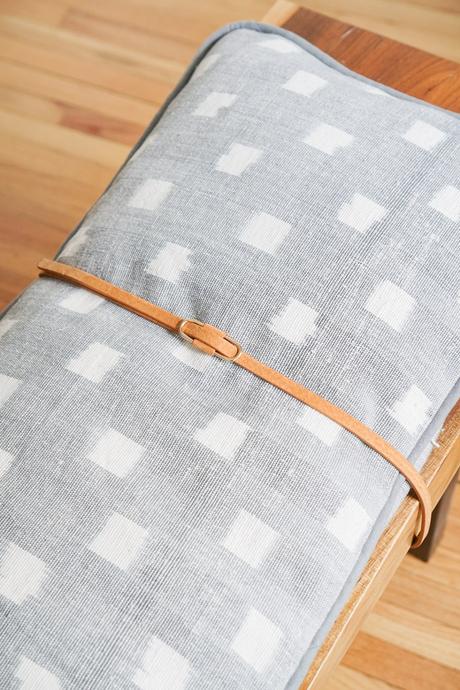
Place on your bench and strap it down with leather belts on each end.
ADDITIONAL RESOURCES
How to Cut a Continuous Strip of Bias Tape Welting Video Tutorial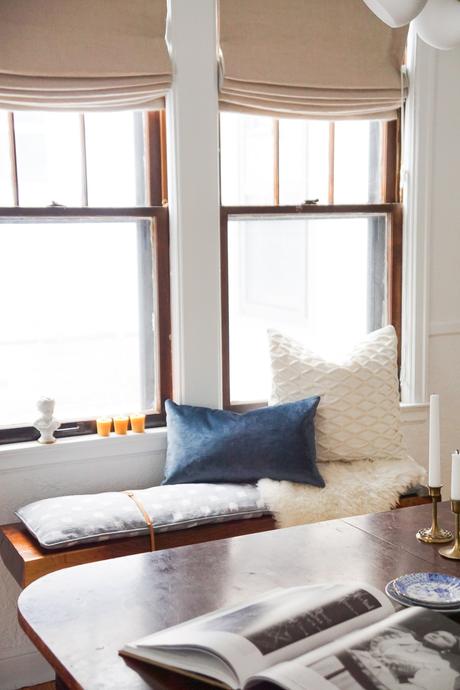
Here's a bit more on KUFRI's hand-loomed textiles...
This post was created in partnership with KUFRI.

