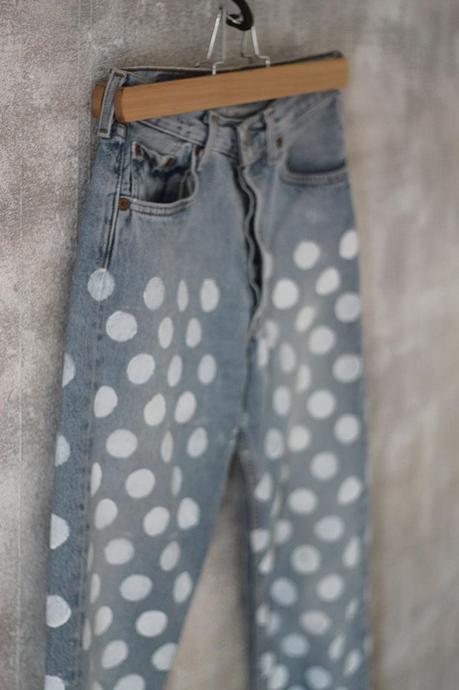

As promised earlier this week, today I’m going to share with you how I created my Levis 501 DIY polka dot jeans. It’s so easy, there are so many things you can do with a pair of 501’s and a stencil, just make sure you have enough paint and time on your hands and you’re good to go! The original 501 is awesome, and timeless, simply because it’s a straight cut and it’s such a sturdy denim that you can do so much with them and they will stay happy by your back-side forever and ever. Hehe.
The How-To


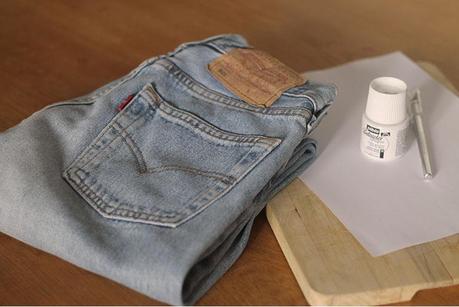
1. You will need: A pair of jeans, fabric paint (I used 45ml for the whole project), a material to stencil with, preferably plastic, a craft knife, a chopping board to cut on, a paint brush and repositionable glue, to stop the stencil from slipping.


2. Print out the design and stick it onto the plastic, alternatively draw the design onto the plastic. Download my polka dot design here. Be careful not to get any repositionable glue on your hands. Cut out the design using the knife. Peel off the paper.
3. Using the repositionable glue again, stick the stencil onto the fabric. Start painting from the outer edge in.
4. Once the design is finished place a piece of scrap fabric over the design and iron, following the directions of the fabric paint you used. Ironing sets the design so you can put the jeans through the wash without losing the polka dots.
Et voilà! That’s it, it took me the duration of 2 films to finish, but it really is worth the effort!
Take care,


 <="" title="DIY // LEVIS 501">
