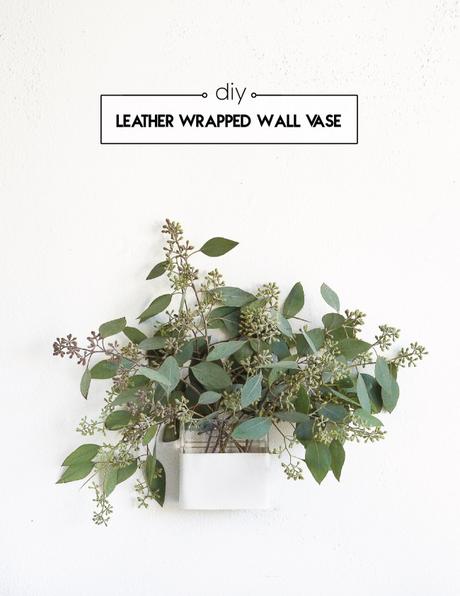
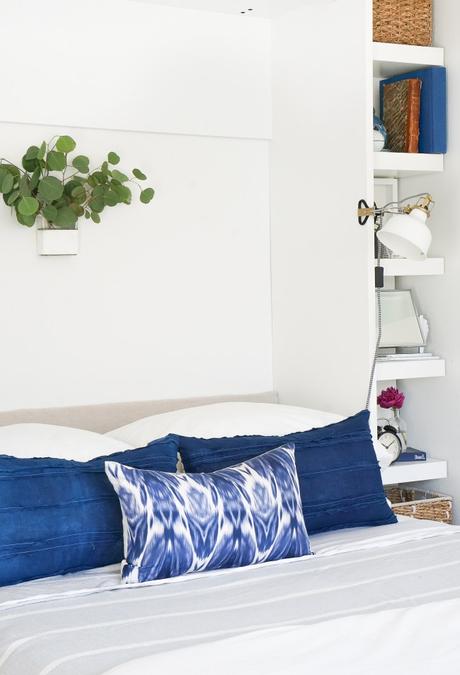
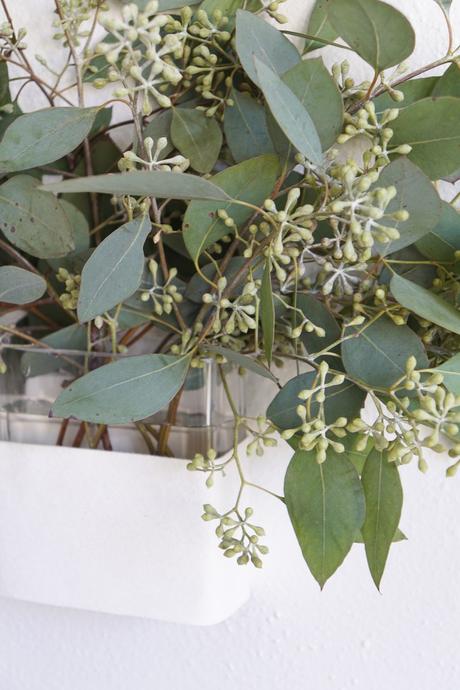
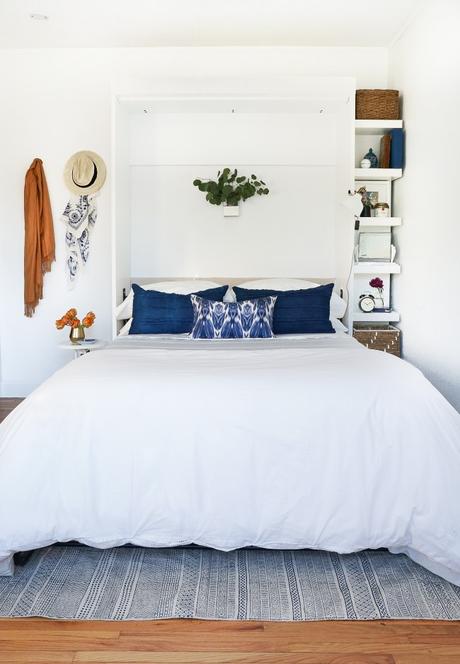
It's no secret that I'm a sucker for wall vases. Exhibit A. Exhibit B. I just really freaking love bringing the organic lines of flowers and branches onto the wall, and I keep finding new ways of creating them. So I thought I'd share the latest which includes permanently attaching a picture hanger to the back of a flat-sided vase using a mouldable glue that turns to plastic as it hardens-I mean what will they think of next?! I also used a faux leather wrap to the conceal a chunk of flower foam at the bottom of the vase which helps keep branches somewhat in place. Take your bouquet from the table to the wall with this space-saving hack, and check out more on the vase in our murphy bed guest room reveal!


Materials:

- Small vase with at least one flat side
- Sugru Mouldable Glue
- Picture hanger
- Small piece of leather or faux leather
- Industrial adhesive
- Floral foam
1. Roll two mini pea-sized Sugru balls in your hands, place them on either end of your picture hanger and center the hanger on the top back of the flat vase. Flatten the Sugru balls adhering the hanger to the vase and allow to dry for 24 hours before attempting to hang.
2. Cut a piece of faux leather that wraps around the vase, overlapping by 1/2″ at the back and covers 3/4″ the height of the vase.
3. Wrap the faux leather around the lower half of the vase, and glue the back seam together. Allow to dry.
4. Cut a piece of floral foam to fit into the bottom of the vase. Make it small enough to be hidden by the faux leather wrap.

5. Once the adhesives are dry, hang on the wall and add greenery!
Think this post is worth a read? Please share the love! And don't forget to pin this tutorial up for later.
