Fashion Magazine

DIY Kimono

By Elliefrost @adikt_blog

DIY kimono DIY kimono

Kimonos are the best for your beach cover up, they are also so easy to make if you know how to use a sewing machine! No need for any fitting or complicated techniques, its almost as simple as 4 rectangles sewn together, the floaty fabric does the rest for you!

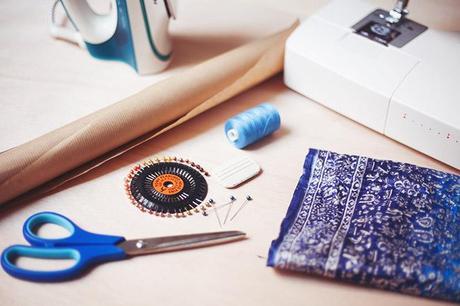
What you need to make the DIY Kimono :
  • The dowloadable pattern here transfered onto large paper
  • Fabric (mine is from an old sari)
  • Matching thread
  • Chalk
  • Pins Scissors
  • An iron A sewing machine
DIY kimono
DIY sewing project
 1. Using the downloadable pdf, transfer the pattern onto a large piece of paper and cut out the pieces. 2. Protect raw edges by sewing a zig zag stitch, using pinking shears or an overlocker/surger 
sewing a kimono
3. Pin and sew the back pannels together, leaving 10 cm at the top, press the seam open.  4. Pin and sew the shoulder seams together, pressing them open at the end.
how to make a kimono
5. The side seams : leave 25 cm for the arm holes, sew a seam for 20cm, leave 25cm for side slits.

IMG_2235

Photos: Lea

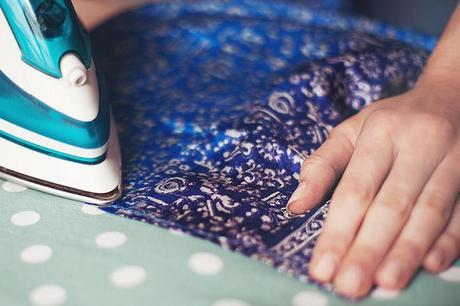
6. Top stich all edges, inculing the arm holes and side slits with the help of your trusty iron. Thats it! You could easily add some fringe or trim to spice it up even more!


Back to Featured Articles on Logo Paperblog