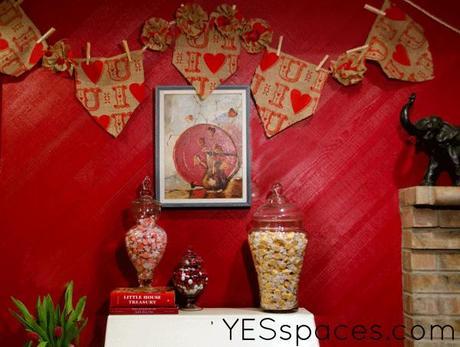
Happy Valentine’s Day! I know that this is the year of 52 Projects in 52 Weeks for Less than $52 but I want to give you more. I will still share advice, tips and tricks for creating your ideal family home as well as quick projects like this darling banner that would work for any holiday – just change the fabric. Or what about spelling out your child’s name or “happy birthday?” You can use this idea to create any number of options that work in your home.
The Materials
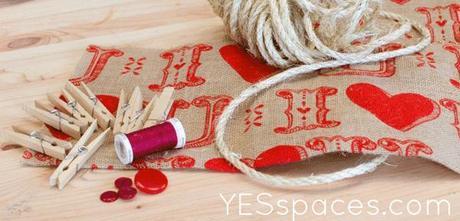
1 yard – burlap fabric, any color, any pattern you desire. You could use another fabric but I think the rustic rope and clothes pins look best with a burlap.
12-15 feet of rope
20 clothes pins
Pinking shears (if you have them)
For optional rosettes:
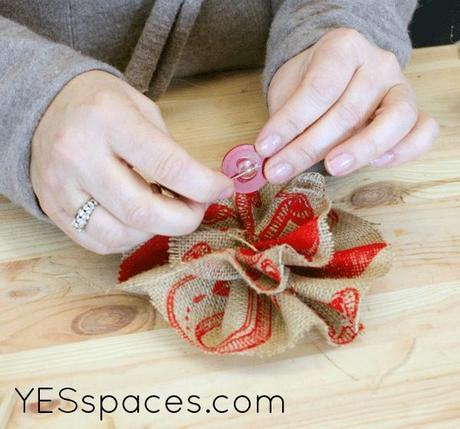
Buttons – to coordinate with your fabric
A needle and thread
The Process
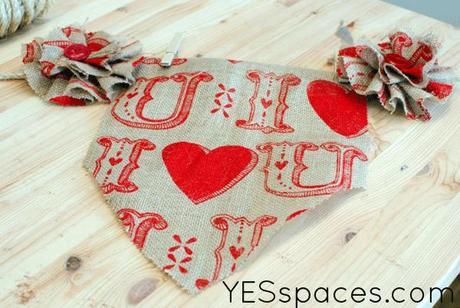
My fabric had a large print pattern so I decided my pennants needed to be large enough to show it off. I cut a shield shape with an extra 1-1/2″ at the top to fold over the rope. I used pinking shears to help prevent the burlap from unraveling.
Then I folded it over and used the clothes pins to attach it on both sides. You can use any pennant shape or style you enjoy.
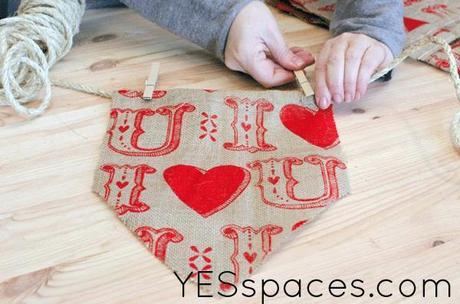
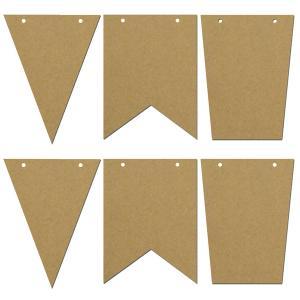
Here are a few other shapes you might try.
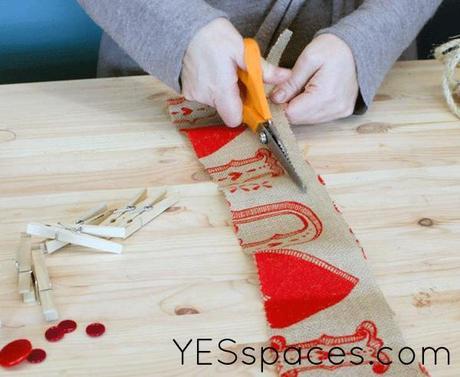
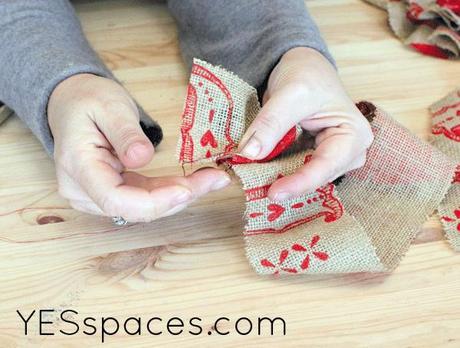
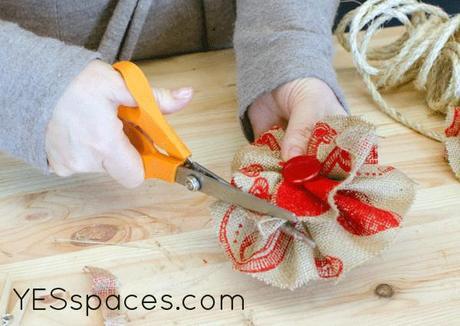
Next I made the rosettes. I cut a strip approximately 3″ wide and 18″ long. No need to measure here, these are cutest when each one is a little different. I used my pinking shears again.
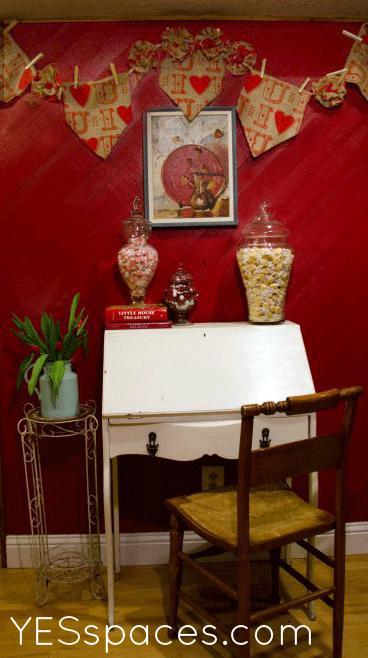
Pennants make me happy. They are charming and celebratory. Hanging them over this white desk creates the perfect spot for my daughter to work on her Valentine’s. And as a note about the candy jars, don’t tell my children, but I go to the bulk food store and stock up on the least expensive candy in a color that works for the occasion but that my kid’s don’t like to eat. It looks festive and saves on dentist’s bills. Win, win.
This project is a bonus! Our week 6 project will be up tomorrow: we will be adding a new video to our YES Spaces DIY page every week for the next 47 weeks! And based on your input we will have directions and when needed measurements and plans here every week as well. So be sure to subscribe here and over on YouTube so you don’t miss anything! I am currently cooking up all the projects and simultaneously pulling together our MESS to YES makeover schedule for the year so if you have projects or spaces you are struggling with and would like some inspiration let me know and I will try to tackle as many as I can here this year.
