I have a handful of Holiday decorations that I look forward to bringing out each year. (We're big on Scandinavian traditions at this house.) That said, I do also try to add new pieces into the mix each year to keep things fresh and festive. Last year, the cedar archway garland was the main event, and this year, I've teamed up with incredibly talented fiber artist, Sara Banner of The Forest Fern, to share a fun and easy project for Holiday decorating.


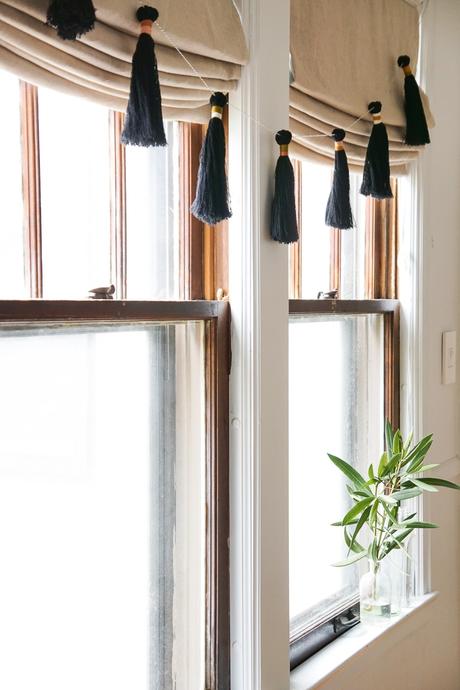
Sara is a devoted macrame + tapestry genius and a wealth of knowledge in all things fiber-related. I've been a fan of Sara's beautiful work for over a year now and was lucky to meet and work with her while she was in Minneapolis last Summer. Together we created a modern tassel garland tutorial for draping across windows, the fireplace mantel and even the Christmas tree. Let's get tasseling, shall we? Read on for the how-to on this smart, easy project!



- Single Strand Cotton String - we used 6mm Black Cotton from Niroma Studio
- Scissors
- Hair brush, pet brush or wide toothed comb
- 3-4 various colors of yarn
- Thin cotton string (such as baker's twine)
- Tapestry needle
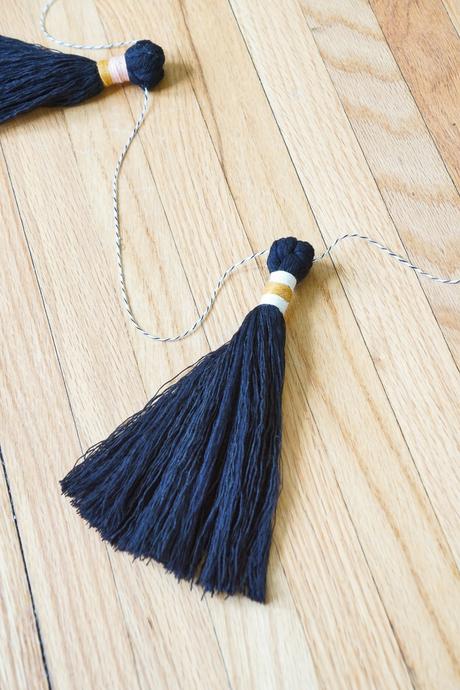
1. Construct Tassels. Cut 6 pieces of cotton string roughly 20″ long. Divide the 6 strands into two groups of three. Tie one laynard knot via the video explanation. The video clip details the knot using just two pieces of yarn for demonstration purposes. You'll use all 6 strands of cotton when tying the knot.
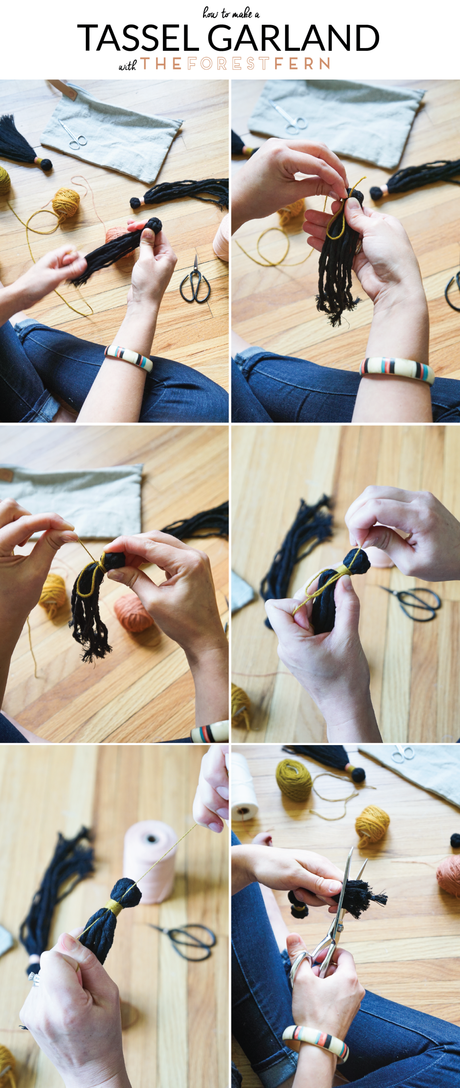
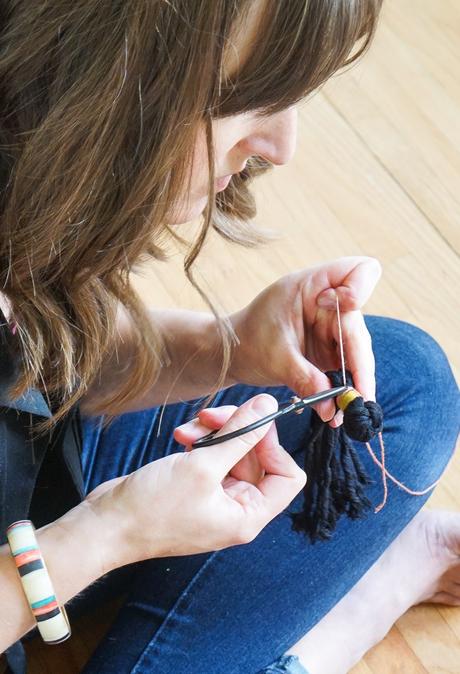
3. Continue tightly wrapping the yarn around the base of the knot forming a band of color. Tie off the yarn by threading the end through the loop created in Step 2. Then while holding the yarn end with one hand, pull the upper yarn end that was formed in Step 2 with your other hand. As you pull the upper yarn, the loop will eventually disappear underneath the wrapped yarn band. Trim yarn ends close to the tassel.
4. Repeat Steps 2 & 3 to wrap additional color bands around the tassel.
5. Gather the tassel string ends in your fist and trim to a uniform length.
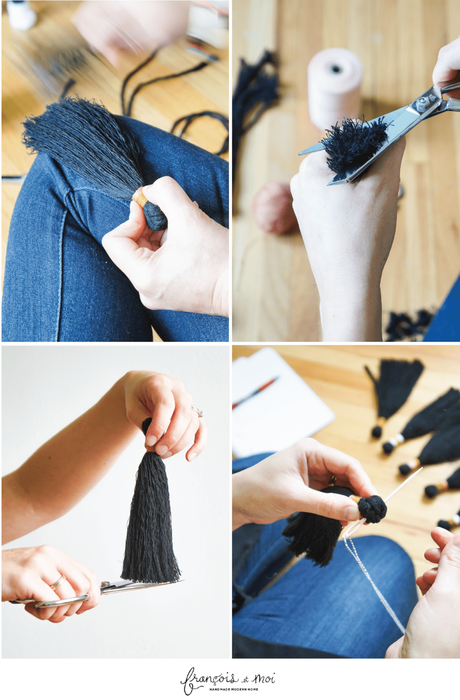
6. Use a brush to separate string into individual yarns. Keep on brushing until the string
s separate and are straight (yes, this can take some time!). Then give the yarns an additional trim for uniformity.
7. Repeat Steps 1-7 for additional tassels.
8. Measure the length of your window or fireplace mantle and double this measurement. Cut baker's twine to this length, and thread the tapestry needle.
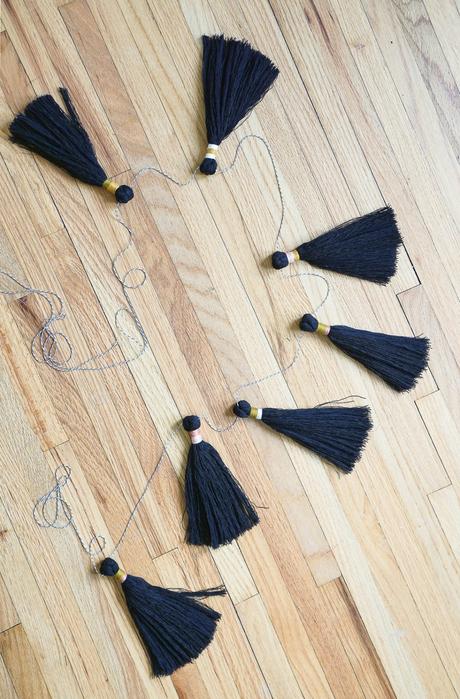
9. Thread tassels onto the baker's twine through the center of the tassel head. Space them out evenly on the string, and hang up your garland!
Follow Sara on Instagram for loads more inspiration and info on her upcoming events + flash sales.
