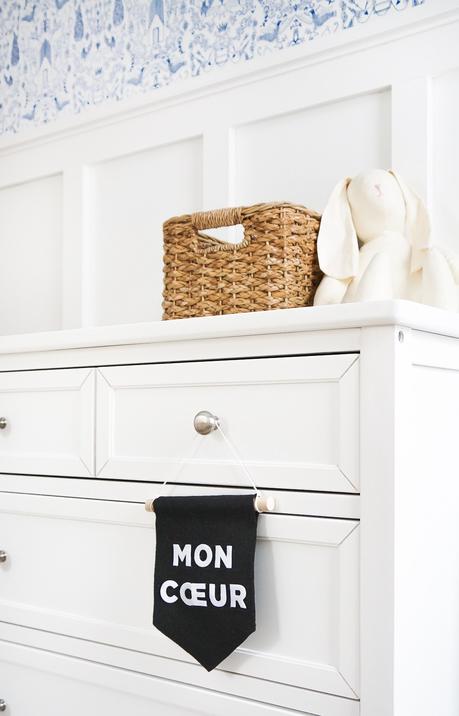
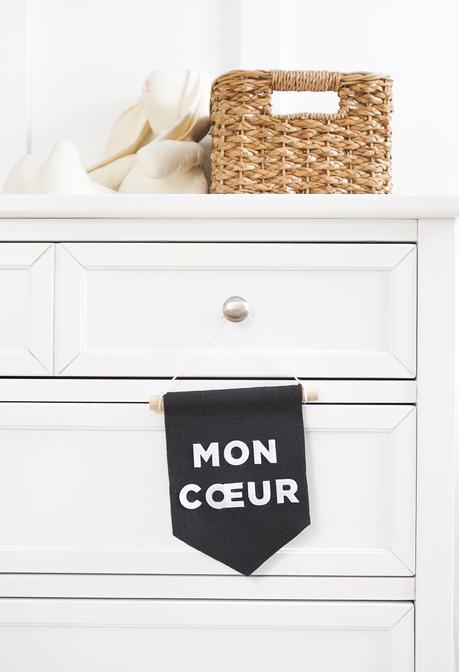
As we designed the board & batten and selected the Nordic wallpaper for the nursery, the room began to take shape, and I knew I wanted to incorporate some black and white accents in the room to add contrast and help the look keep its edge. Originally, I'd made this banner with the intent of hanging it in a grouping above the crib, but as we furnished the room, I decided to keep things simple over there, and ended up moving the banner over to the closet door.
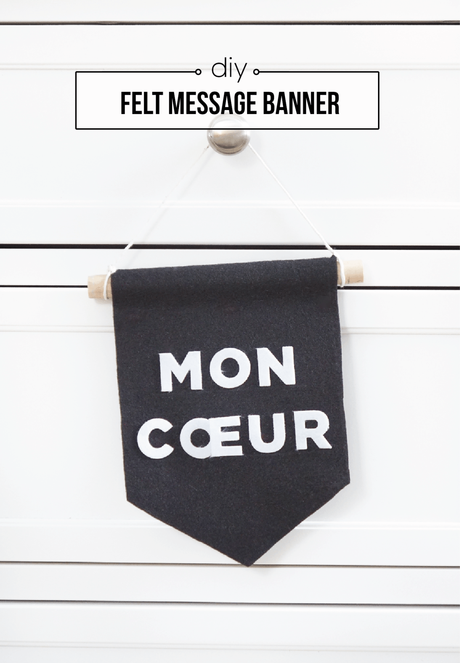
This little banner is a 30 minute project (maybe less-if you're not filming a movie about it!), made fantastically simple by the invention of precut sticky-back felt letters, and can be customized to say whatever you're drawn to. I decided on the French phrase "mon cœur" which translates to "my heart" in English because I'm a sentimental mom-to-be, need I say more?! Check out the 1 minute video and full instructions below on how to work up one of these babies for your place.


- minimum of 6″x 10.25″ piece of felt fabric
- 1″ precut sticky-back felt letters
- a sheet of cardstock paper for the banner template
- 7.5″ wood dowel
- string
- fabric chalk
- hot glue gun
- t-square, scissors, pencil
1. Start by creating a paper banner template. Cut the paper down to a 6″ x 10.25″ rectangle. To create the banner point at the bottom, position the rectangle vertically, and measure 2-1/4″ from the bottom on each long side. Draw diagonal lines connecting the mid point of the short edge up to the 2-1/4″ marks on each long side. Cut along diagonal lines.
2. Trace the template onto the felt using fabric chalk, and then cut out the banner.
3. Center the felt letters on the banner using a t-square.
4. Once you have them where you want them, just peel & stick!
5. Create a rod pocket for the wood dowel, by applying hot glue along the felt's backside top edge. Fold over and press firmly.

6. Tie string onto each end of the wood dowel and hang!
Think this video is worth a watch? Please share the love!
