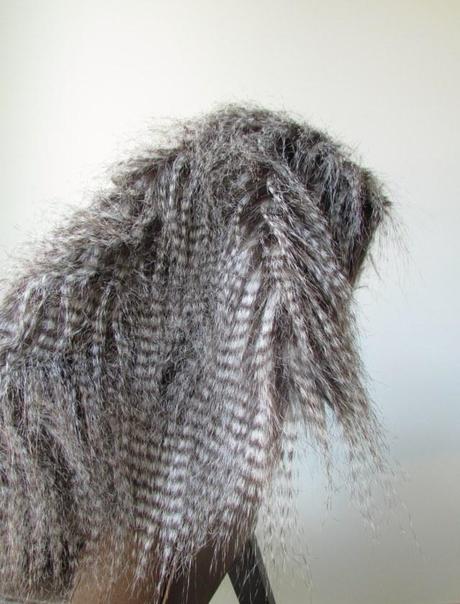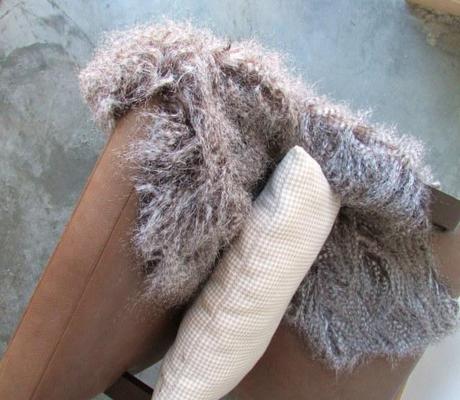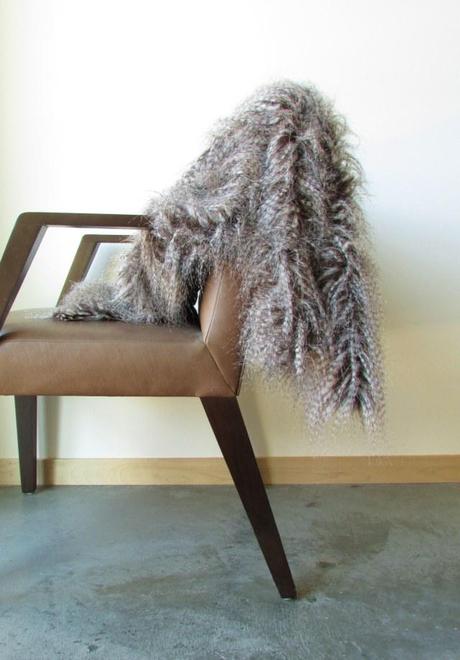
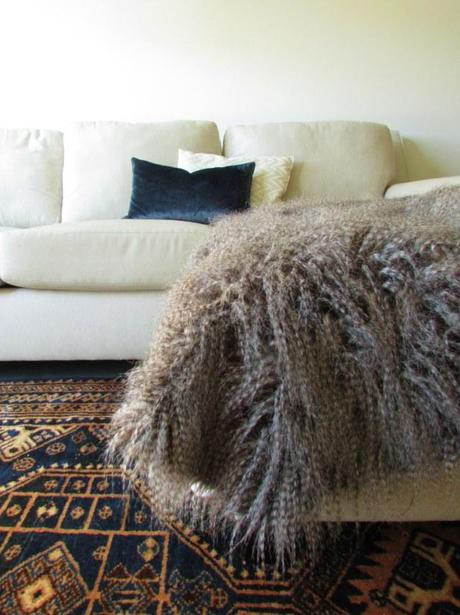
I’ve been thinking about adding a fur hide to our new living space for awhile now, and with this weekend’s fall weather blowing in with determination, I decided to take an hour break from hauling moving boxes and make a faux fur swag to cozy up our space for winter.
I love Ikea’s Rens sheepskins, but they’re freaking EVERYWHERE, so I took the general shape and scale of the sheepskin and created a different fur look using a particularly lovely faux fur from Joann’s. Faux fur doesn’t ravel, so there’s no sewing involved. Simply draw your shape, cut, and drape!
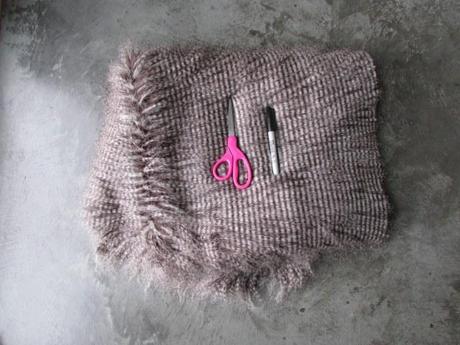
Materials List:
- 1 yard of faux fur. Use discretion when selecting your fur! There are ALOT of bad faux’s out there.
- scissors
- permanent marker
- measuring tape
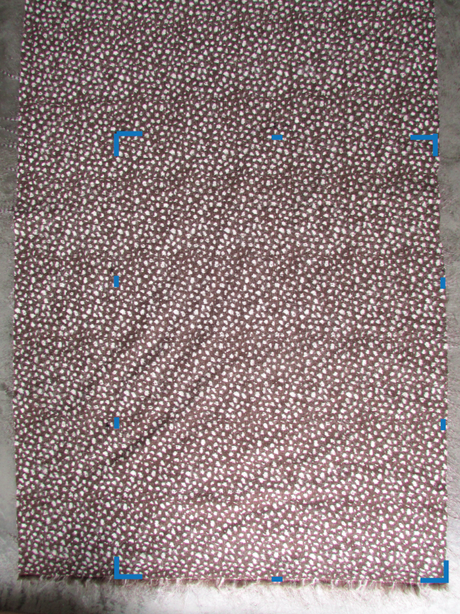
Step 1. Lay 1 yard of faux fur face down on your work surface so that the short side of the rectangle is nearest to you. Measure a 40″ x 28″ rectangle. Mark corners with a permanent marker.
Step 2. Find and mark the top and bottom center (20″) . Divide each long side into three by marking off at 14″ and 27″ from the bottom.
Step 3. Pull up an image of the Ikea ‘Rens’ Sheepskin on your phone or computer. Take note of 3 points or juts on each side of the hide. Using the marks on the long sides of the hide that you made in Step 2, freehand sketch the left side curves.
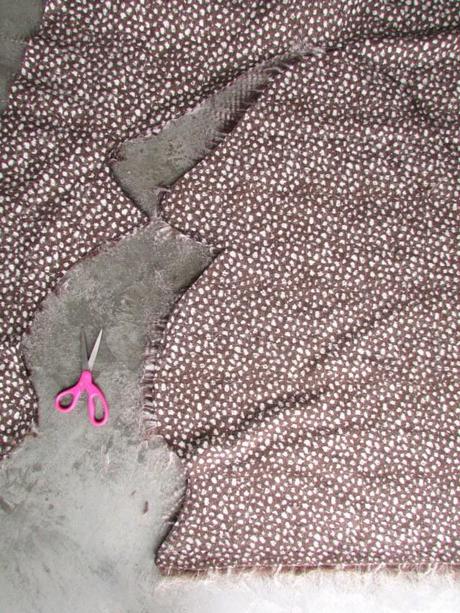
Step 4. Cut along your drawn line. While your cutting, lift up the fur a few inches and brush the hair/nap along the edge of the curve inward towards the center hide. (You want to try not to cut the long fur on the hide, as the long fur will drape over the edge of the cut edge concealing the cut edge).
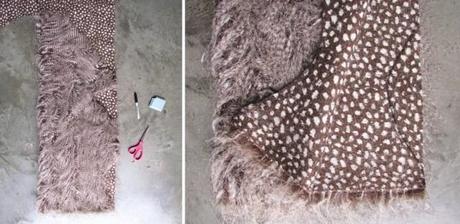
Step 5. Once you’ve cut the left side, fold it over to the right side and trace the curvy edge with a permanent marker to create a miorror image of the left side. Pull the left side back and cut along the permanent marker line (making sure to brush the long fur back towards the center of the hide (as you did with the left side.
Step 6. Take your new hide outside and give it a good shake to discard of the loose fibers. (There will be lots of shedding!)
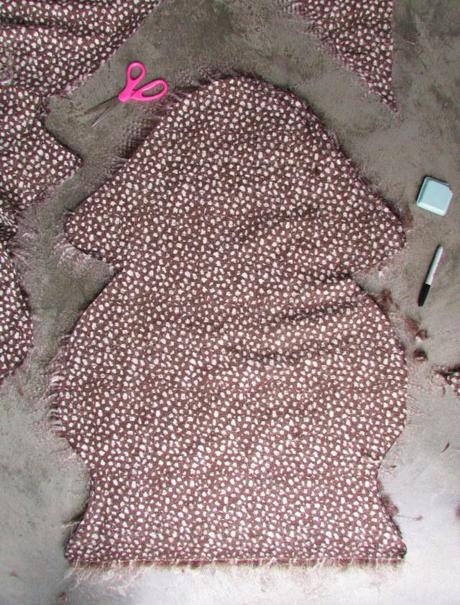
Don’t worry about perfecting the shape of the “hide.” Genuine hides vary, so it’s perfectly okay if your freehand outline doesn’t look exactly like Ikea’s Rens. It’s just meant to be a guideline, and in fact it’s probably better if it isn’t identical!
