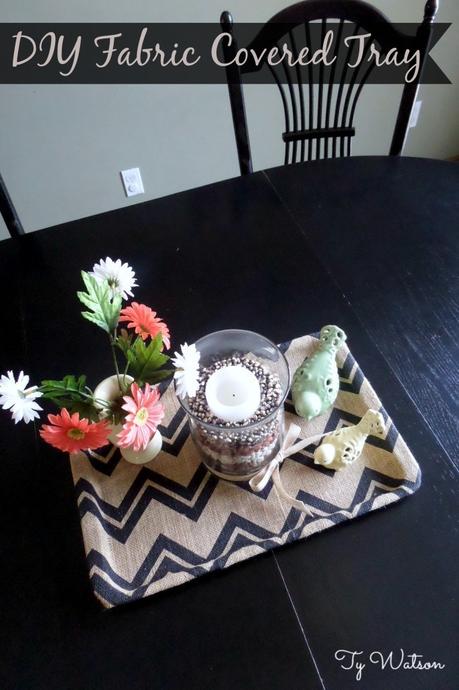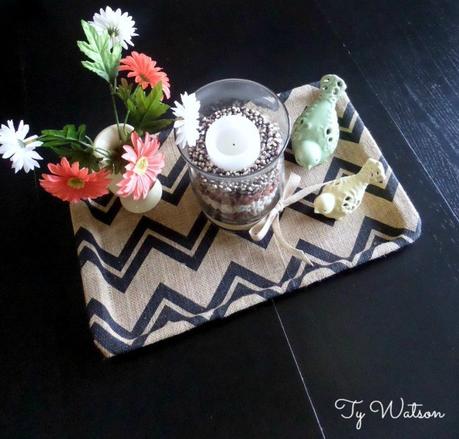
Um, you've probably seen those beautiful serving trays in department and home stores recently. They're gorgeous, right? They're perfect for centerpieces or serving pieces but they're not perfect for the budget! They're very beautiful but let's face it - they come with pretty hefty price tags. This DIY Fabric Tray is easy to make and affordable!

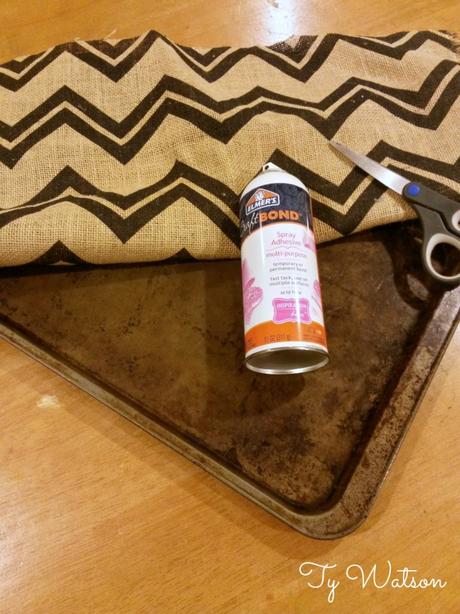
What You'll Need:
- old cookie sheet - it does not matter the condition as it will be covered
- fabric of choice approximately 6" longer and wider than the cookie sheet selected
- spray adhesive
- scissors
Instructions:
Begin by making sure the cookie sheet is free of any loose particles and scraped fairly smooth.
In a well vented area and on a protected surface, spray the cookie sheet with the spray adhesive. You will want to make sure it is well coated.
Lay the fabric over the cookie sheet with even amounts of overhang and gently press the fabric into the adhesive. You can do some embroidery designs with these machines too.
Work quickly, smoothing the fabric to remove any wrinkles or air bubbles.
When the top of the cookie sheet is covered, turn the sheet over and begin preparing the fabric.
You will need to fold the corners of the fabric over and trim access fabric to prevent a lot of bulk. It the corners are too bulky or heavy with fabric, the adhesive will not hold.
Once the fabric corners are trimmed, spray the sides of the cookie sheet with adhesive and press the fabric into place.
Allow adhesive to fully dry before using your new, fashionable tray!

This tray is a great addition to a dining room table with flowers or other décor displayed on it. It's also great for the kitchen counter, coffee table, or bedroom. It's perfect for carrying items from the kitchen to another room of the house (breakfast in bed?) or even to the patio for a cook out!

