It’s been a busy couple of weeks, as I have been doing a very special DIY – re-designing my website! What do you think?
I apologise for the lack of DIY projects, so this week we’re going to try and do two to catch up!
So this one is something I’ve wanted to do for a while, a DIY embroidered top. Hand embroidering is a favourite activity of mine! It’s really easy once you’ve got the stitches down, but it takes a little time in front of the TV

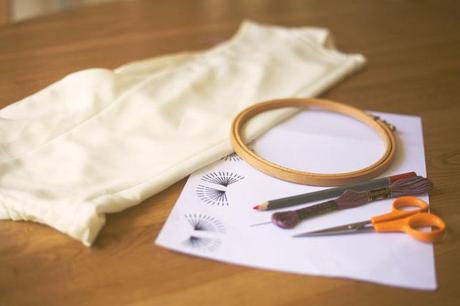
This one just uses a really simple stitch, just like hand stitching anything, it straight and is just a cute little line design. If you want you can download the pattern here, although it is pretty easy, you don’t necessarily need it, but it’s good for keeping things uniform when it comes to spacing and distance.

You will need : A top, embroidery thread, a needle, a fabric marker, scissors and an embroidery hoop.

2. Trace the design onto the tshirt.
3. Attach the embroidery hoop and stitch over the traced lines with a straight stitch starting from the inside and moving across. Keep the amount of thread on the wrong side as minimal as possible. Repeat this step until you’re finished.

A few things to consider if embroidering a t-shirt :
- It is maybe a good idea to use a facing behind so the stitching lies well.
- Do not stretch t-shirt material too much when embroidering, as it will have an effect on the way it hangs.
That’s it! It’s easy but it demands a little time, that’s all. If you have any questions don’t hesitate to write a comment below!
Take care,
