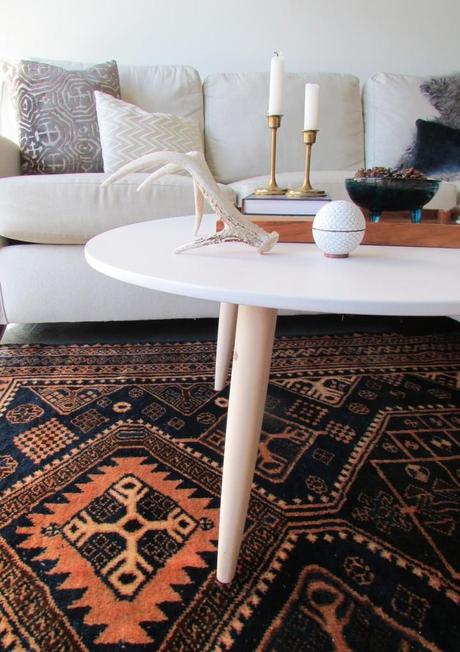
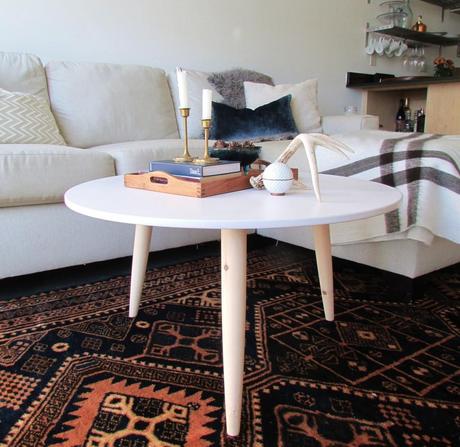
Living room coffee tables in small spaces wear many hats. They function as drink perches, game tables, casual dining tables, craft tables, etc. and our coffee table is no exception. Our new small(er) square shaped living room was calling for a downsized, multi-functional table with not only a smaller footprint, but one that visually felt lighter too. (Previously we had an old train cart which we still love, but there was just no squeezing a rectangle into a square.)
So when brainstorming what exactly our new coffee table should be, I dug into my DIY happy file and pulled out a Martha Stewart Living article I’d torn out and filed away for a rainy day. The spread was called Table It, and they highlighted several sources for DIY-ing your own table with crazy cool “legs” you can find online.
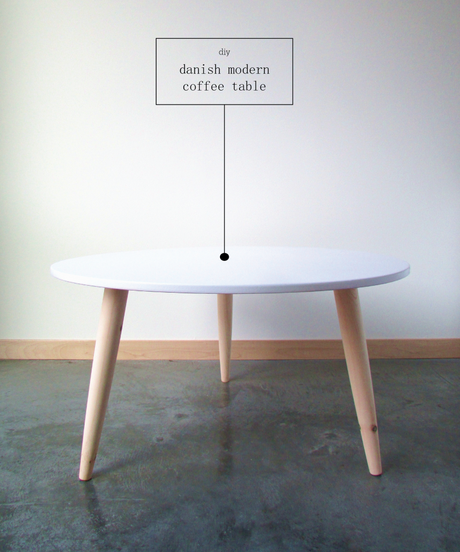
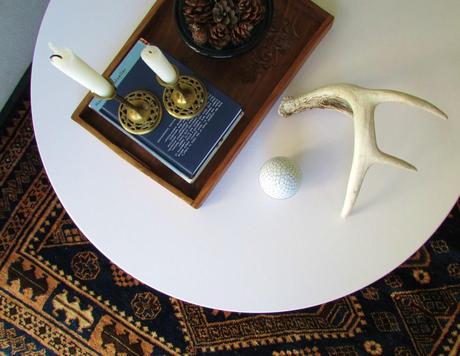
I landed on the unfinished 16″ danish table legs from tablelegs.com, and then sourced a 30″ round tabletop from a kid’s pink activity table that I found for peanuts at The Salvation Army here in the North Loop. The table was in rough shape, but after removing the base and spray painting the top with an Appliance Grade White Epoxy Spray Paint (to make it super durable and wipeable), it was sparkly new again and perfect for our table. The end result is a gorgeous danish modern coffee table that I have a feeling will earn it’s keep around here for quite awhile!
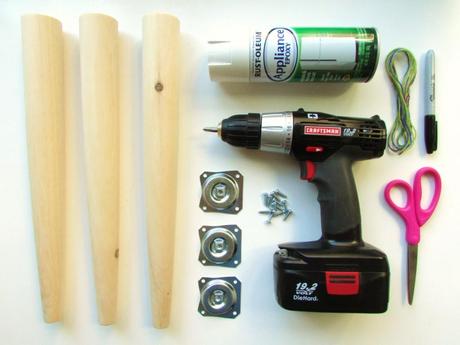
Materials List:
- Salvaged round tabletop. Mine is 30.5″ round.
- 100 & 150 grit sand paper
- Soap and water
- Rust-oleum Appliance Epoxy Spray Paint in white
- Scissors
- String or yarn
- Permanent marker
- Pencil
- Ruler
- Electric drill
- 3 unfinished white pine 16″ Wegner danish table legs
- Three angle top plates + screws
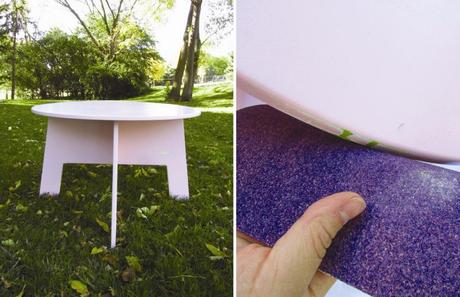
Step 1: Refinish your salvaged or repurposed tabletop. Make sure to set up shop somewhere with great airflow. Spray paint fumes are toxic! Begin by sanding down any areas with chipping paint or scratches. Sand them first with the 100 grit sand paper and then with the 150 grit sand paper until any rough areas are smooth. Wipe the top down with soap and water and let dry.
I left the old base on while sanding and spray painting the top, as it made it much easier to finish the side edges. After the paint dried is when I removed and discarded the old base.
Step 2: Apply 3-4 coats of the Appliance Epoxy Spray Paint, waiting at least 30 minutes between each coat. After the final coat, let the top sit for a minimum of an hour before bringing it inside. Let sit overnight for the finish to completely set. If it’s still even slightly tacky, it needs more time. Once the finish is completely set, it will be crisp and smooth, and there will be no question that it’s finished drying.
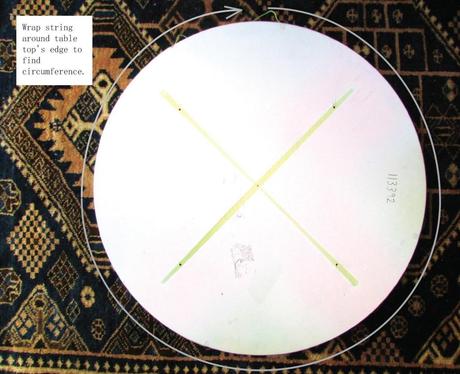
Step 3: Mark out where to attach the table legs. Lay the top face down on the floor (or worksurface). Find the circumference of the top by wrapping a piece of string or yarn around the entire outside edge of the top until the two ends meet themselves. The string should be touching the edges all the way around.
Step 3a: Cut your string to the length of the circumference and take the string off of the table.
Step 3b: Fold the string into three equal parts and mark off thirds on the string with a permanent marker (essentially a mark at each of the two folds).
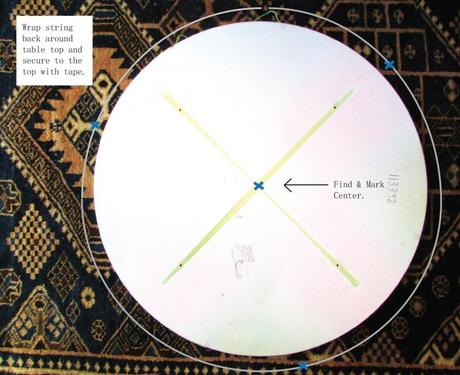
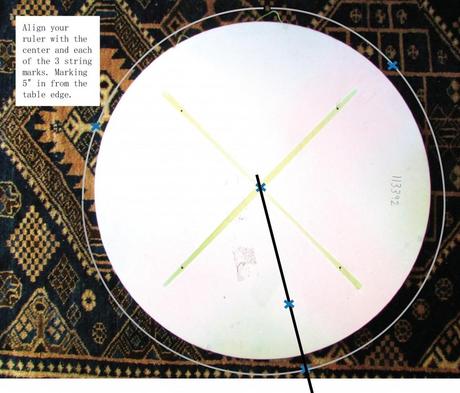
Step 3c: Wrap the string back around the top and secure to the top with tape.
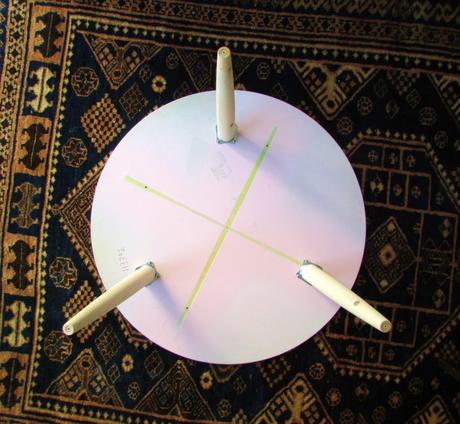
Step 3d: Find the center of the top. If you’re using a salvaged top, the center will most likely already be marked for you, but if not, follow the instructions here. I did not finish the under edge of the top, so the markings you see were left over from the previous base. Maybe I should have, but no one, other than you guys in this post, will ever see the bottom side!
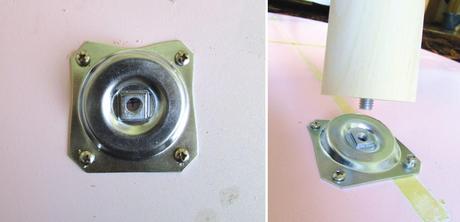
Step 4: Attach angled brackets with an electric drill, placing the brackets so the thicker part of the bracket faces in towards the center of the table. (And thus your table legs will splay outward.)
Note: If your tabletop is thin like mine (3/4″), you might need to use shorter screws than what comes with your angled brackets.
