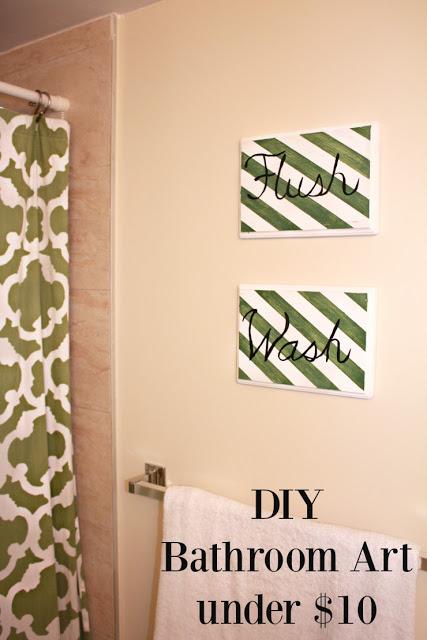
If you've been keeping up with our family, you know that we recently moved (again!). Most of our stuff is unpacked and we have settled in nicely. The one thing I have been missing is some artwork on our walls. As a renter, I am always hesitant to open any holes in my walls so I barely put up anything. Not this time! I really want to make this house our home (we are saving up to purchase our own home) for the next couple of years. As a mom of three, I am on a tight budget and can't always go out and buy all the super cute things I see online, but I can always do it myself, like I did with our easy DIY bathroom art!
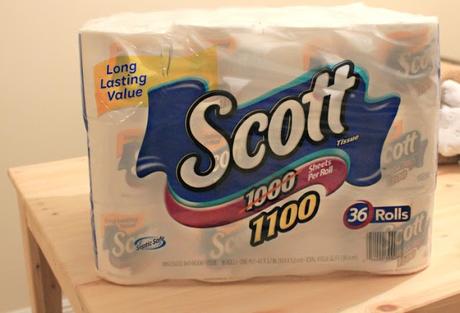
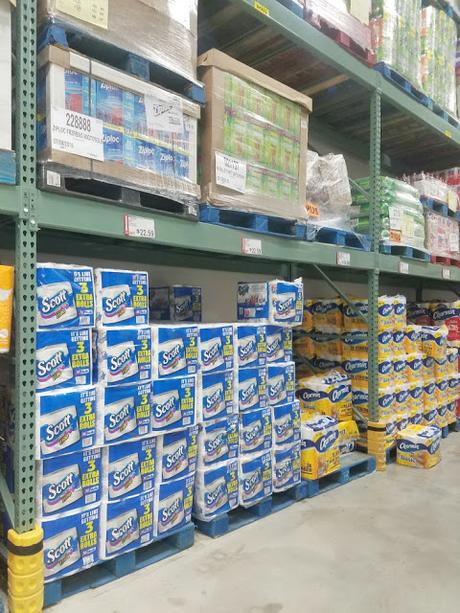
I believe bathrooms should be as important in decorating as any other room in the house. They should have matching everything and it should definitely be a room you feel comfortable in. I also believe bathrooms should always be stocked up with essentials like shampoo, conditioner, soap and toilet paper. No one wants to go and use the bathroom and find out you have run out of toilet paper!! SCOTT® 1100 Bath tissue provides long-lasting value, now with 1,100 sheets of septic-safe toilet paper in every roll. 100 extra sheet per roll= 3 extra rolls per pack. I stock up on SCOTT® bath tissue at BJ's Wholesale. This frugal mama loves a deal and with this coupon, you can save even more!
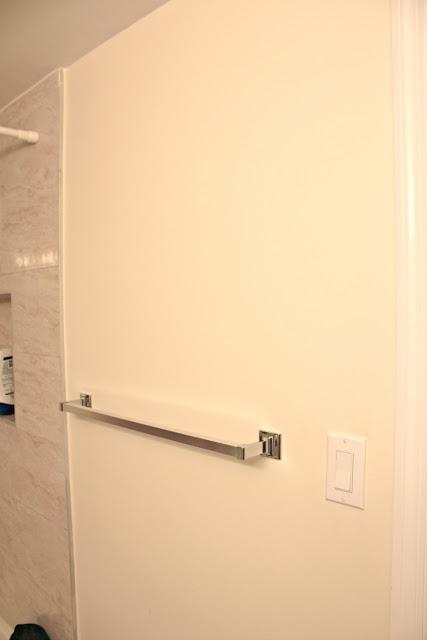
Since I saved some money while stocking up at BJ's, I decided to hit up my local craft store and search for a solution to my bare bathroom wall.
I knew I wanted word art that would serve as friendly reminders to my children of the things they need to do while they are in the bathroom. I also knew that I wanted the words on separate pieces so I purchased 3 pieces of craft wood at about $1.99 each. I already had paint, paintbrushes and painters tape at home so this bath art came out to less than $10!!!
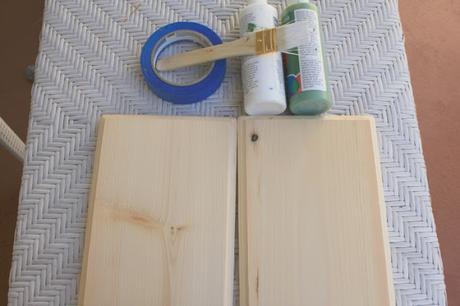
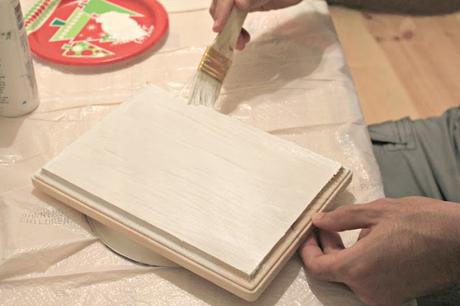
First, you paint your wood the base color of your artwork. I chose white since to me, white always seems clean and put together. Also, white goes with everything!
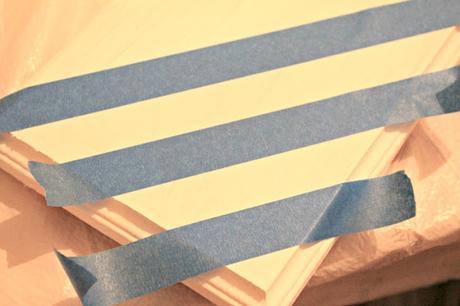
Then I decided that I wanted to add a second color in stripes. I wanted diagonal stripes so I used painter's tape to create the stripes on the dry, painted boards.
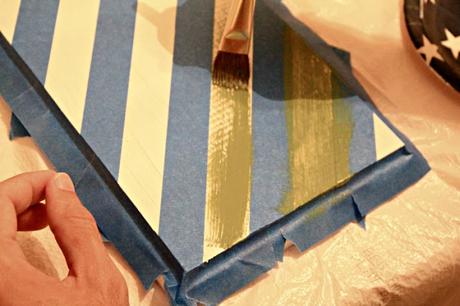
Then, paint your second color over the white stripes. Make sure to go over the painter's tape with your second color. I painted softly since I wanted a bit of a distressed look to my pieces.
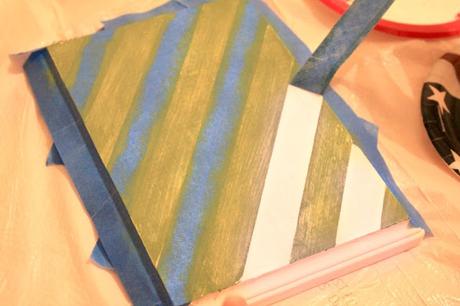
Once you have painted all your stripes, quickly peel off the painter's tape. This needs to be done while the paint is still wet! Perfect stripes!!
Once my paint was dry, it was time for words. Now, being the bad blogger that I am, I do not have a cool vinyl cutting machine. I wish I did, but unfortunately, I never seem to get one under my tree. Fortunately, I do have an in-house artist that loves to help me with projects and he quickly volunteered to paint the words on for me!
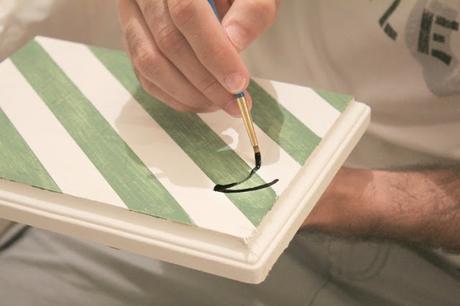
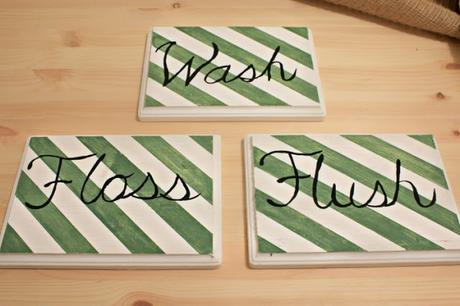
We chose the words WASH, FLUSH and FLOSS for our pieces because those are the things the kids always forget to do!
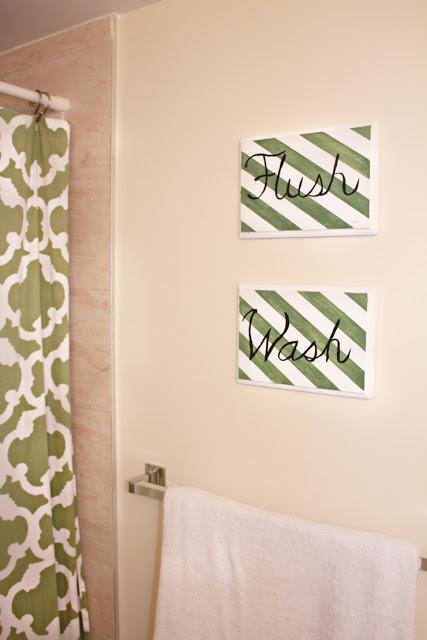
I previously mentioned that we are renting this apartment and I want to make sure I get my full deposit back when I move so I do not open any holes in the walls. Luckily, I have discovered adhesive strips and they have been a decorating savior! We attached the strips........
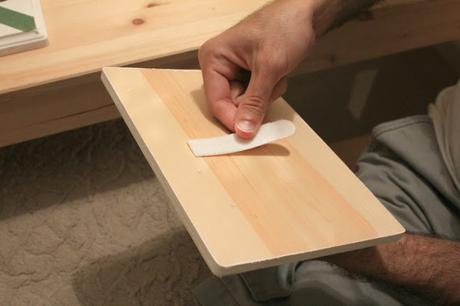
and pressed our new artwork on the wall above the towel bar.
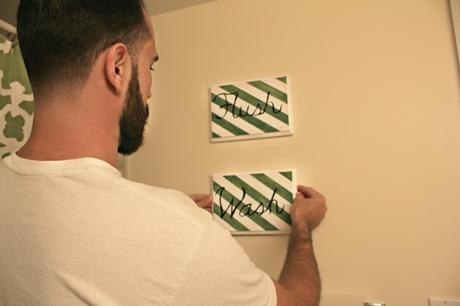
So cute!!! Perfect reminders for anyone using the bathroom to practice good hygiene!!
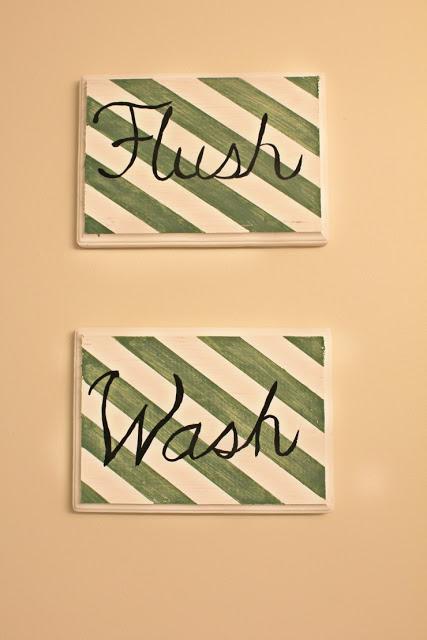
My wall looks amazing now and I am super happy I took a few hours over the weekend to work on this project! I can't wait to make more artwork for my home!!
SCOTT® 1100 Bath tissue is available at BJ's Wholesale Club. Make sure to download this coupon so you can save even more!!
Have you done any DIY artwork for your bathroom? What motivates you to create artwork for your home?
