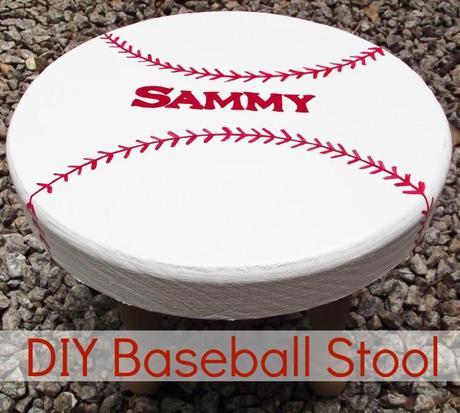
People complain a lot about how hard it is to buy presents for people because they have everything already. I would argue it’s harder to buy presents for kids, because they have enough toys to supply a small army.
So when we got invited to a kid’s birthday party for this weekend, I thought long and hard about bring a different kind of present.
I knew that the theme for the party would be baseball since the family loves the St. Louis Cardinals. So I wanted to incorporate a baseball themed present appropriate for a 2 year old.
Having witnessed this particular 2 year old’s love for climbing up and down chairs, I figured he could use a pint sized baseball stool.
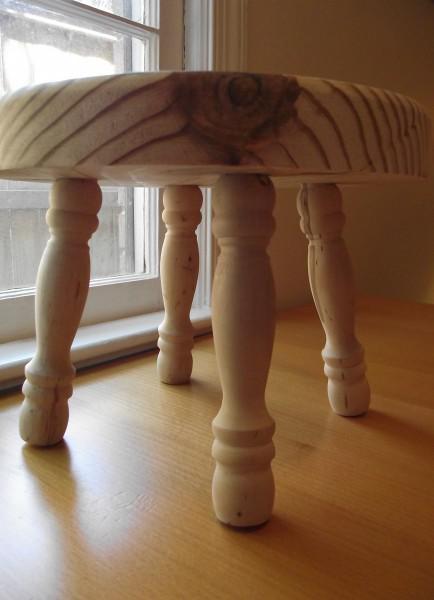
I picked up this blank wooden stool at Michael’s craft store for $14, along with some white and tan craft paint.
I used the tan paint on the legs to make them look like baseball bats and about 10 coats of white paint on the top of the stool to make it look like a baseball. I opted for craft paint because it dries a lot faster than spray paint but you could always use spray paint instead.
After allowing the stool to dry completely, I was ready to finish making the top look like a baseball.
First, I wanted to personalize it with a name. I printed out the name on a piece of computer paper. In order to transfer an outline of the name on the stool, I flipped the paper over to the back side, and used a pencil to trace along the edge.
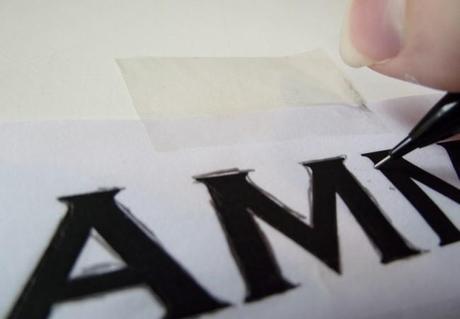
Then I flipped the paper right side up and taped it in place on the stool. Using the pencil, I gently traced along the outside of the letters. This pressure transfers the graphite that you left on the other side.
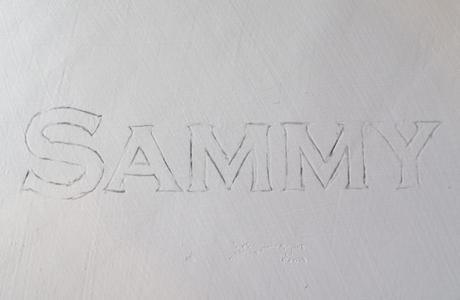
After tracing all the letters, I was left with this outline on the stool.
Then I used a red sharpie to fill in the lines. You could also use paint if you have a steady enough hand.
Once I was finished filling in the name, I wanted to add the classic baseball laces. I used a plate to make a smooth curve. To ensure that the curve was the same size on both sides, I marked where the plate and the edge of the stool met with a piece of tape on both sides. Then I made sure that the tape marks met the edge of the stool when I traced the curve on the other side.
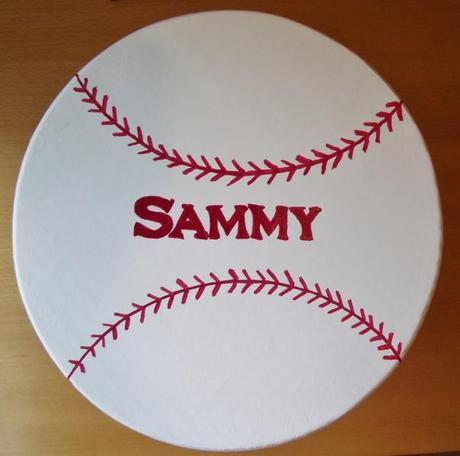
Once I had my curves, I traced it with the same red sharpie and then made upside down v’s every half inch or so.
To seal the sharpie, I put two coats of mod podge on the top of the stool. This had the added benefit of giving the stool a glossy finish like a brand new baseball.
With the mod podge dry, my stool was all finished.
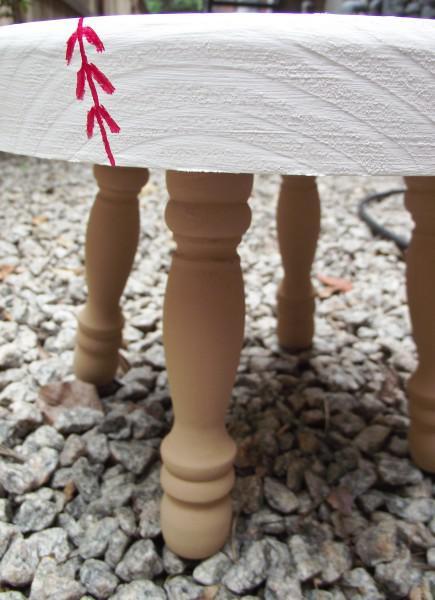
One of neatest parts of the finished stool was definitely the legs. They totally look like baseball bats.
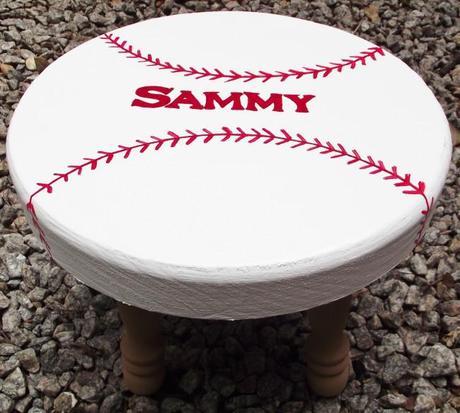
All in all this project only took a few hours to complete, although most of the time was literally spent watching the paint dry. The extra time was worth it though because it felt really nice to give a gift that couldn’t be bought in stores.
Happy birthday Sammy!
Have you handmade any birthday presents lately?
