The Idea
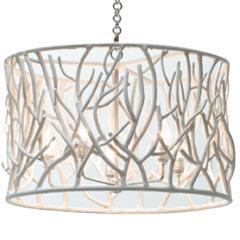
Image from Decor Pad
Lighting performs an important function in your home and as a result it often just looks boring.
A light fixture can also transform a space to be a dramatic centerpiece in a room, especially a dining room where chairs and tables are standard fare.
Chic light fixtures can cost well over $1,000 with almost no upper limit. I wanted to create drama on a budget and I used two of IKEA’s most basic pieces to do it – their bundle of branches and large drum shade.
The Design
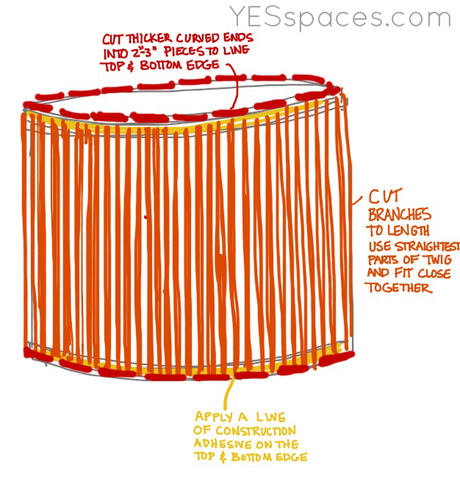 My concept was to glue branches of somewhat uniform size evenly around the shade. But just leaving it there would have been the perfect touch for a log cabin, not a chic dining space, so I finished the top and bottom with shorter sections of the branches.
The transformative element? Covering the entire fixture with a thick coating of Mod Podge and then using some white glossy paint with a surprising pop of sky blue inside. Yummy.
The Materials
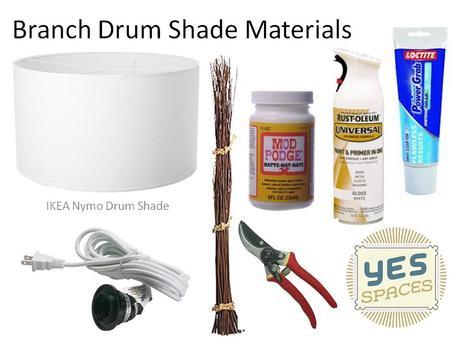
- 1 IKEA Nymo Drum Shade (I didn’t use the largest size – you really need a large space for that one)
- 1 IKEA Light cord set
- I bundle of IKEA branches (this was enough to cover the entire shade, discard crooked pieces, and still have some leftover)
- Loctite Power Grab
- Glossy white primer and paint
- Sky blue spray paint or acrylic paint (I used spray paint)
- Mod Podge
- Paint brush
- Garden clippers
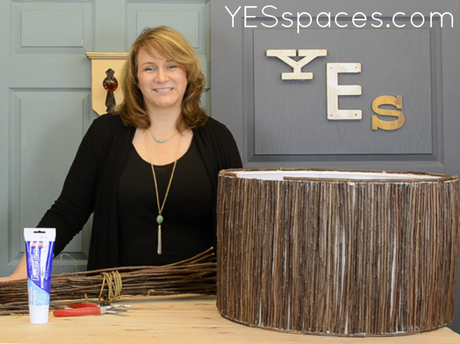
The Process
Watch the video first, these instructions are meant to help you remember the order or answer any additional question
- First, keep the plastic cover on the shade and spray the inside with the blue, the plastic cover gives you a nice clean edge and protects the white shade perfectly
- When the paint has dried remove the plastic covering
- Then, put on a good old movie or a nice marathon session of your favorite TV show because cutting the branches is tedious!
- Cut the curved end off each branch so you begin with the straight part
- Hold the branch up to the drum shade mark the cut location with your hand and cut, after a white I grabbed a garden glove to prevent blisters
- I was able to get two straight pieces out of each branch, I saved some of the smaller ends to fill in between branches at the end
- Run a bead of Loctite Power Grab on the top and bottom band detail of the shade (not on the top edge) I worked on about 12″ sections at a time
- Place branches vertically, try to place them as straight as possible and try a couple branches to be sure the pieces you are placing fill in nicely next to each other – for example, if your branches curve away from each other you will have a big gap find another branch that fits more tightly, keep doing this until the entire shade is covered
- Cut 2-3″ slightly curved pieces from the ends you originally cut off the branches
- Run a bead of Loctite around the top edge place the curved pieces to form the top edge, when these are dry turn the shade over and repeat the process on the bottom edge
- Once the glue has dried, coat all the branches thickly with mod podge
- Paint the outside with the glossy white spray paint, rather than using a lot of blue painters tape I just painted the white and then went back and touched up the blue paint, there was not too much over spray as I was careful
- Attach light cord, hang and enjoy
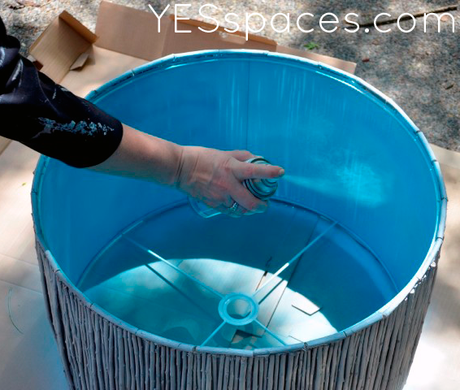
Watch the video if you are confused about any part of this process, or comment and I will respond!
The Outcome
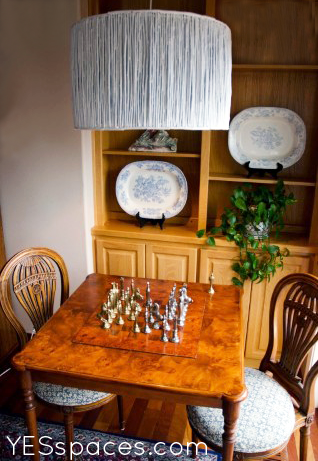
This light fixture makes a big statement in a small space. I love using over-sized light fixtures, undersized ones look cheap no matter how much you pay for them. In the area of light fixtures, when in doubt go big!
The Budget
$14.99 – IKEA Nymo Drum Shade (normally 29.99 but as always I scoured As-Is until I found one there)
$5.00 – White IKEA Hemma light cord set
$14.99 – IKEA Smycka bundle of branches
$7.96 – Loctite Power Grab
$5.99 –White Glossy spray paint
$0.00 – I had Sky Blue paint (would be $3.69)
$0.00 –I had Mod Podge (would be $6.99)
$0.00 – I had the paint brush and garden clippers
TOTAL: $49.62
OK, so I try to include everything you need to buy but the budget was so tight I had to use what I already had – if you have to buy everything you can make it for a total of $60

We are adding new videos to our YES Spaces DIY page regularly this year until we reach 52! Based on your input we have directions and when needed measurements and plans here for you as well. So be sure to subscribe here and over on YouTube so you don’t miss anything!
If you want to dress up your home contact YES Spaces today! I would love to talk to you about your family and your space!
Visit our YES Spaces DIY channel to see videos of other family friendly projects!
Connect with us on Facebook for the “How To” behind some of today’s most popular design ideas!
View our Pinterest Boards for my curated design inspiration!

