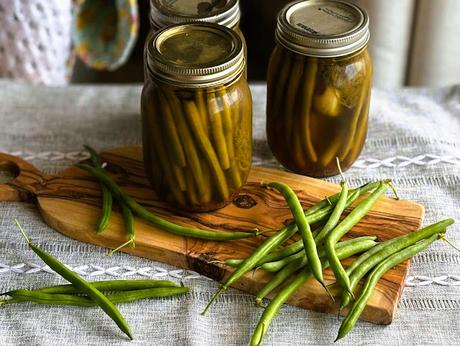
Fresh Green Beans are plentiful at the farmer's market at the moment and if you have any growing in the garden, I am sure you have them coming out your ears by now. I adore fresh green beans. They are one of my favorite vegetables. I could eat them every day when they are in season.
I love green beans so much that I even enjoy canned green beans. I know a lot of people don't, but that is what we were brought up on so they are something which we all enjoy. Oddly enough I am not fond of frozen green beans. Its a consistency thing. They just seem squeaky and feel odd against my teeth.
I used to do a lot of pickling, canning and freezing of produce when my children were growing up. Mostly corn as far as freezing goes. We never had much success with anything else. Everything else got pickled or canned.
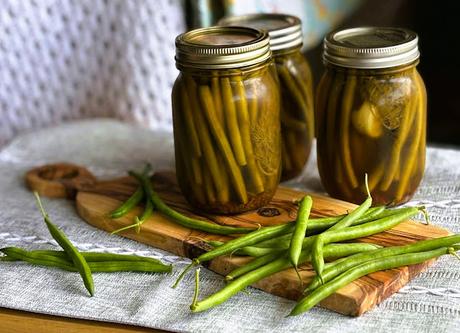
I confess however, I never ever made pickled beans! The thought never occurred to me. This year was the first and I have to say I am in love with them! They are quite simply beautiful!
This recipe that I am sharing today comes from a page on Facebook called Kitchen Feast. There are a lot of pickle and preserving recipes on that page at the moment.
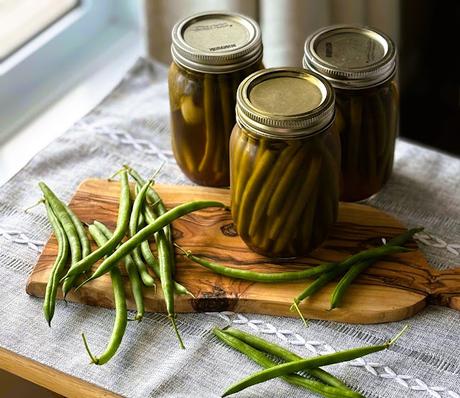
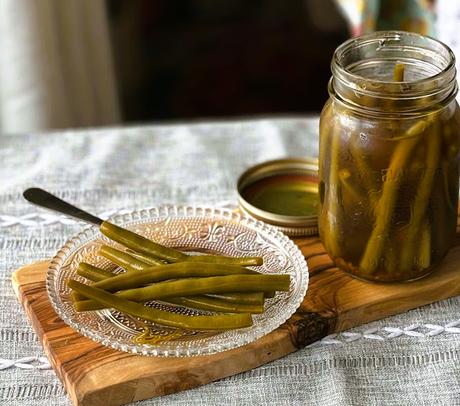
The recipe makes only four pints of pickled beans. We actually only got three. But they are lovely. Delicious. Crisp. Not too garlicky. With a tiny bit of heat and a lovely dill flavor.
They were very easy to make as well. Just follow a few simple rules for canning and you are well away. We used a water bath canner. (My sister has a large one.) You can also use a large saucepan as well. The important thing is to keep the jars off the bottom of the saucepan so that they don't crack and to make sure the boiling water covers the jars by at least 2 inches.
The hardest part is waiting the two weeks for these to be ready to eat. This jar we opened at 10 days and they are excellent. These are going to be a lovely taste of summer in the winter month's to come. I highly recommend if you have never tried pickling green beans that you do! You won't be sorry!
WHAT YOU NEED TO MAKE DILL PICKLED GREEN BEANS
A few simple garden and larder ingredients, plus some quart sized pickling jars and a water bath canner, or a saucepan large enough to hold the jars with enough boiling water to cover them by 2 inches
- 2 pounds (907g) fresh green beans, washed and trimmed
- 4 cups (960ml) water
- 3 cups (720ml) white vinegar
- 2 tablespoons fine sea salt
- 4 cloves garlic, peeled and sliced
- 4 teaspoons dill seeds
- 2 teaspoons red pepper flakes
- 4 fresh dill sprigs
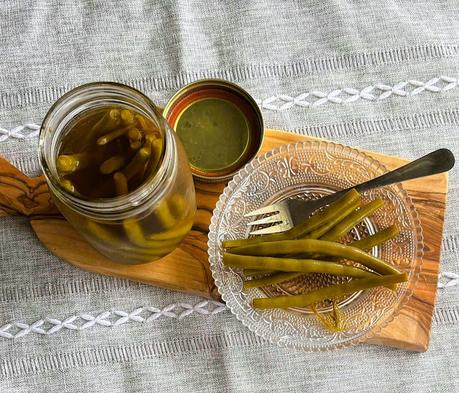
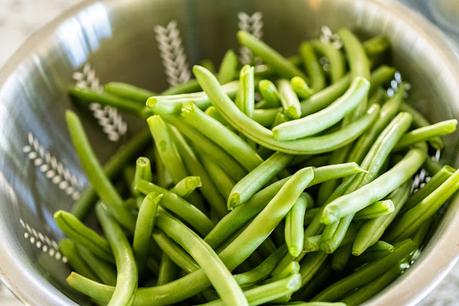
We picked up green beans at our local farmers market. This is the optimal time to be buying them as the green beans are coming in fast and fresh. Pick beans that are not too small, or too large. Larger ones will be tough and small ones will not pickle properly. Make sure there are no bad spots or spoilage on any of the beans.
Use bottled still water. I don't like the idea of using chlorinated water for my pickling. If you have it use pickling salt or fine sea salt. Kosher salt can also be used. Just don't use ordinary iodized table salt as this will react badly with the vinegar brine giving your beans a funny color.
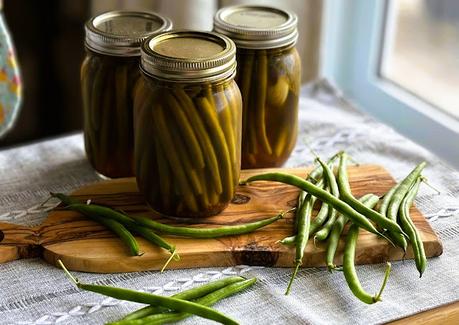
We were lucky enough to get fresh local garlic. I only use garlic which has been grown in North America. You can tell the difference because the root end will be intact. Foreign or Chinese garlic will have had the root gouged out. (They do this because of laws banning the import of foreign soil matter.)
I am not a racist but I will be honest and say up front that I do not trust Chinese imports. I don't think they are as highly regulated as the things we grow and produce here at home.
We had to buy our dill seeds at the local health food store as there were none in our local shops. The fresh dill was readily available at the farmer's market. Again, give it a good shake and a wash to get rid of any insects which may be lingering.
HOW TO MAKE DILL PICKLED GREEN BEANS
The hardest part of making these is waiting the two weeks for them to be ready to eat! Trust me when I say that they are well worth the wait!
First prepare your green beans and sterilize your jars as well as the lids.Wash your jars well in hot soapy water and rinse them. Place them onto a baking sheet and heat them in an oven set at 210*F/99*C for ten minutes. Leave to cool.Sterilize the lids by placing them in a saucepan of boiling water to cover. Set aside.
To prepare the green beans, wash well and then top and tail, discarding the tops and tails.Place the water and the vinegar to boil in a large saucepan. Keep hot.Pack the green beans into the sterilized jars. To each jar add 1 clove of sliced garlic, 1 tsp of dill seeds, 1/2 tsp of red pepper flakes and a sprig of fresh dill.
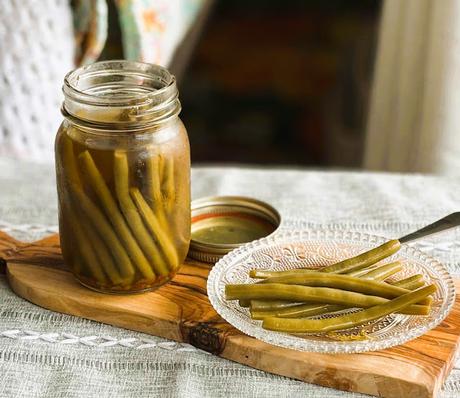
Pour the hot pickling brine (water and vinegar mixture) over top of the beans in the jars, filling the jars to within 1/2 inch of the top. Wipe the rims clean and seal with the sterilized lids.Place the jars in the water bath canner. Cover with boiling water to 2 inches above the tops of the jars. Place the lid on the saucepan/canner.Process in the boiling water bath for 10 minutes. Remove to a rack, carefully, and leave to cool. Store in a cool, dark place for at least 2 weeks before eating.
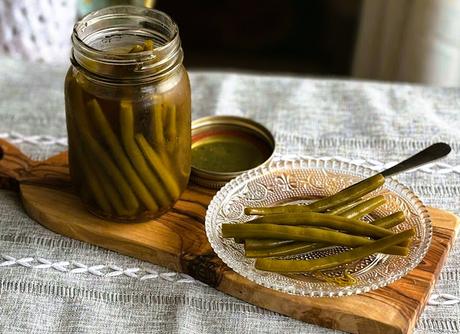
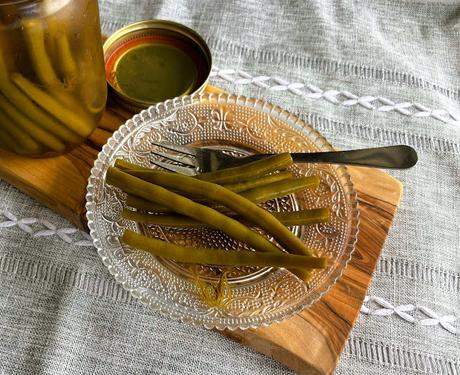
These were excellent! Nice and crisp with a beautiful flavor. The chili gives them a little bit of heat, but not to the degree that they are obnoxious. We are going to have to make a few more jars because they are going to go down a real treat in the Winter months!
If you have never tried pickling green beans before, like us, I highly recommend you try. They are so worth the effort!
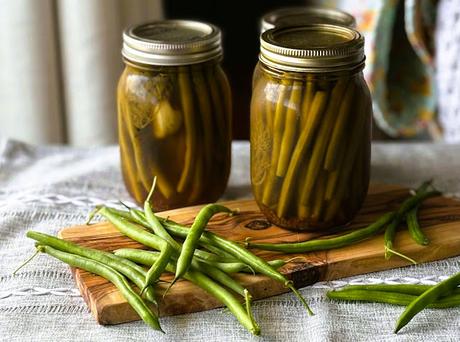
I used to make tons of jams and pickles back in the day. Here are some of my tried and true favorites!
GREEN TOMATO CHOW - This was my late mother in law's recipe. I made quarts and quarts of this delicious pickle every year. There are a lot of chow recipes out there, but in my mind this is the best. It is a lovely sweet relish with beautiful flavors and an excellent texture. It goes great with cold meats and cheeses and is excellent on a cheese board or with a Ploughman's lunch. This recipe makes 12 pints but can easily be cut in half to make less.
MILLION DOLLAR RELISH - This is a small batch recipe and makes 2 pints of a delicious relish that you are going to love. It is great on the side of the plate with meals, or as a relish on hot dogs and hamburgers. It is a wonderful relish to make in the summer months when fresh produce is available in abundance. Sweet and crunchy. This is a real favorite as well.
Yield: 4 pints ( 1/2 liters)Author: Marie Rayner
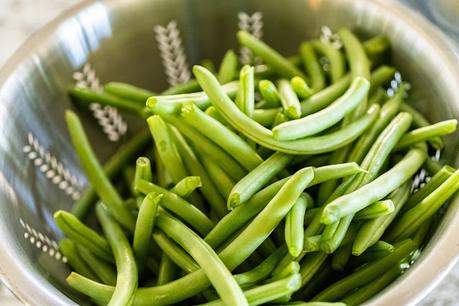
Dill Pickled Green Beans
Prep time: 20 MinCook time: 10 MinTotal time: 30 MinCrisp and tangy. Something delicious to do with the green bean glut from the garden. Note: You will need to process these in a water bath canner, or a saucepan large enough to hold the jars with an excess of 2 inches of boiling water over the top of the jars.Ingredients
- 2 pounds (907g) fresh green beans, washed and trimmed
- 4 cups (960ml) water
- 3 cups (720ml) white vinegar
- 2 tablespoons fine sea salt
- 4 cloves garlic, peeled and sliced
- 4 teaspoons dill seeds
- 2 teaspoons red pepper flakes
- 4 fresh dill sprigs
Instructions
- First prepare your green beans and sterilize your jars as well as the lids.
- Wash your jars well in hot soapy water and rinse them. Place them onto a baking sheet and heat them in an oven set at 210*F/99*C for ten minutes. Leave to cool.
- Sterilize the lids by placing them in a saucepan of boiling water to cover. Set aside.
- To prepare the green beans, wash well and then top and tail, discarding the tops and tails.
- Place the water and the vinegar to boil in a large saucepan. Keep hot.
- Pack the green beans into the sterilized jars. To each jar add 1 clove of sliced garlic, 1 tsp of dill seeds, 1/2 tsp of red pepper flakes and a sprig of fresh dill.
- Pour the hot pickling brine (water and vinegar mixture) over top of the beans in the jars, filling the jars to within 1/2 inch of the top. Wipe the rims clean and seal with the sterilized lids.
- Place the jars in the water bath canner. Cover with boiling water to 2 inches above the tops of the jars. Place the lid on the saucepan/canner.
- Process in the boiling water bath for 10 minutes.
- Remove to a rack, carefully, and leave to cool. Store in a cool, dark place for at least 2 weeks before eating.
Did you make this recipe?
Tag @marierayner5530 on instagram and hashtag it #marierayner5530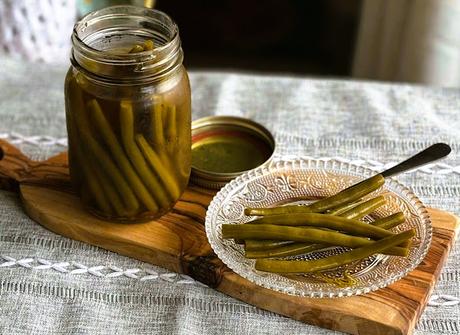
This content, written and photography, is the sole property of The English Kitchen. Any reposting or misuse is not permitted. If you are reading this elsewhere, please know that it is stolen content and you may report it to me at mariealicejoan at aol dot com.
Thanks for visiting! Do come again!!
If you like what you see here, why not consider signing up for my newsletter and/or subscribing/following me on Grow. You can also bookmark my recipes via the Grow platform. Check out the heart on the right hand side of the screen.

