I’m not sure whether culturing my own yogurt makes me feel more like a scientist or a colonial housewife. Maybe a bit of both. Like Alton Brown in a bonnet.
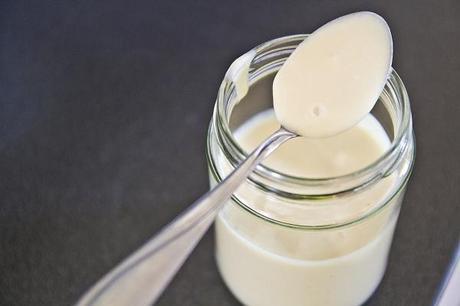
Since going vegan, I’ve been hitting the nondairy yogurt pretty hard. In case you didn’t know, that shiz gets expensive. Plus the folks at Sprouts are probably starting to suspect an addiction since I’m in there every day, and I wouldn’t want them to judge me.
What’s a bonnet-clad Alton Brown to do? Make my own yogurt, of course.
This tutorial is derived from one I found several months back about how to culture your own dairy yogurt. I gave it a try with soymilk, figuring the type of milk couldn’t make THAT much of a difference. By some unprecedented stroke of fortune, I actually succeeded! And by another, completely precedented stroke of misfortune, I discovered days later that I am sensitive to soy. So now my fridge is overflowing with yogurt that I can’t eat.
Self-pity aside, this tutorial is a bit wordy and involved, but don’t be intimidated! I’ve tried to make it easy to follow, but if you get confused, you can also refer back to the original tutorial for some more tips.
ingredients
2 c plain soymilk
1-2 tbsp plain soy yogurt
vanilla extract and agave, for flavoring (optional)
tools
small saucepan
candy thermometer
whisk
large bowl of ice water
mason jar(s)
some means of incubating the yogurt
directions
In your saucepan, heat the soymilk to 200°F, stirring occasionally — if it’s boiling, it’s too hot! Remove from heat and submerse the pan in the ice water bath to cool it down. You want to get it to around 120°, so check it often using your candy thermometer — it cools down very quickly.
Once the soymilk has reached 120°, remove from the ice bath and whisk in the soy yogurt. This is your starter, the bacterial cultures you are sending in to colonize the entire batch of yogurt. (Remember — you are literally CULTURING BACTERIA in this jar, so make sure your tools are clean! i.e., no licking!) A good ratio is about 1 tbsp of starter for every 2 cups of soymilk. Pour the inoculated soymilk into your jar(s) and seal them tightly.
The goal is to keep the yogurt at about 120°, and there are a number of ways to do this. The original tutorial suggests placing the jars in a picnic cooler filled with hot water, but since I don’t have a cooler, I had to resort to a method that’s a little more… ghetto.
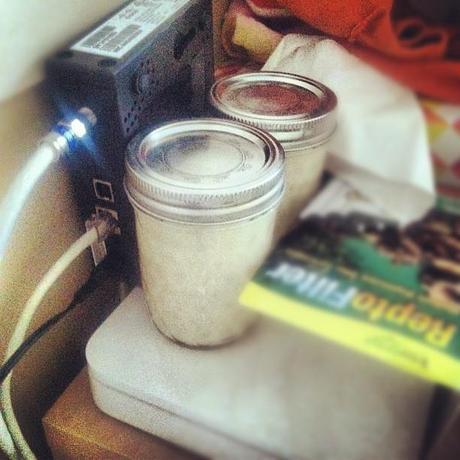
Yes, those are wireless routers.
Let the soymilk incubate for about 10-12 hours. The smaller your jars are, the faster it will culture, and the yogurt becomes more tart the longer it processes. It will form chunks, though parts of it may still be runny. Once it is chunky enough for you, pop the jars in the fridge to stop the culturing process.
Also, DON’T SHAKE the jars. We want to keep those chunks because it makes the straining process easier.
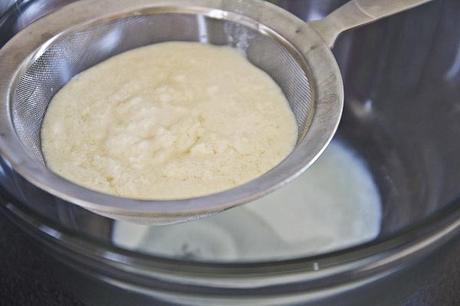
After the jars have cooled, you have one of two options. (Well, I’m sure you have a few more options than that, but as far as THIS TUTORIAL is concerned, you have two.) You can either strain the curds from the whey to make yogurt, or you can use an electric mixer to reincorporate the curds and the whey, making buttermilk. If you’ve made two jars, you might try making yogurt out of one and buttermilk out of the other.
Why would I want vegan buttermilk, you ask? Buttermilk is icky, you say? Well, I can’t advise you to drink it, but this thick, tangy buttermilk is PERFECT for vegan baking. You can use it to easily veganize a recipe that calls for dairy buttermilk, or you can substitute it for the ubiquitous soymilk-and-vinegar mixture. It makes baked goods so much lighter and fluffier. Trust me — you need some of this buttermilk in your life.
Now that I’ve got you convinced on the buttermilk front, it’s time to strain some yogurt! Using a VERY fine mesh sieve, strain the curds from the whey. You may have to let it sit out for several minutes in order to fully drain the whey. Once you’re done straining, transfer the curds to a separate bowl. If you don’t want to throw it out, here are some ideas for ways to use up the resulting whey.
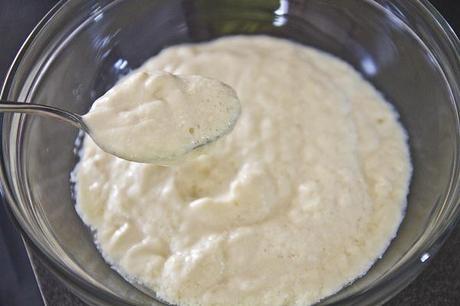
The curds will look a bit lumpy, kind of like ricotta cheese. This is where our electric mixer comes in! Beat the curds until they become smooth and fluffy, like normal yogurt.
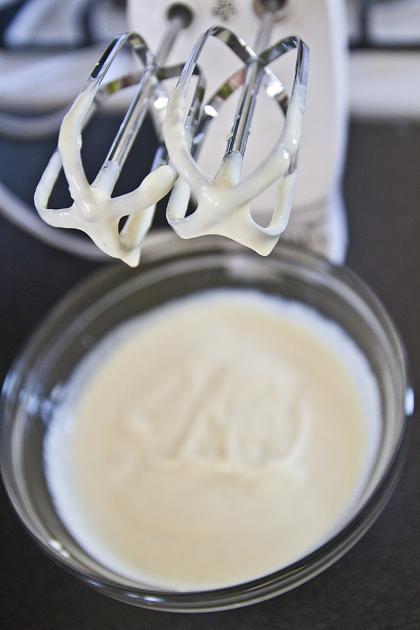
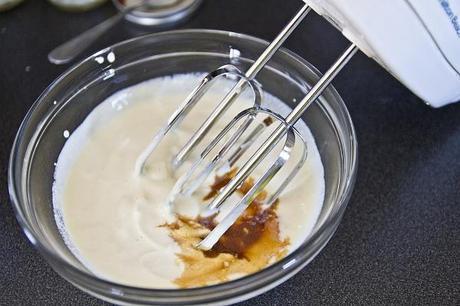
Add any flavorings or mix-ins that you like. I like my yogurt straight-up vanilla with no chunky fruit bits, so I just added a bit of vanilla extract and agave.
Congratulations! You have just cultured your first batch of vegan yogurt. You can use a tablespoon of this yogurt as starter for your next batch, and on and on ad infinitum.
Of course, the more immediate task is EATING IT.
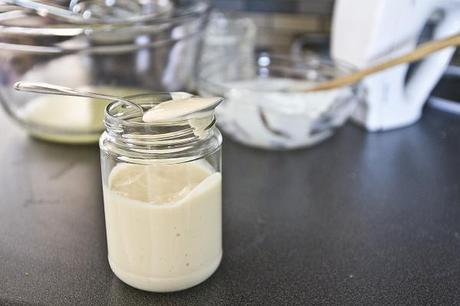
I’ve tried using this same method to culture coconut milk (both canned and the kind from a carton) but have been met with limited success. If anyone succeeds in using this method to culture coconut or almond milk, let me know! I’d love to hear your tips, especially now that I’ve created several jars of soy yogurt that I can no longer eat…
Happy culturing!
