It's not hard to figure out what name we have chosen if you know the hints:
1) Princess
2) Sea
3) Five letters
Yes, we've decided to name her after the Little Mermaid, ARIEL.
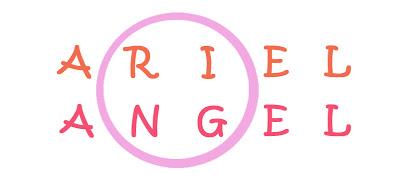 It's a two-letter difference spelling from Angel and I'd like to think of it in this way: That there is a ring holding my girls close to each other and they will be loving sisters in time to come. Naive thinking? Haha, not the first day you know me.
 Anyway, in this week's Creativity 521, I am sharing with you a precious gift that I made for my girls. Yes, one for each!
It's a pair of matching DIY Sisters shirts!
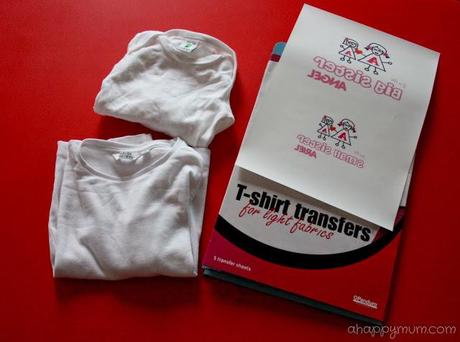
What you need:
1) Shirts (I chose a long-sleeved shirt for Angel and a cute little romper for Ariel)
2) T-shirt transfer sheets (I chose one for light fabrics as I preferred white to black shirts)
3) Iron and ironing surface
4) Image editing software (I used Photoshop)
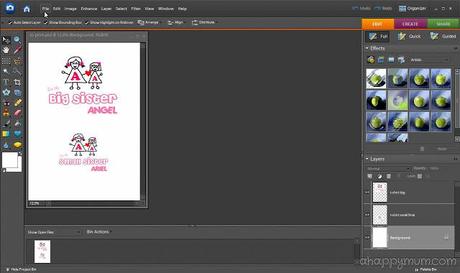 Firstly, design your own image for the shirt. I did a really simple drawing of two girls holding onto a heart and a letter 'A' on their dresses. I also included their names so that each shirt will truly be unique and personalised. It makes Angel proud to see her name on her new shirt and she is also thrilled to learn about meimei's name too!
Once you are satisfied with your design, print it out onto the transfer sheet such that it is a mirror image of the original design. You may need to flip it horizontally or change your print settings.
Tip: Remember to test first and print it out onto a piece of plain paper to make sure you got this step correct!
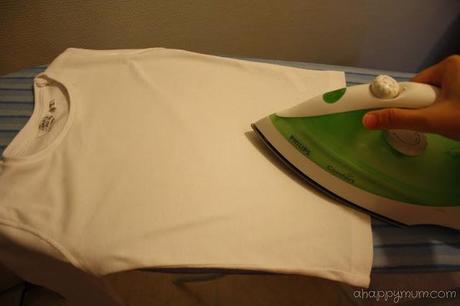 Next, preheat the iron to the highest heating and iron the shirt to remove any wrinkle or crease.
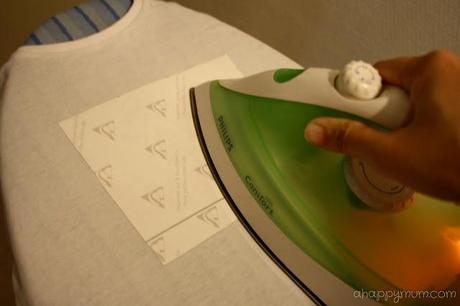 Trim away unwanted areas of the transfer sheet, leaving minimal space around your design. With the image facing down, start ironing in circles, making sure you overlap all edges of the transfer sheet. Ironing time depends on the size of your design and a guide is usually provided in the transfer sheet package.
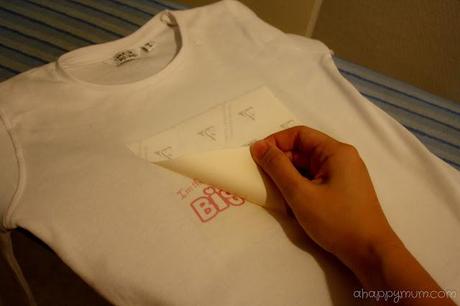 Allow the design to cool before gently peeling off the paper backing from one corner.
 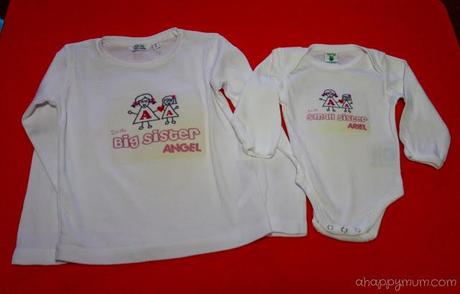 Voila! We are done!
 I'm not sure why my designs end up looking a little yellowish in the end, might be due to the old iron, but nonetheless, I'm still pretty proud of my first ever self-designed shirts! Angel couldn't wait to put on her new shirt while I'm saving Ariel's for the first day I see her.
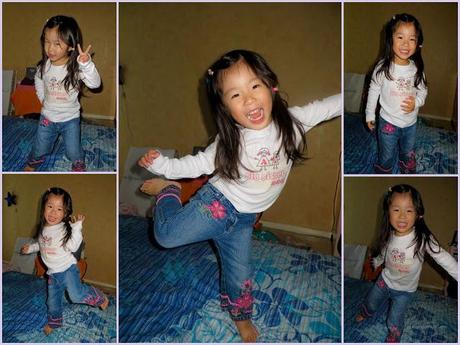 See how delighted Angel is in knowing that she's becoming a big sister soon? Well, I sure hope that both my girls will be happy, cheerful and loving always!
A sister is a gift to the heart, a friend to the spirit, a golden thread to the meaning of life. ~Isadora James
******
 <a href="http://www.ahappymum.com/"><img src="https://lh5.googleusercontent.com/-FA3rgSeuQWo/T_K49p08YZI/AAAAAAAAJTY/AxV0r9kjU_c/s150/Creativity%2520521%2520button.jpg" alt="BWS tips button" width="125" height="125" /></a>
To fellow bloggers who have a fun craft session, DIY tip or creative idea to share, do join in the party! Simply grab my button above, include it in your post/sidebar or text link back and add your link below. Do also visit other participants' blogs for more inspiration!
I will be hosting Creativity 521 every fortnightly and I hope you can join me on the 5th and 21st of every month. Remember: The sky's the limit when it comes to creativity!


