Anyway, before we even got down to doing the craft, I could already foresee just how much the girls were gonna love these and all the fun and imaginative things they could do. I was just happy that I was right and they were so, so ecstatic with the finished product. What exactly did we do in this week's Creativity 521? Well, we made our own DIY Animal Sock Puppets.
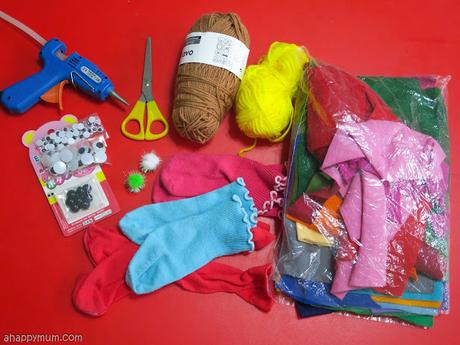 What we used:
1) Old socks
2) Yarn
3) Pom poms
4) Googly eyes
5) Felt fabric in assorted colours
6) Scissors
7) Hot glue
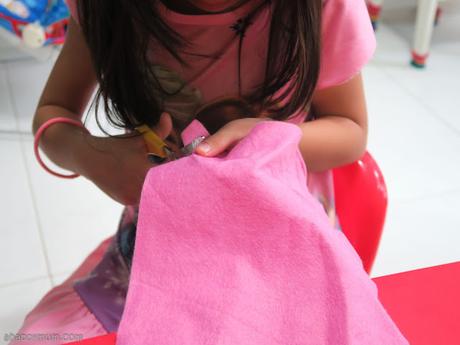 Firstly, choose the animals that you want to make. Angel decided on a cat and pig while Ariel wanted a dog and rabbit. Select the felt colours you need for your animal and start to cut out the nose, ears, mouth and other facial features you wish to include. If your child has difficulty in cutting out the right shapes, use a pencil to outline it on the felt for them and let them cut accordingly.
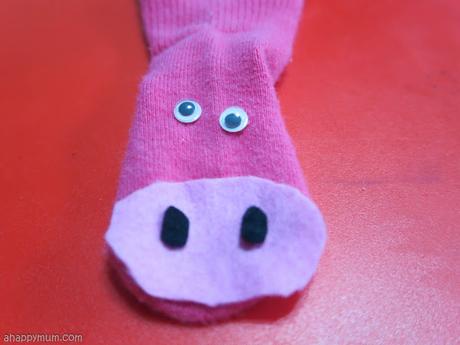 Arrange the pieces onto the sock and check if you are happy with the final look. It doesn't matter if your socks come in bright or weird colours, that will just make things more interesting! Just ensure that your child's hand can fit nicely into the sock, that's more important.
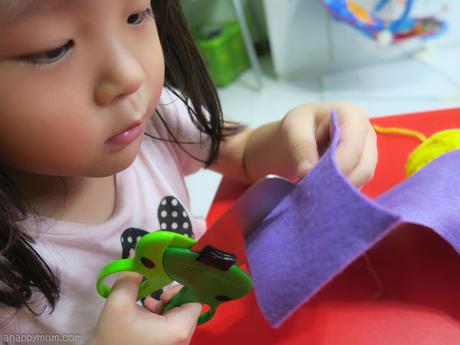
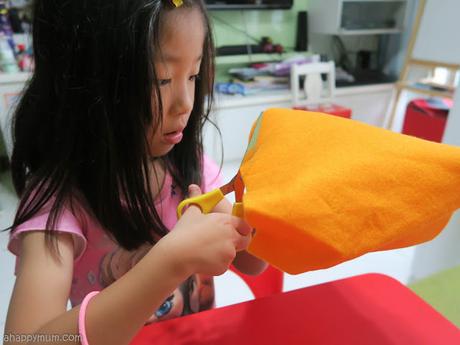 It can be a little challenging to cut out felt so make sure that the scissors is sharp enough. While I let the big girl try cutting out shapes like circles and ovals, the little girl practised her cutting skills using just straight lines.
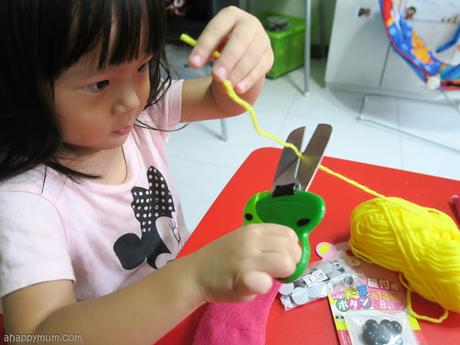
Next, we used yarn to make the whiskers! Ariel was thrilled that she could do this entirely on her own - find the end of the yarn, pull it out, cut, and repeat!
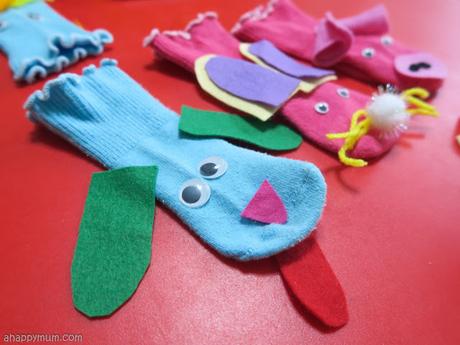 We wanted droopy ears for the dog and upright ears for the bunny, so I used a single layer of felt for the former and double layers (the base felt was a thicker kind) for the latter. The girls were given total freedom in choosing the colours of felt, the color of the yarn and the kind of eyes they wanted for their puppets.
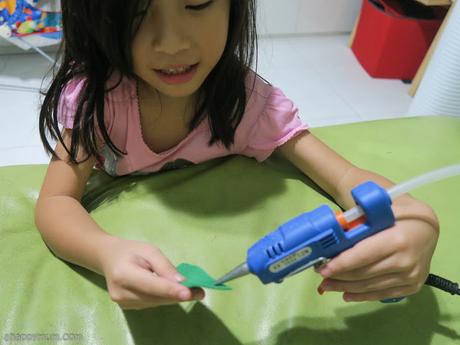 Once you are happy with all the designs, it's time to stick them in place! The best way to do this, we realised after trying a couple, would be to use a glue gun. You will need an adult to help out with this as it can be a little challenging, and dangerous as well, for small kids to handle the hot glue.
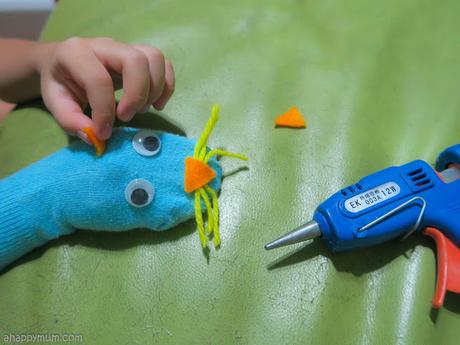 You can glue on the features onto an empty sock or if you prefer, let your kid wear the socks so that you know how best to position the features. For us, we did it while they were wearing the socks but we took extra caution not to press down too hard so that they would not feel the heat much. If I needed to press harder to secure a piece of felt, for instance for the bunny's ears and pig's snout , I would open up the sock more and insert my own finger to act as the base and protection.
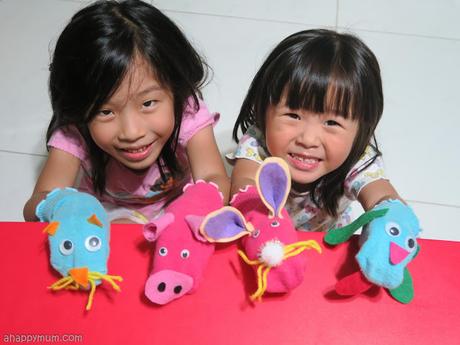 Hot glue dries up pretty fast so you'll have your puppets ready in no time! Tadah, how do you like our final sock puppets? The girls were really, really happy with how they turned out and couldn't wait to put on their first puppet show!
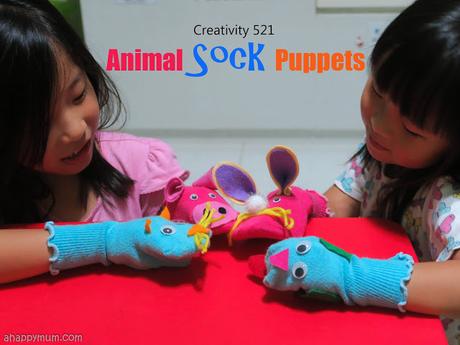 Yesh, we spent the next hour just coming up with our own story and using the puppets to act it out. I was surprised that the two of them could get quite creative and say things that I wasn't expecting! First the four animal friends were in a farm, then they escaped to a city, next they went to Legoland, then they were at a dance party, they went down a giant slide, they saw a doctor and check this out, they even went to the supermarket to buy groceries. Haha. Oh well, definitely the kids of a stay-at-home mom.
Till the next Creativity 521! It's the last week of school before we break for the June holidays! Woohoo!

